My Step-by-Step Guide For Painting Furniture

Before

After
There's nothing like the feeling of walking the aisles of a thrift store when inspiration hits! Especially when I find an inexpensive piece of furniture with loads of potential- it's like a “ahhhhh” moment with a light shines down on a treasure that's been sitting there, waiting for me to come and fix it up! I’ve rounded up my favorite furniture flips I’ve transformed with paint below…
BUT FIRST- here’s my step-by-step process of transforming this $45 thrifted dresser into a modern and expensive piece of furniture using PAINT!

Tools and Materials Needed:
Screwdriver or drill
Paint ( I used Valspar “Mink Stole”)
Prep workspace- I moved the dresser outside and covered my work area with a drop cloth to have easy clean up.
Disassemble- I removed all the drawers, knobs and hardware — although there wasn’t much hardware on this style of dresser.
Note: If it were a cabinet, I would remove all handles, hinges, magnetic closures, etc. to prevent paint from getting on them.


3. Prep for painting- I used an orbital sander and smoothed out the entire dresser with fine-grit sandpaper. Since I’m painting this dresser (not staining) my goal is to smooth out any blemishes and remove a sealer or finish that was on top of the original paint.
I took some wood putty and used it in areas that had deep cracks and holes. After it dried, I smoothed out the surface again with sandpaper.
Using a tack cloth I wiped down the entire dresser and drawers of any debris left from the sanding.
To restore the rattan inlay, I soaked stripping gel over the painted edges for 30 min before lightly scraping it off. Then, I covered the rattan with paper and painter’s tape to prep the rest of the cabinet for painting.
4. Prime- I primed the entire surface of the dresser and drawers with Kilz All Purpose Primer. I used a 4” foam paint roller.


5. Paint- Once the primer completely dried, I went in with two coats of paint. I highly recommend two coats of your favorite shade for full coverage then letting it dry at least 24 hours.
Also i went back with some touch up paint around the rattan inlay.
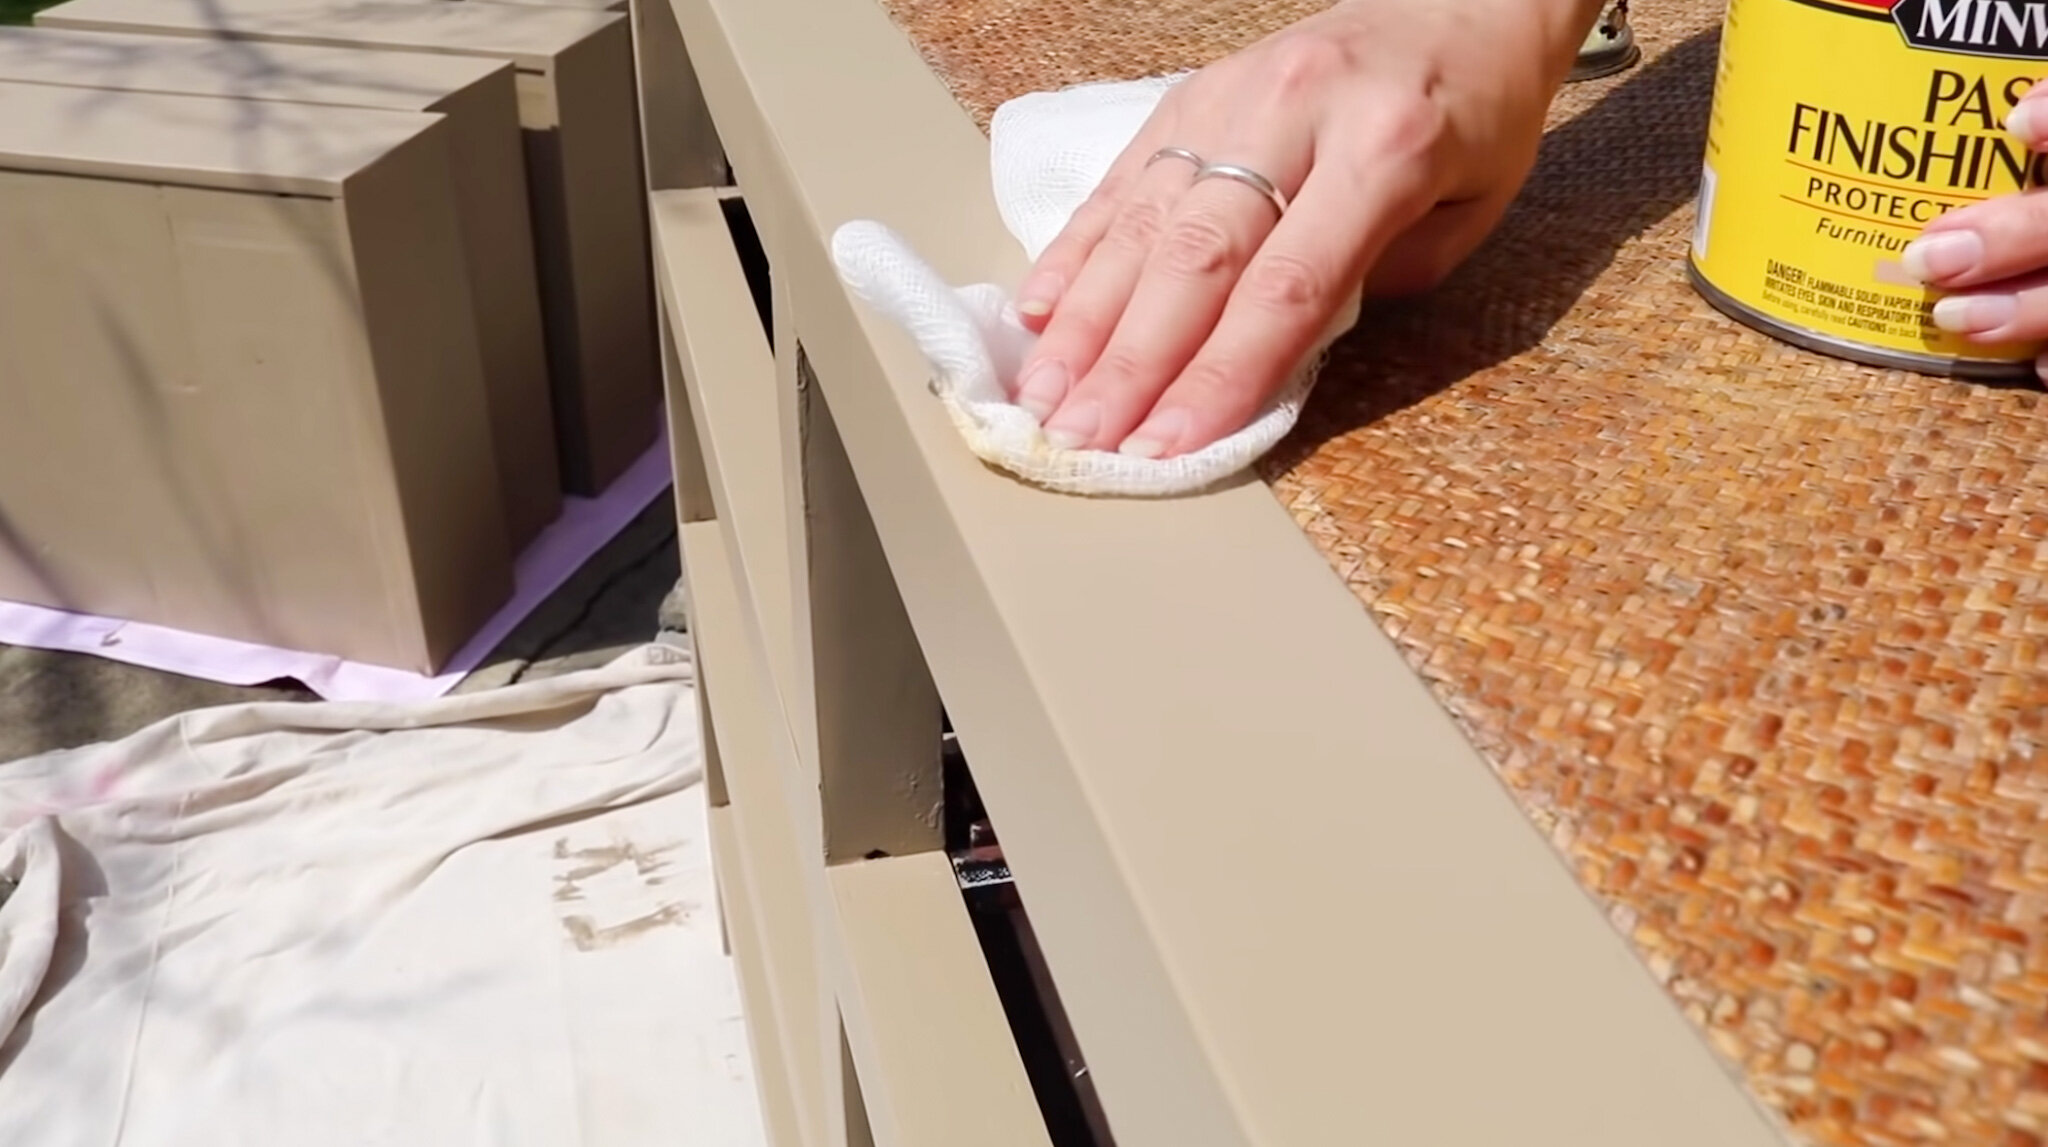
6. Seal To Protect- For this dresser I wanted a matte subtle finish so using cheesecloth I applied a natural finishing wax to the entire dresser. I applied 3 layers of wax to increase its durability on the areas that see the most movement, like at the bottom of the drawers. I like this sealer but find that using a Minwax Polycrylic sealer is more durable.

7. Attach new knobs- After everything is dry, I attached new black knobs that beautifully contrasted the lighter paint color.
8. Reassemble- Put all the drawers back and it’s ready to move into its new home!


Before & After
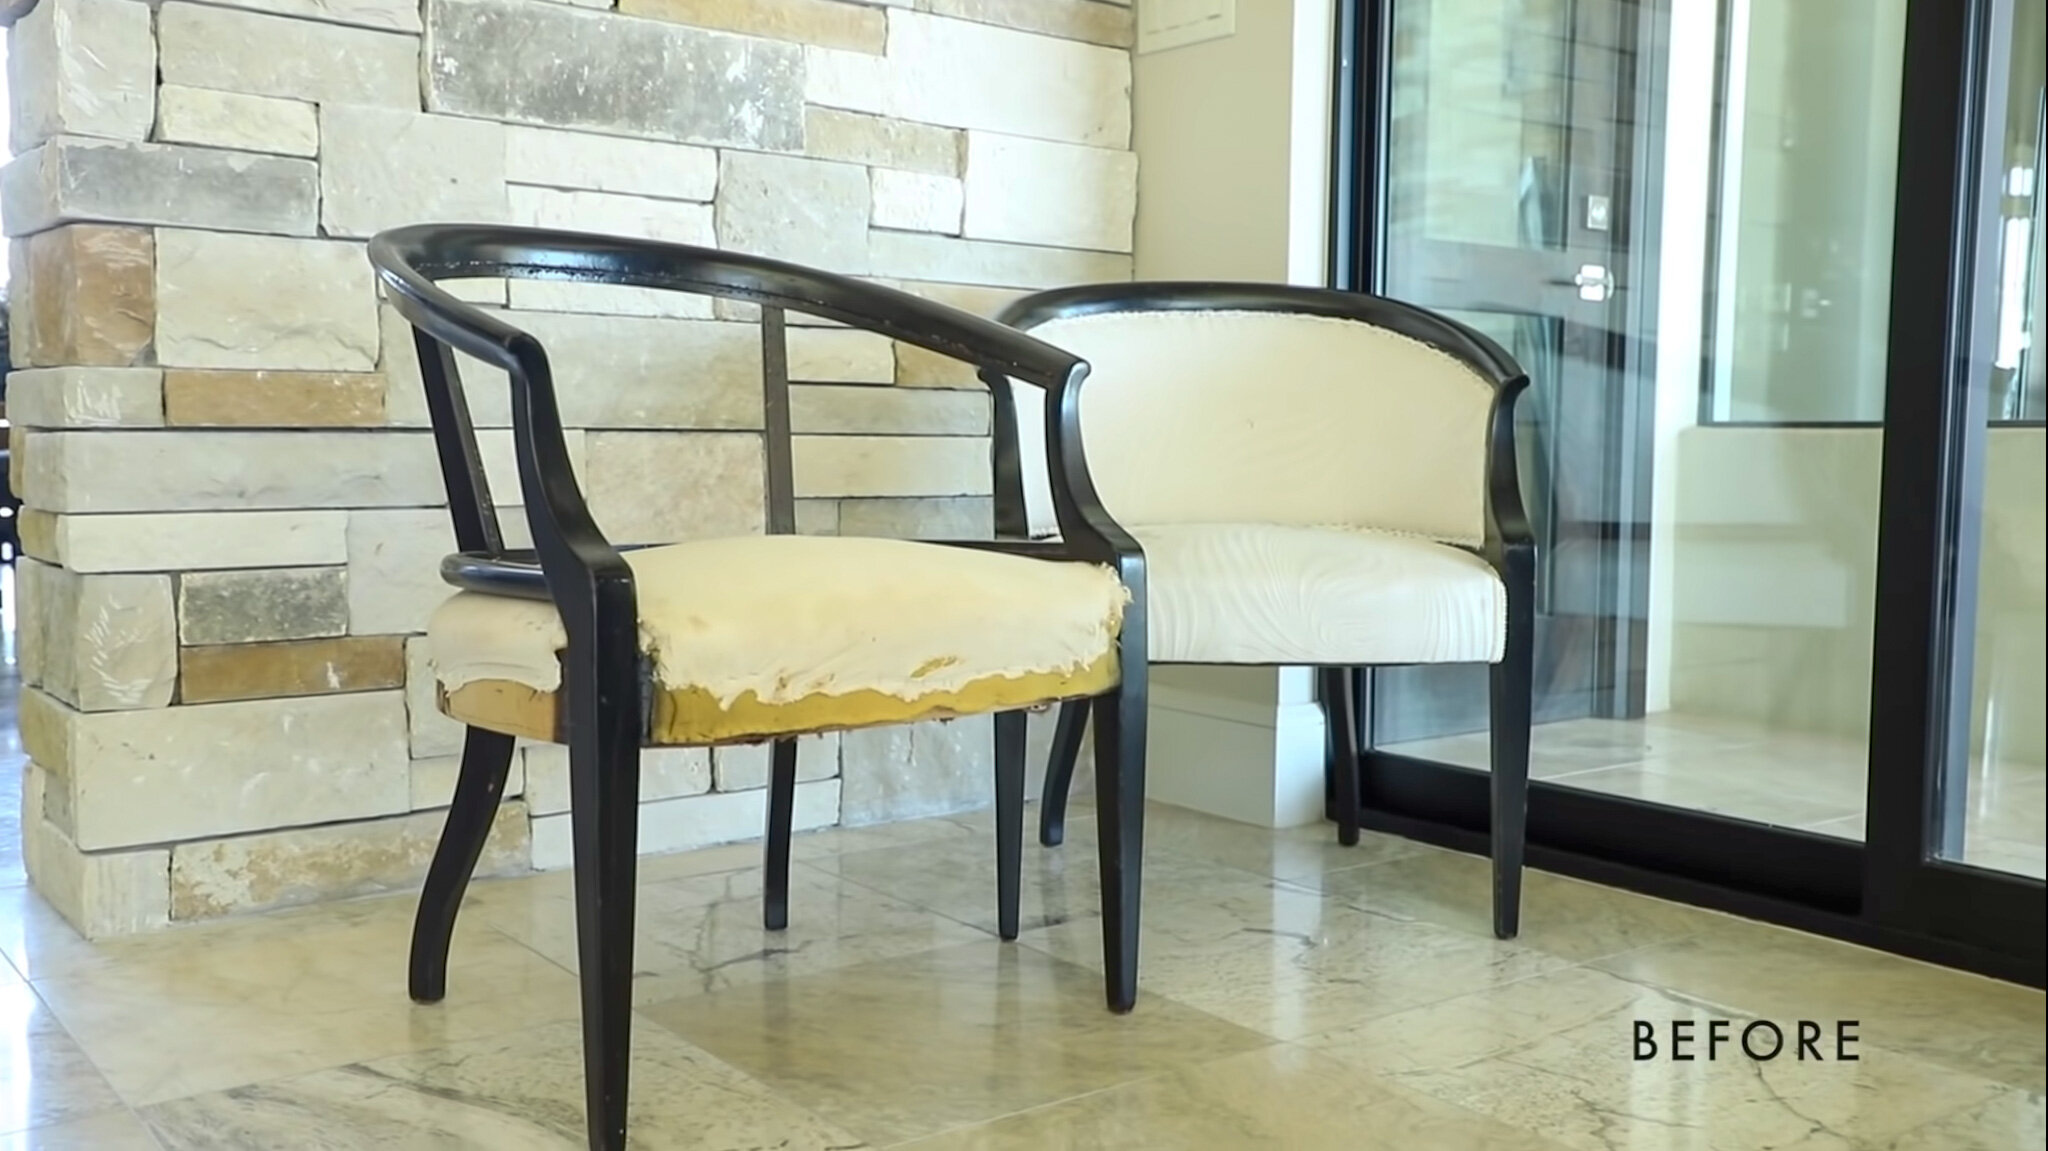
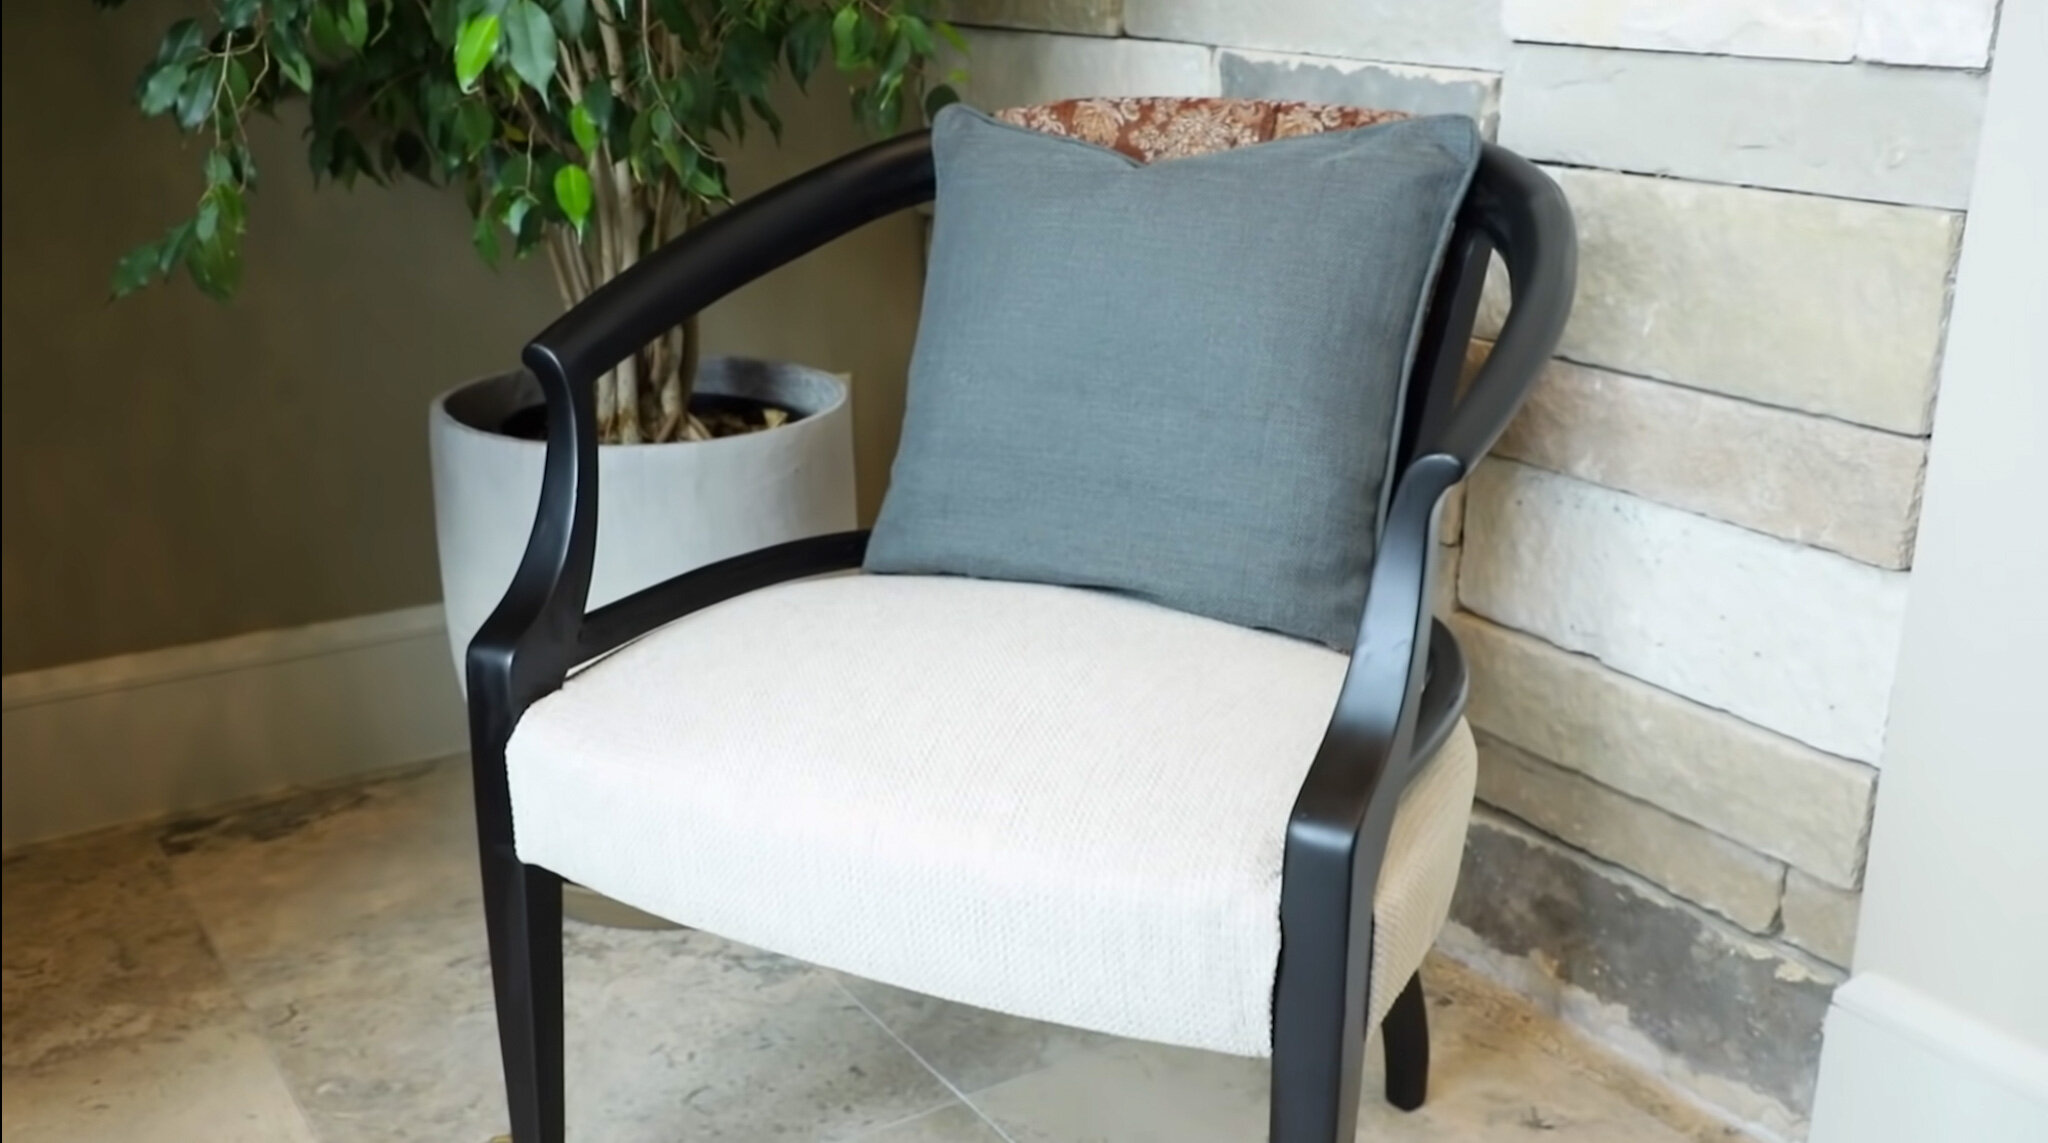
Details: Pair of chairs with a unique shape
Price: $18 (for both!)
What it needed: Sanding, spray paint, and reupholster the cushions
Why I love it: These chairs were so eye-catching, I saw them from across the room at a thrift store and had rushed over to them. I thought the shape was beautiful and could look stunning in a living room
Watch the DIY video HERE.
Before & After
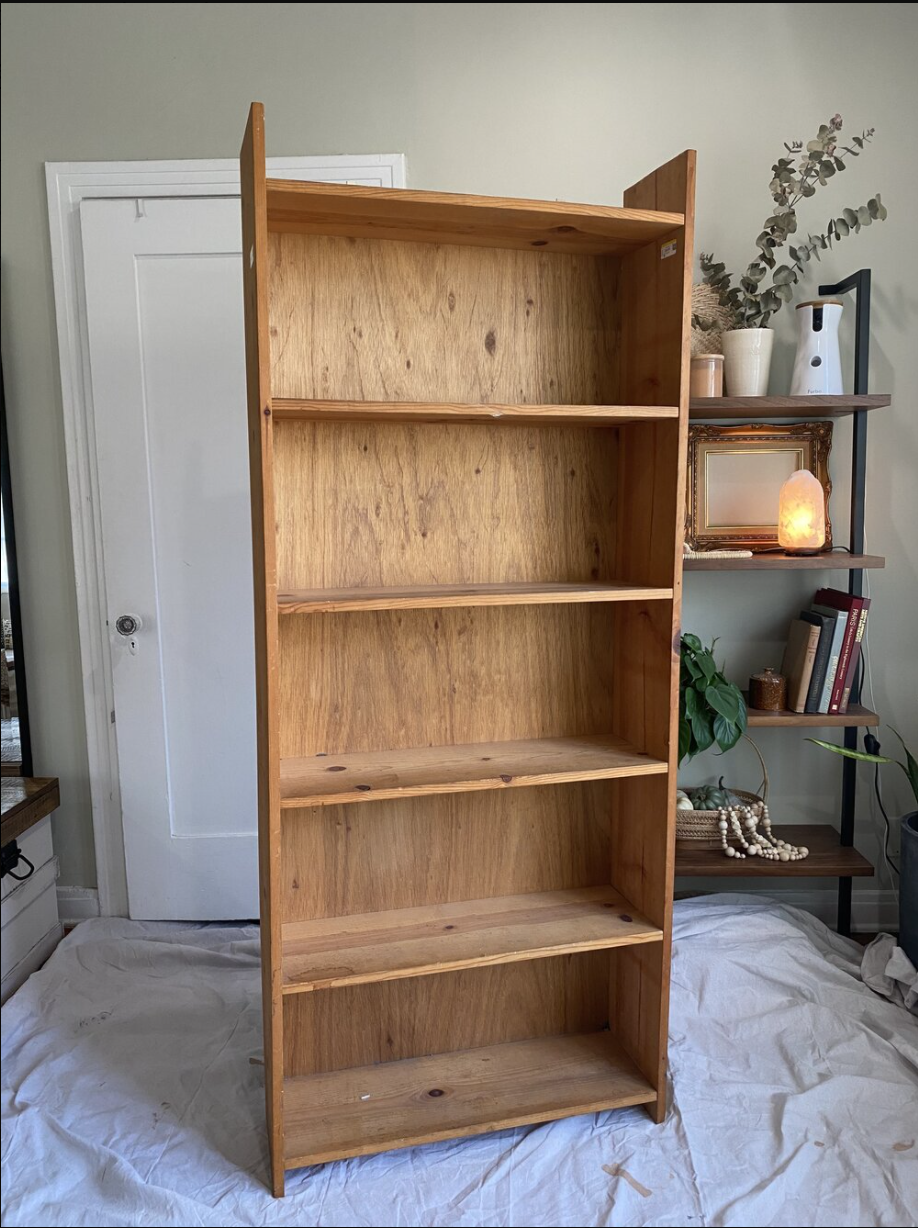

Project: thrifted wooden bookshelf —> pantry
Price: $12
What I Did: vintage wallpaper backing, prime/paint/seal, added doors to transform into a pantry
Why I love it: I didn’t need to buy any wood for this project (as i had scrap wood) and it was the perfect size for my kitchen.
Watch the DIY video HERE.
Before & After
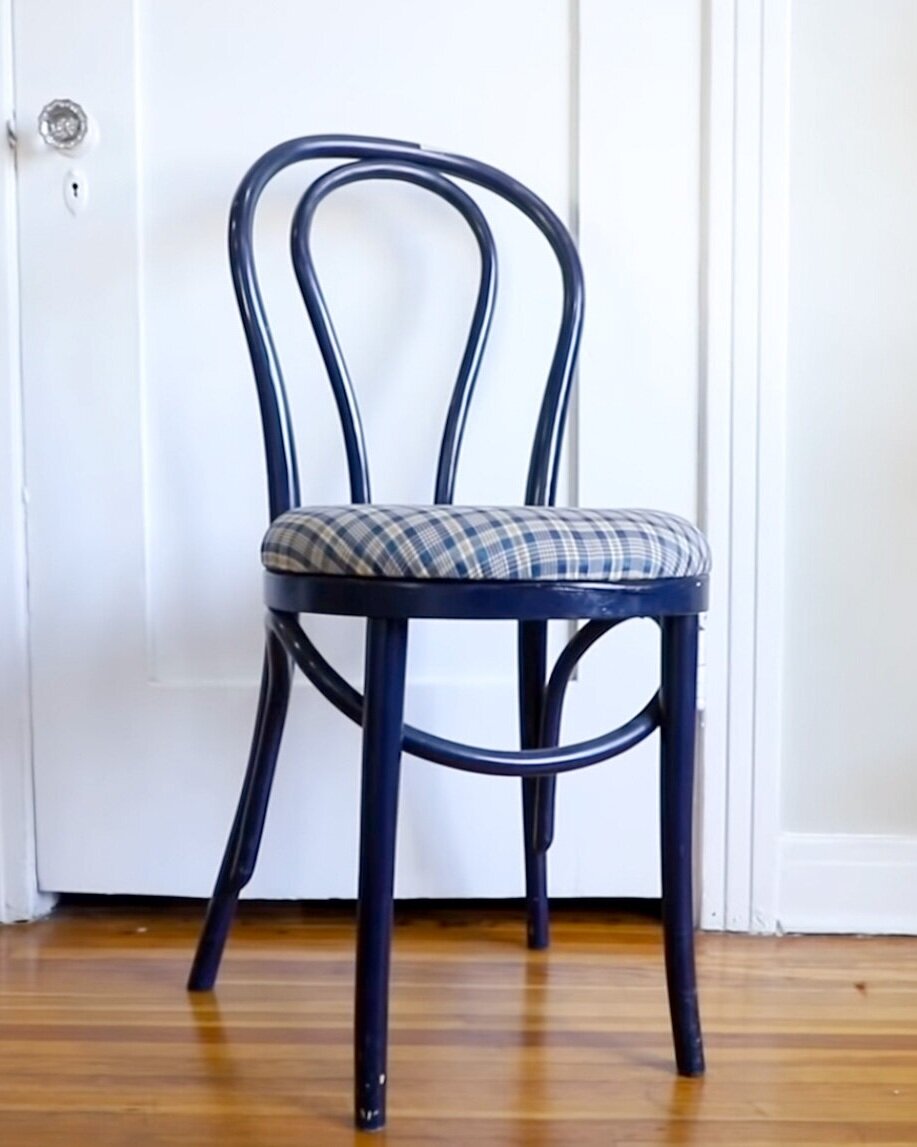
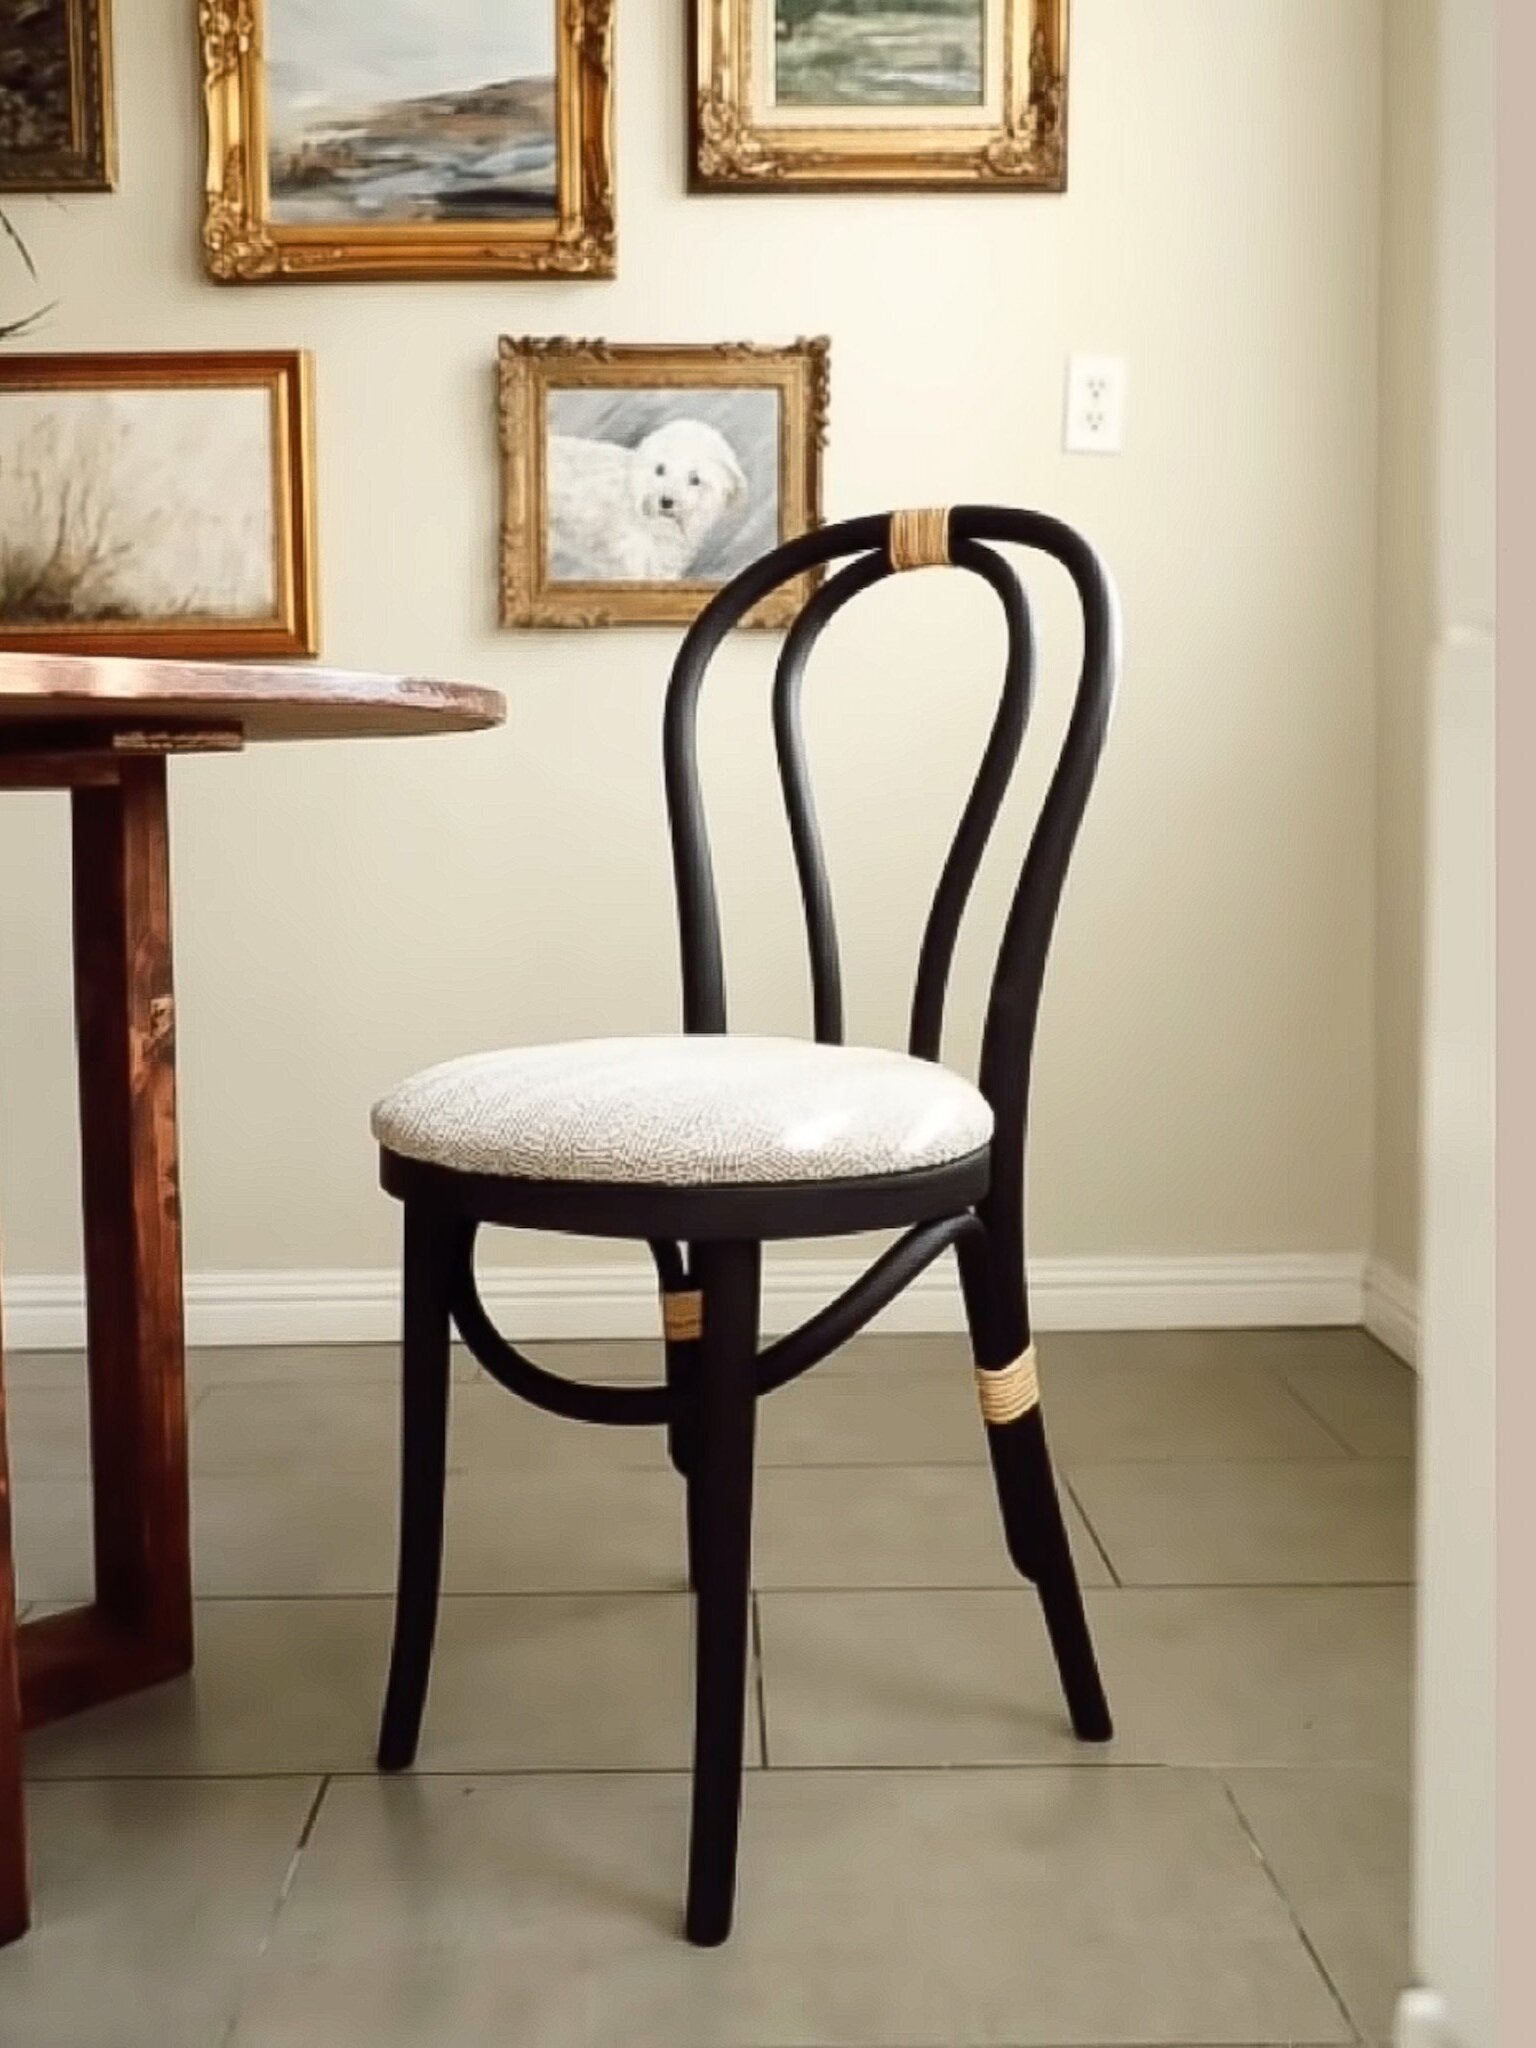
Details: Cute chair with tons of potential
Price: $4
What it needed: Paint, new cushion, and cane binding
Why I love it: I immediately thought about a cafe in Paris when I saw this chair. I had to have it!
Watch the DIY video HERE.
Before & After
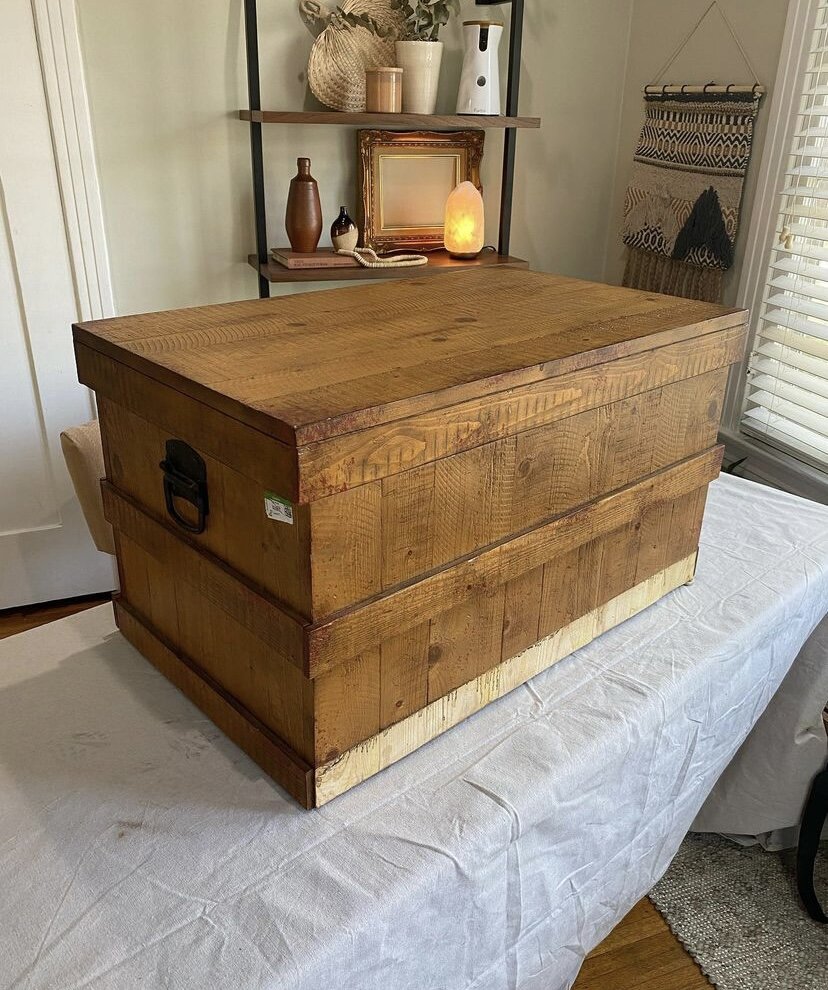
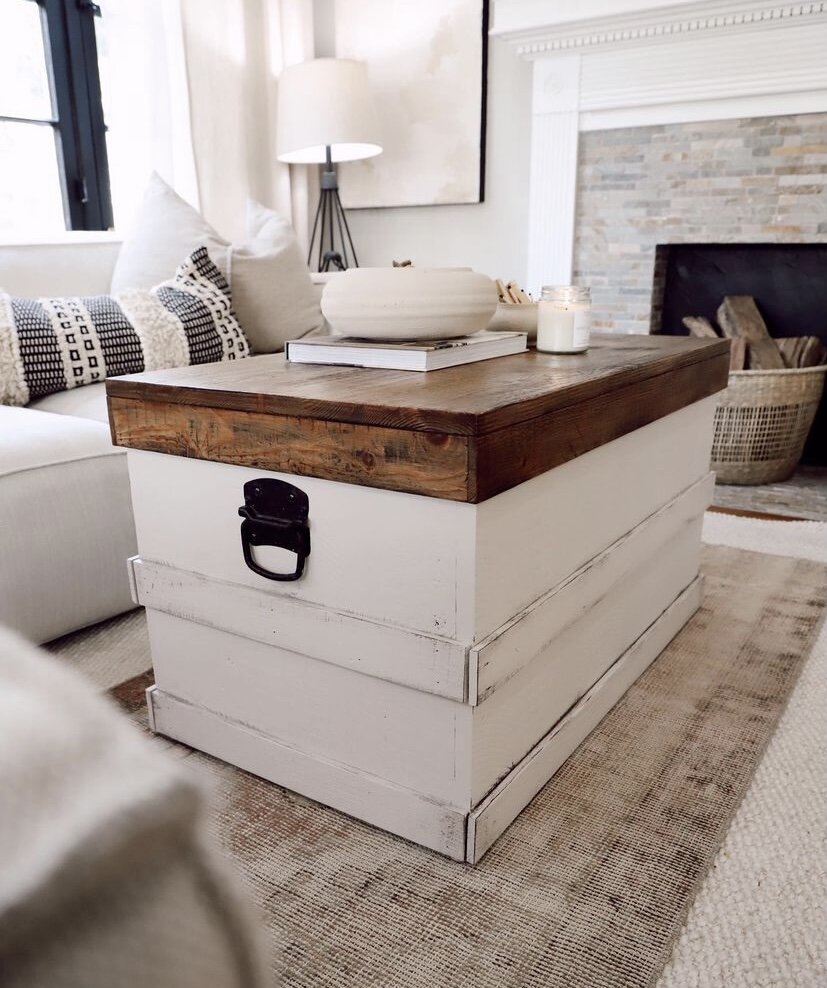
Project: Rustic storage box —> coffee table
Price: $30
What it needed: Light sanding, new paint & stain, and replacement pieces.
Why I love it: I was so drawn to the potential of this storage box! I immediately thought about a modern farm-style coffee table when I saw the black handles.
Watch the DIY video HERE.
Watch the entire dresser renovation below and let me know in the comments if you’re feeling inspired to flip a piece of furniture!