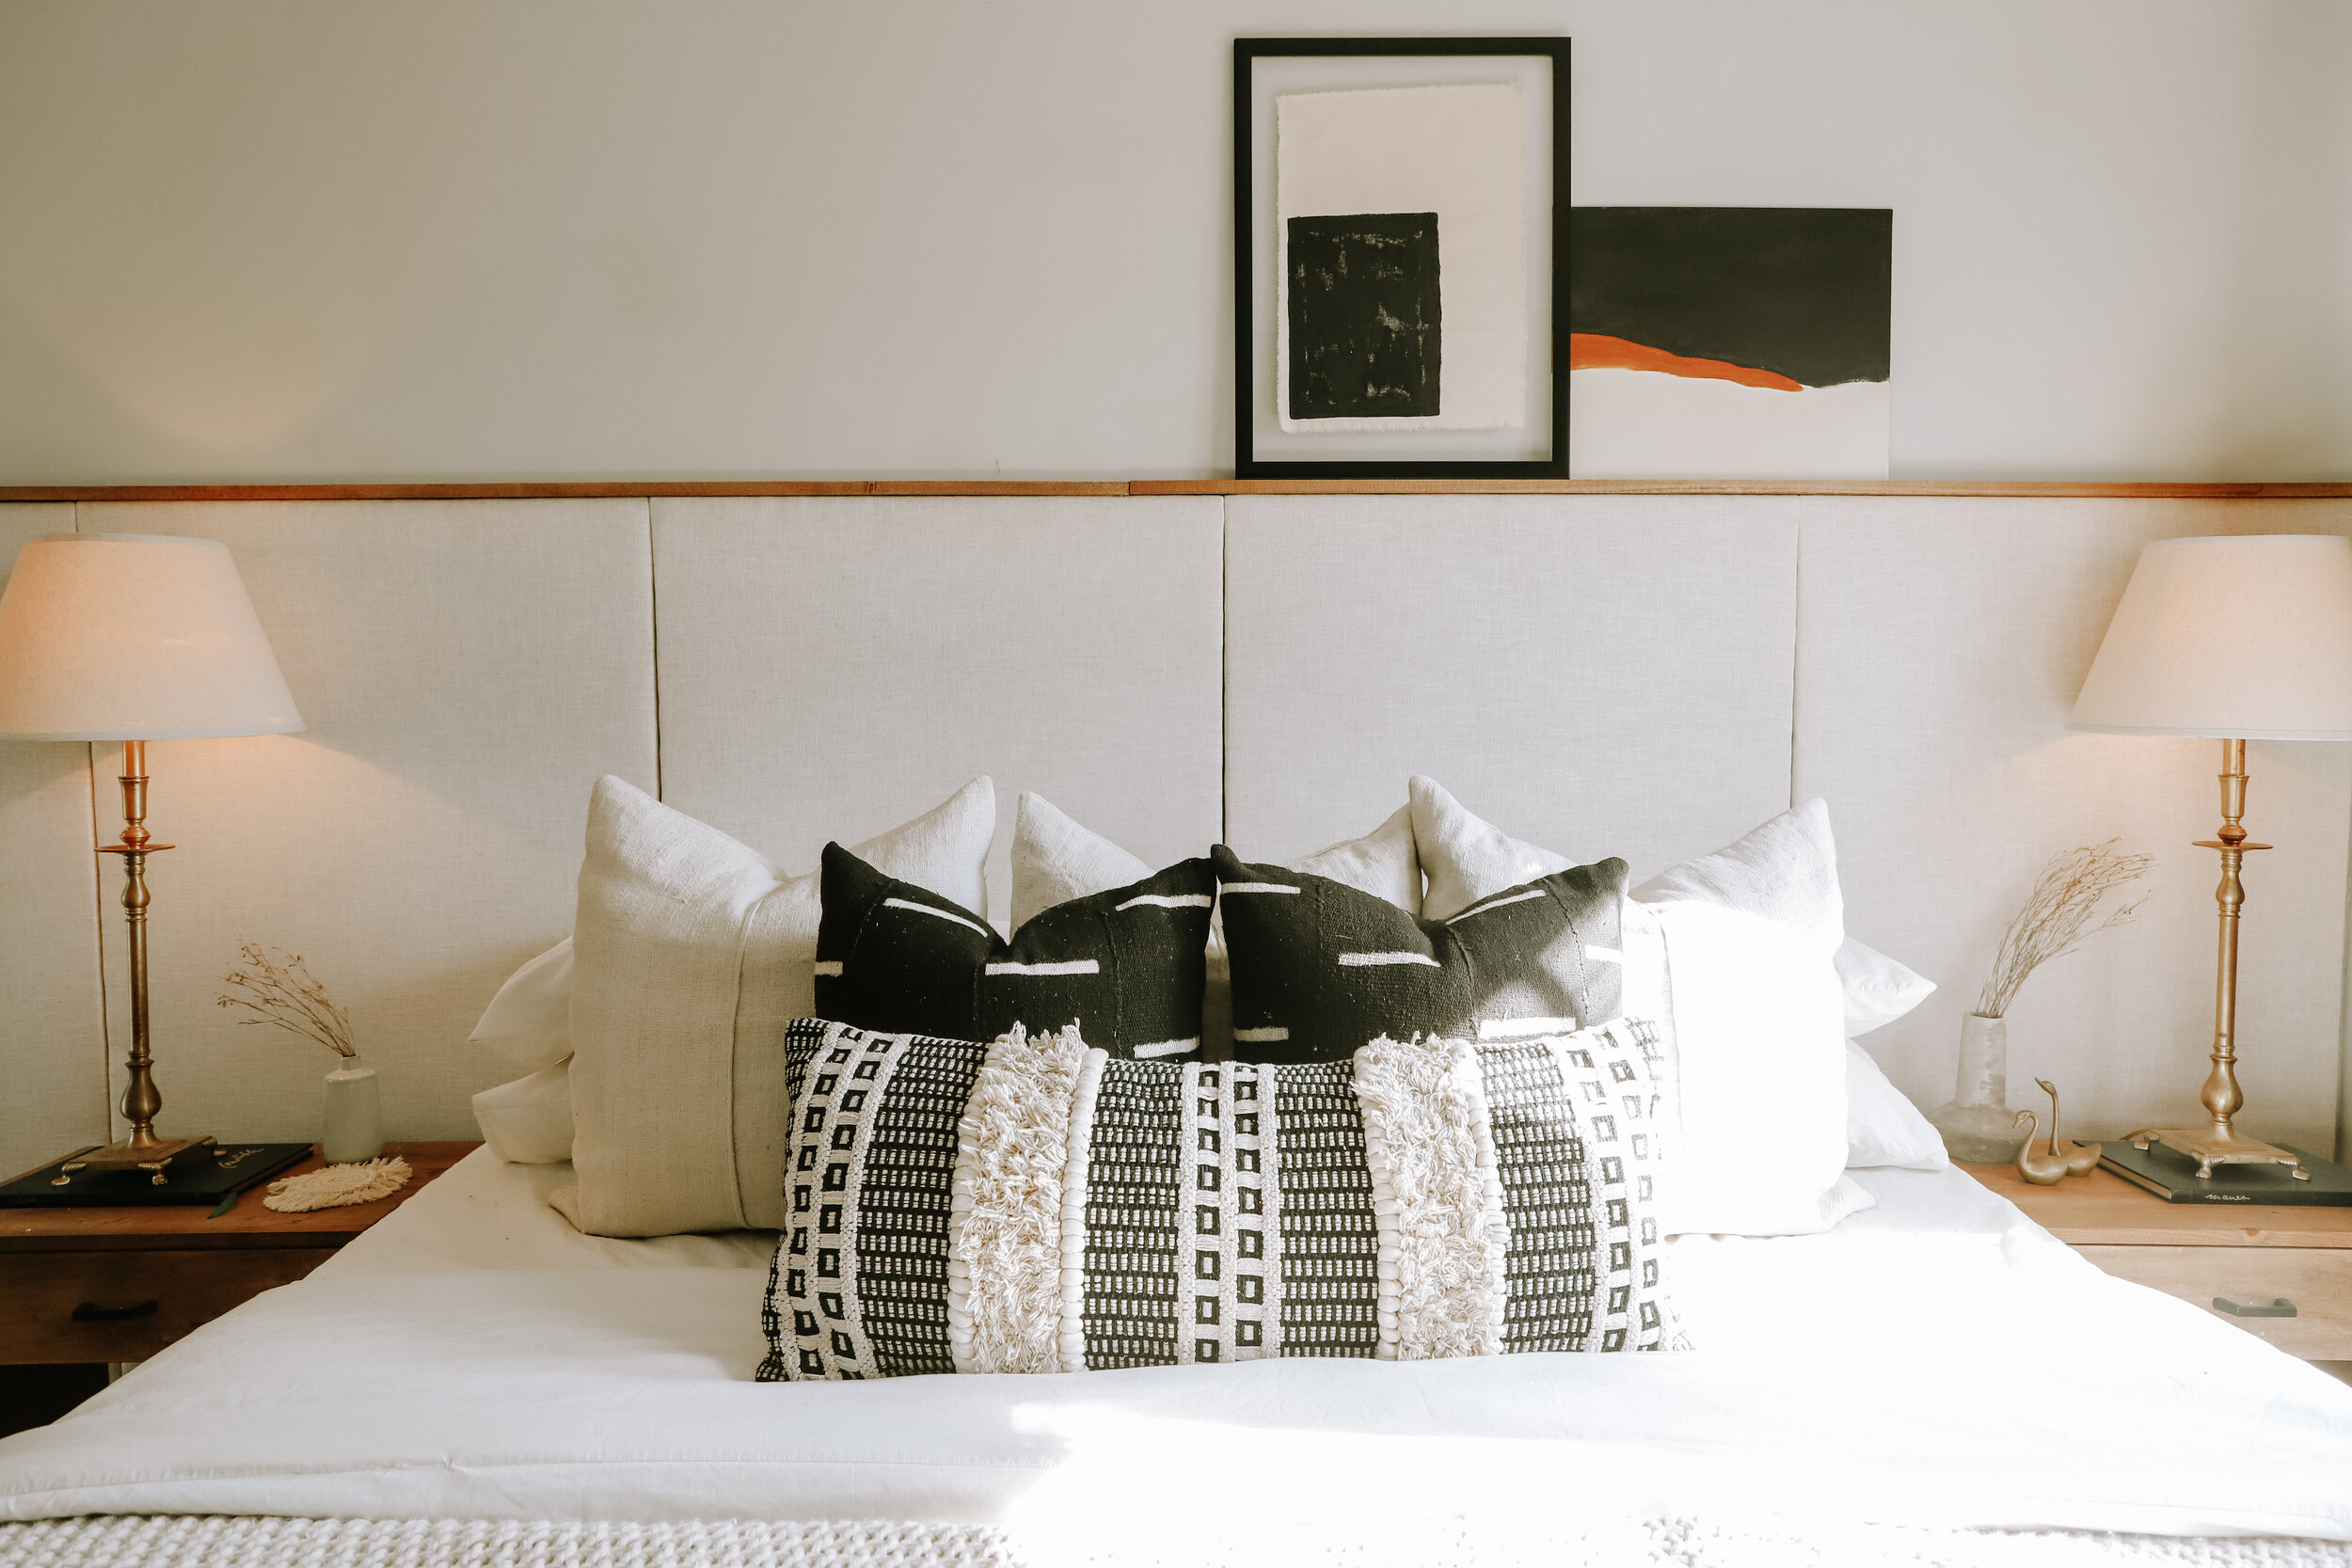
DIY Linen Headboard
A statement DIY project in my most recent makeover was creating a paneled, linen headboard that stretched the entire width of the wall behind our bed. Previously we had a dark grey, grasscloth-inspired wallpaper and although I did like the moody feeling, it made the room feel smaller, darker and wasn’t cohesive with the rest of our home. I love the eye-catching look this DIY Linen headboard gave to the room and it was surprisingly easy to build.


My bedroom has gone through several makeovers in the last few years. It was one of the first big projects I shared on my YouTube channel and I loved how it turned out! BUT as the rest of our home evolved it was feeling less and less cohesive so it was definitely time to give it a major style update (not to mention the wallpaper was refusing to stay on the wall haha).
So if you like this style and DIY it yourself, heres how…

SUPPLIES (1 panel)
(2) 1x2 pieces of wood (I used ten 8ft pieces)
(1 yard) Linen Fabric
(1 yard) Quilting batting
(8) 2” wood screws
(3) 1 1/4” screws (to attach panel to wall)
multiply supplies for how many panels will fit on your wall (I have 5)
SUPPLIES for top-shelf above panels
(2) 1x2x8” pieces of wood
Minwax Wood Stain (I used English Chestnut)
(5) 1 1/4” wood screws
TOOLS
Staple gun (investing in an electric one was so worth it)
Measuring tape
Step 1
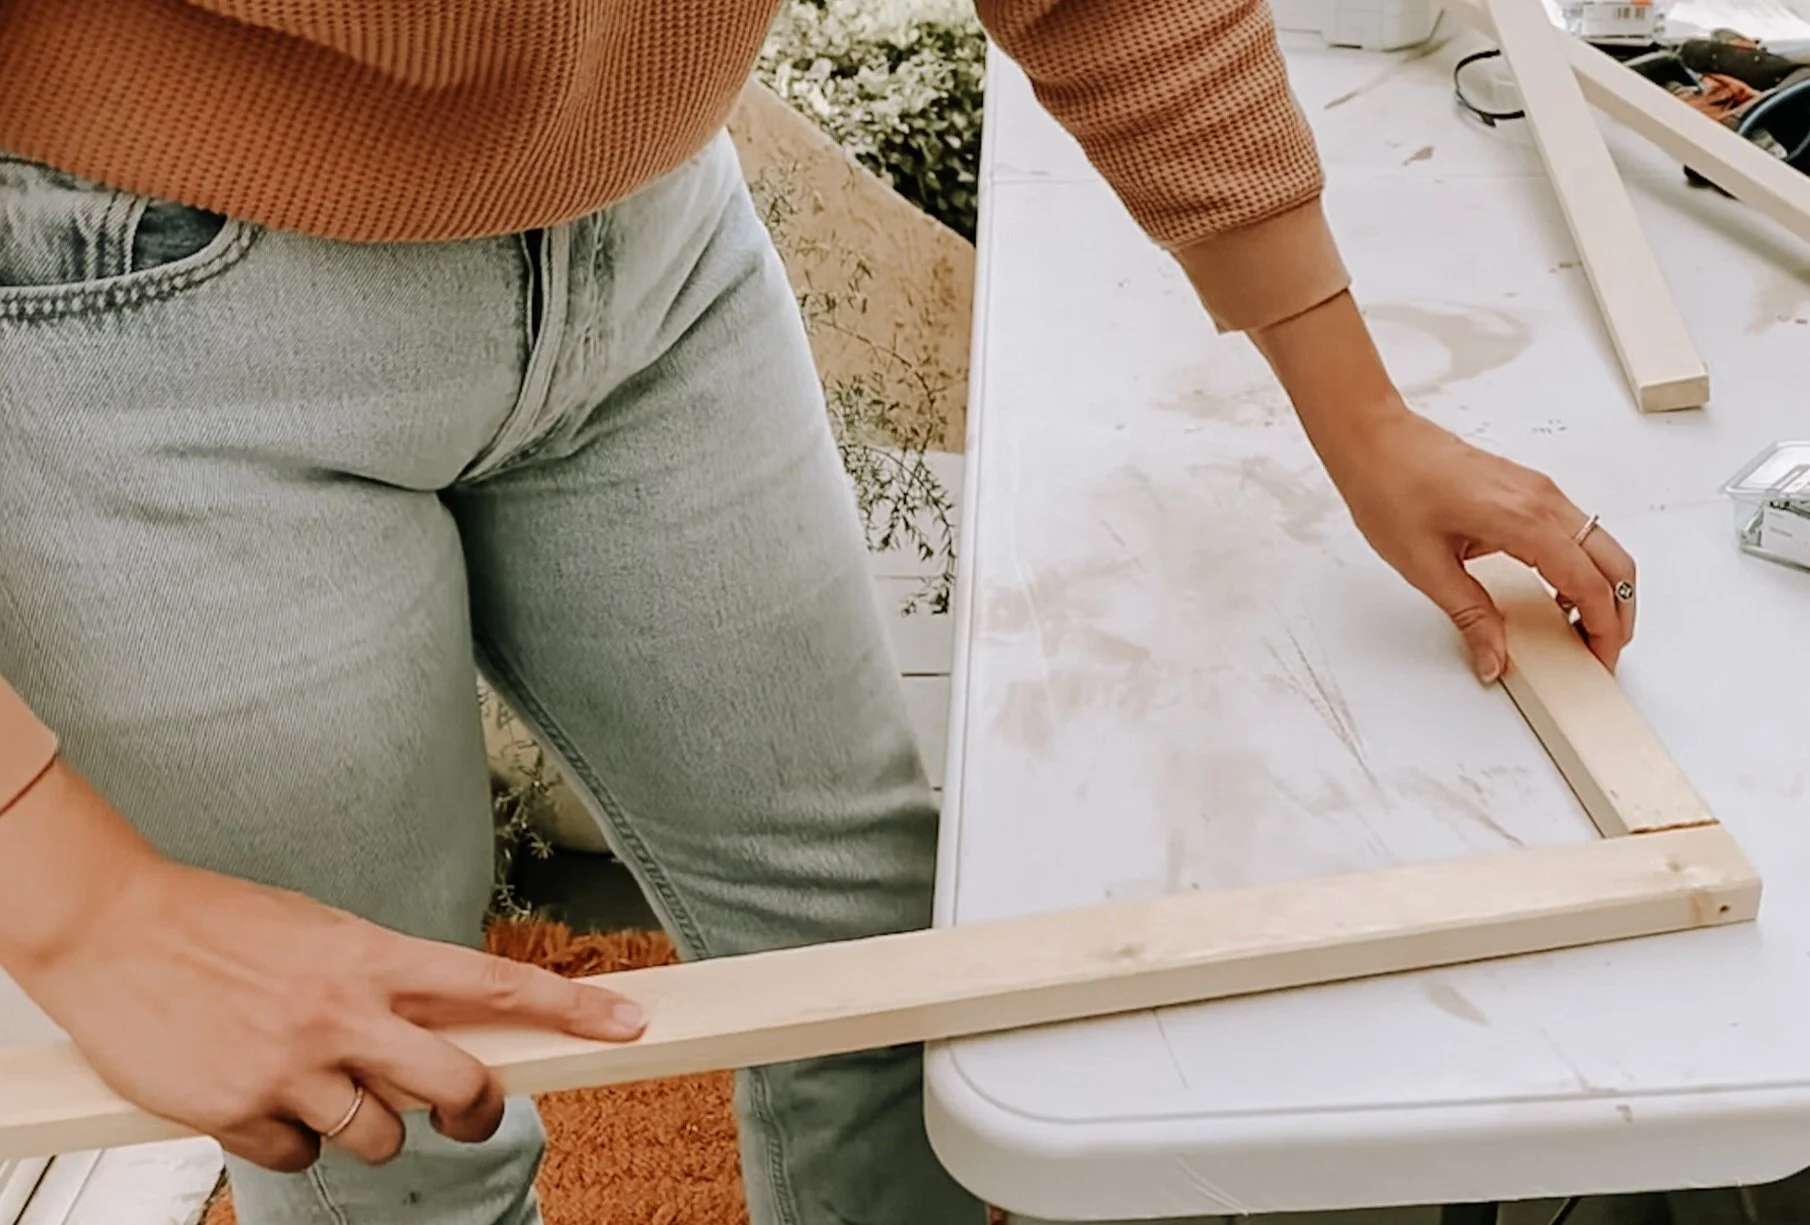
I started by making the wooden frames. Using my circular saw, I cut my wood into 4 pieces. Two of them measuring 33 3/4” and two measuring 51”. The goal is to make a wooden rectangle so to attach the pieces together I drilled two pilot holes in the 33 3/4” pieces and secured them to the 51” pieces using (2) 2” wood screws. There you have it, your frames are done!
Tip: Measure your wall and decide how many panels will work in your space. I decided that 5 panels divided perfectly on my wall. I could have also done 3 longer ones. It is all in your preference and the size of your wall.


Step 2
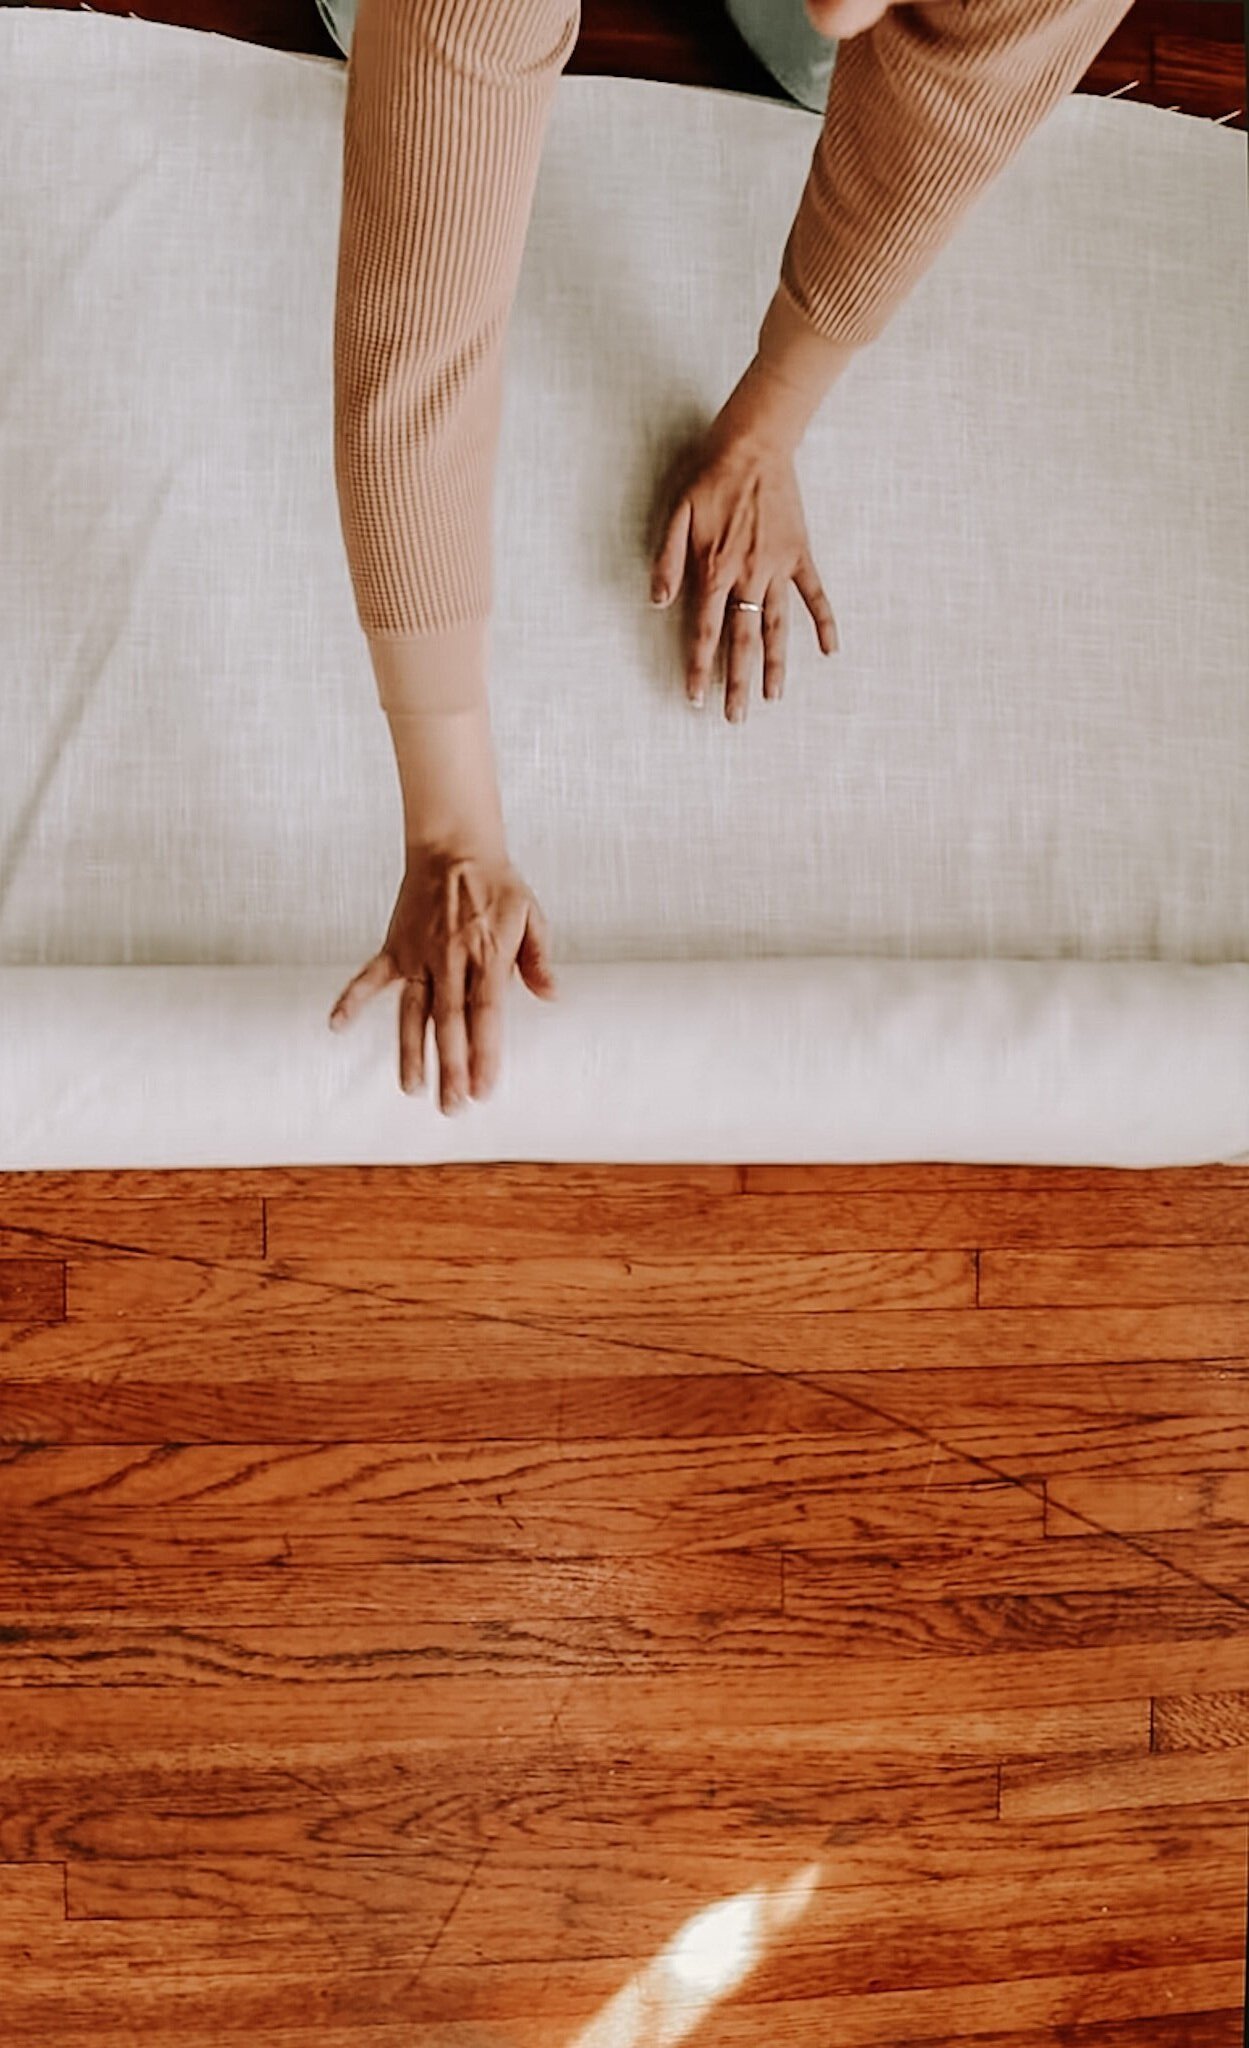
Once I finished all 5 frames for my wall, it was time to add the batting and linen to cover them up!
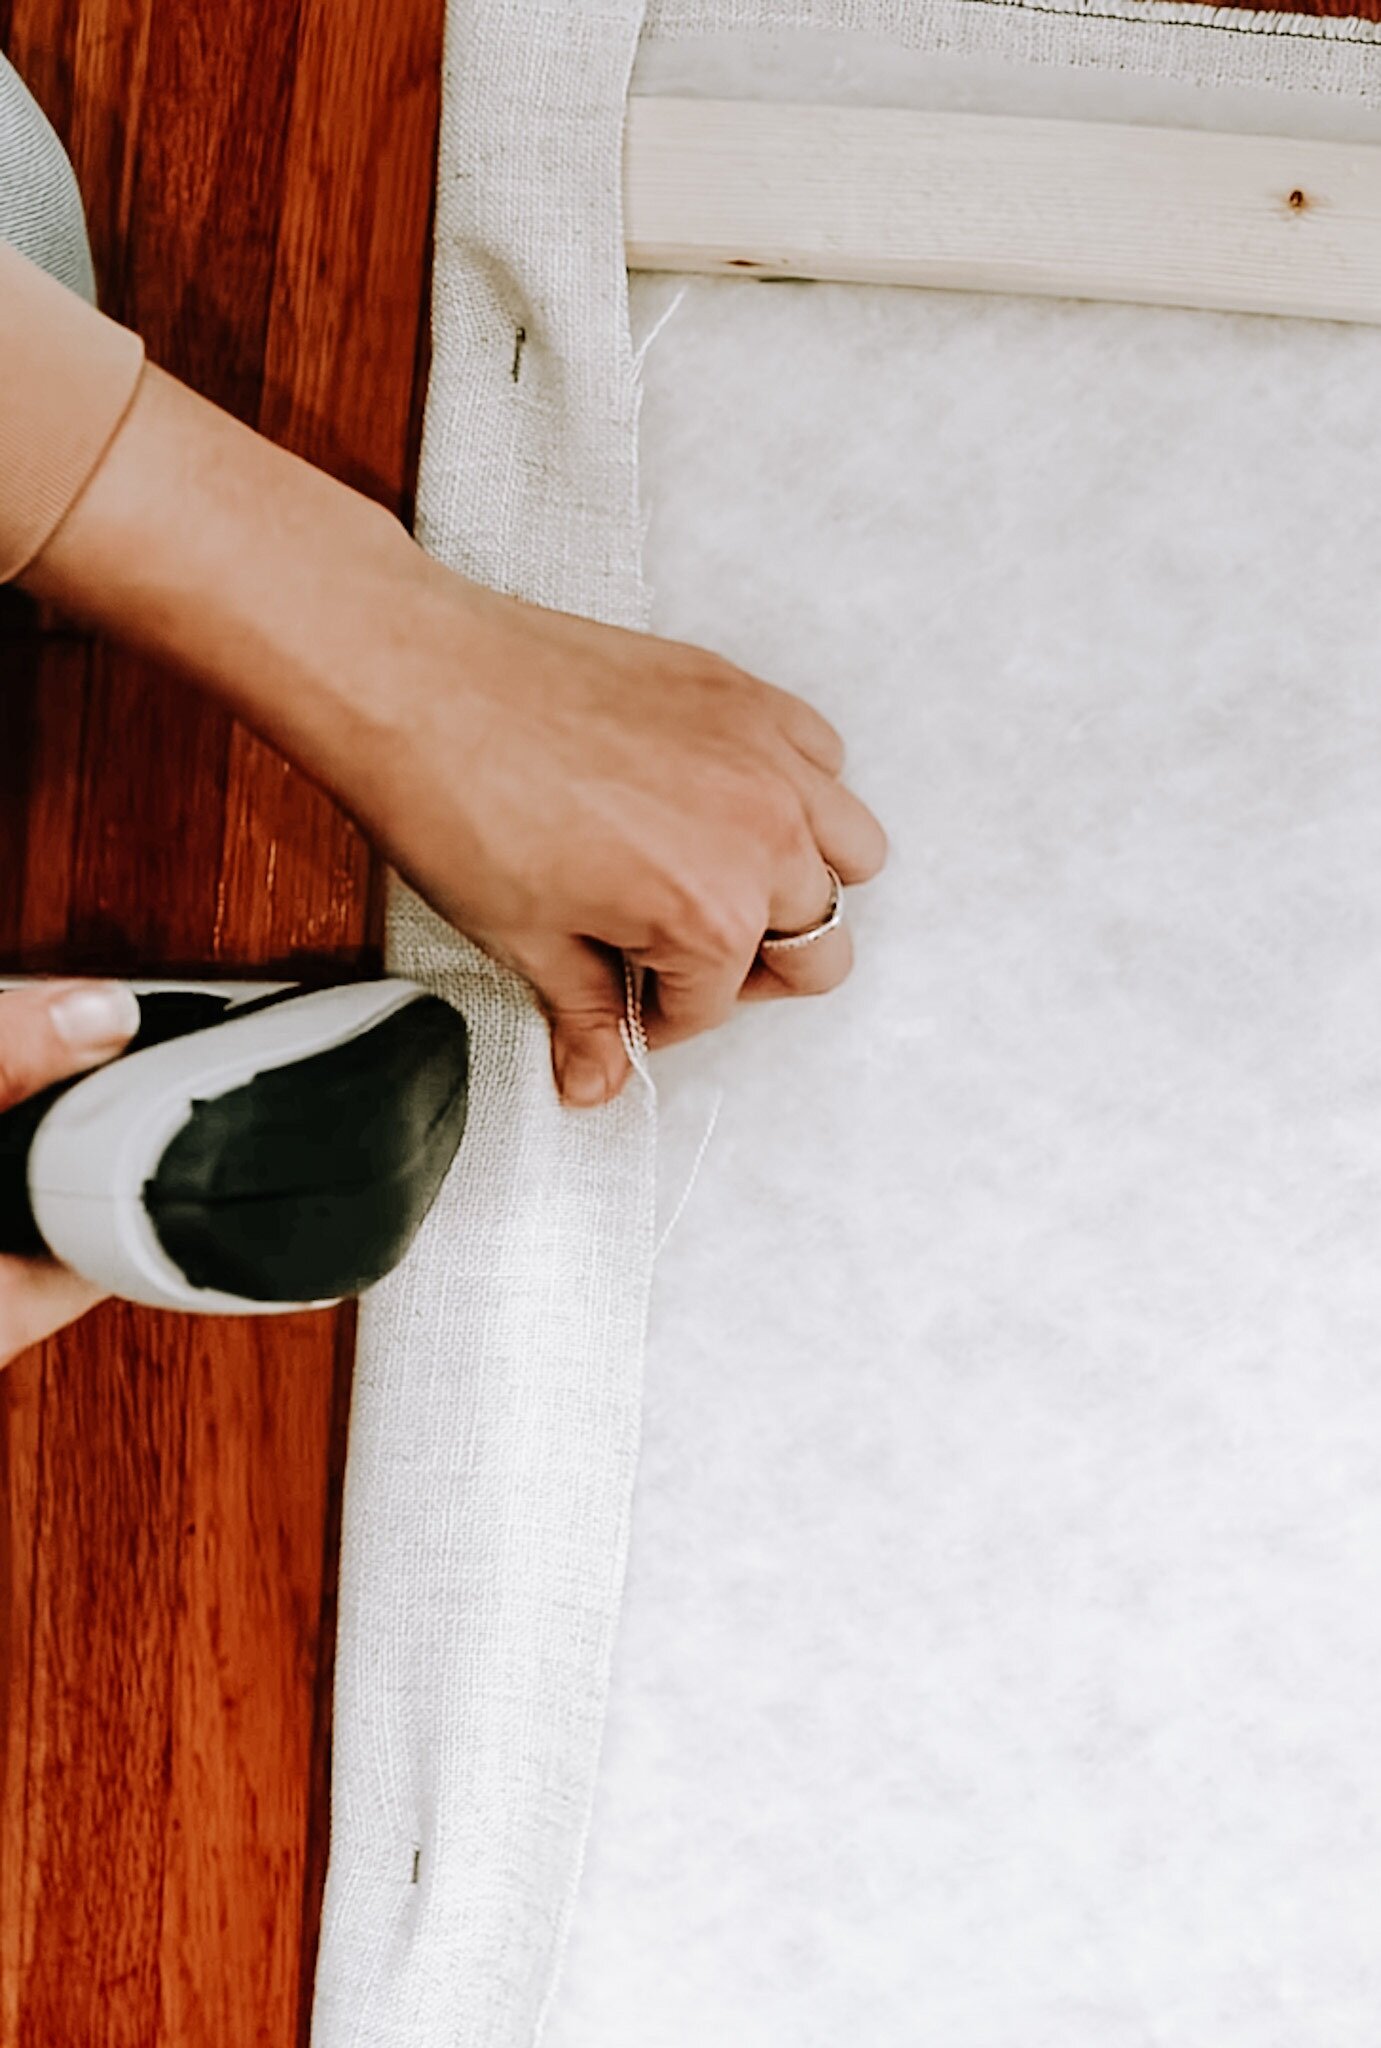
I laid the quilting batting out flat on the ground and placed the first frame right on top. I cut the batting roughly to size and lightly tacked a few sides with my staple gun. You don’t have to secure the batting properly with staples, yet. You’ll get the chance to secure it when you add the linen.
Next, I repeated the same step using our linen fabric. This time, I made sure to stretch the linen taught and secure the fabric to the wood with my staple gun. I put every 1”. Then VOILA! Your panel is done.
Tip: Layer the batting as much as you need! I decided to use extra on the two frames directly behind the bed so it offers extra support when we want to lean back.


Tip: If you have any plugs that need to be exposed you can easily create an opening for it by adding an additional small frame with wood screws. Cut the batting and linen then staple it around the frame as shown.
Step 3
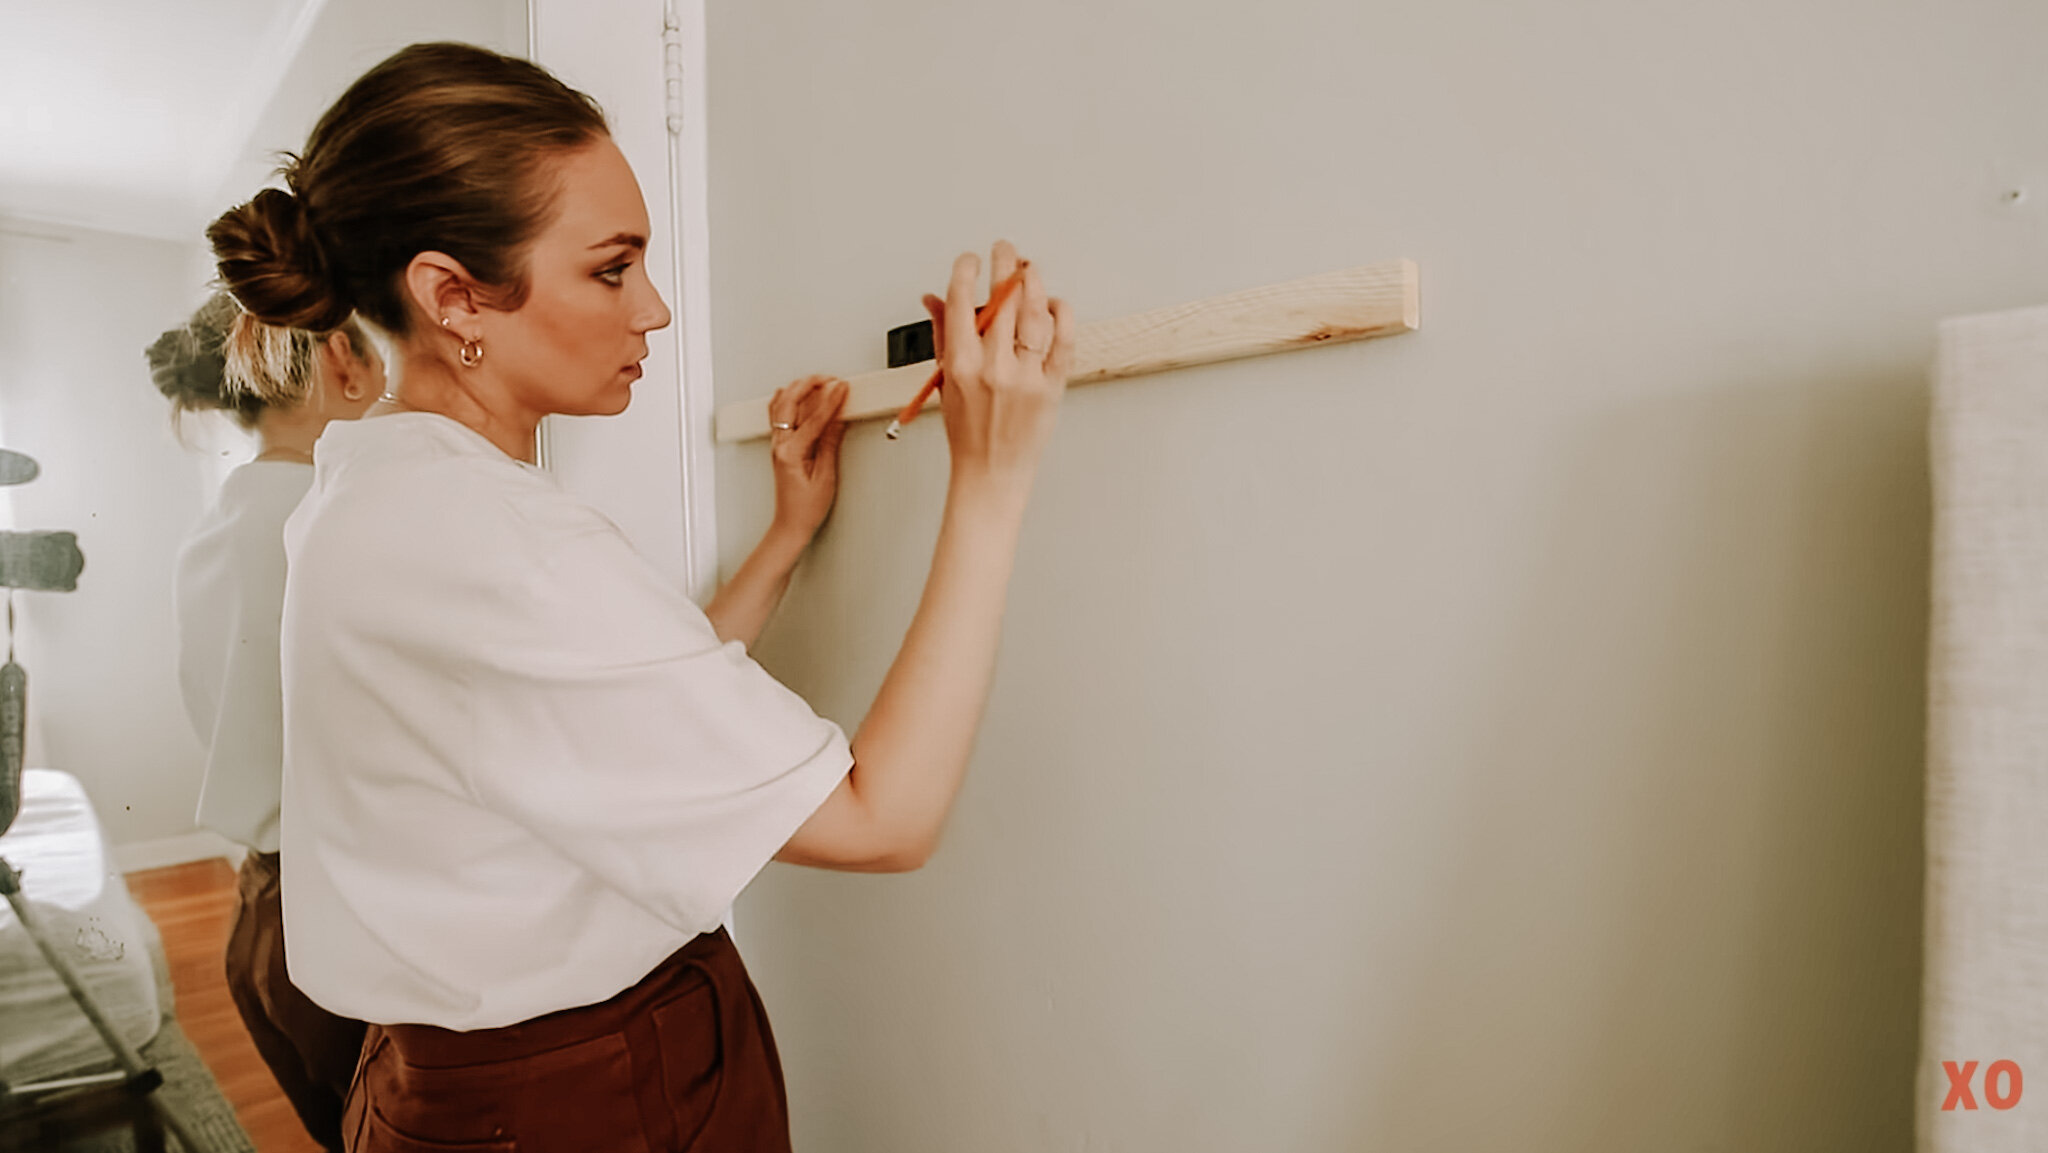
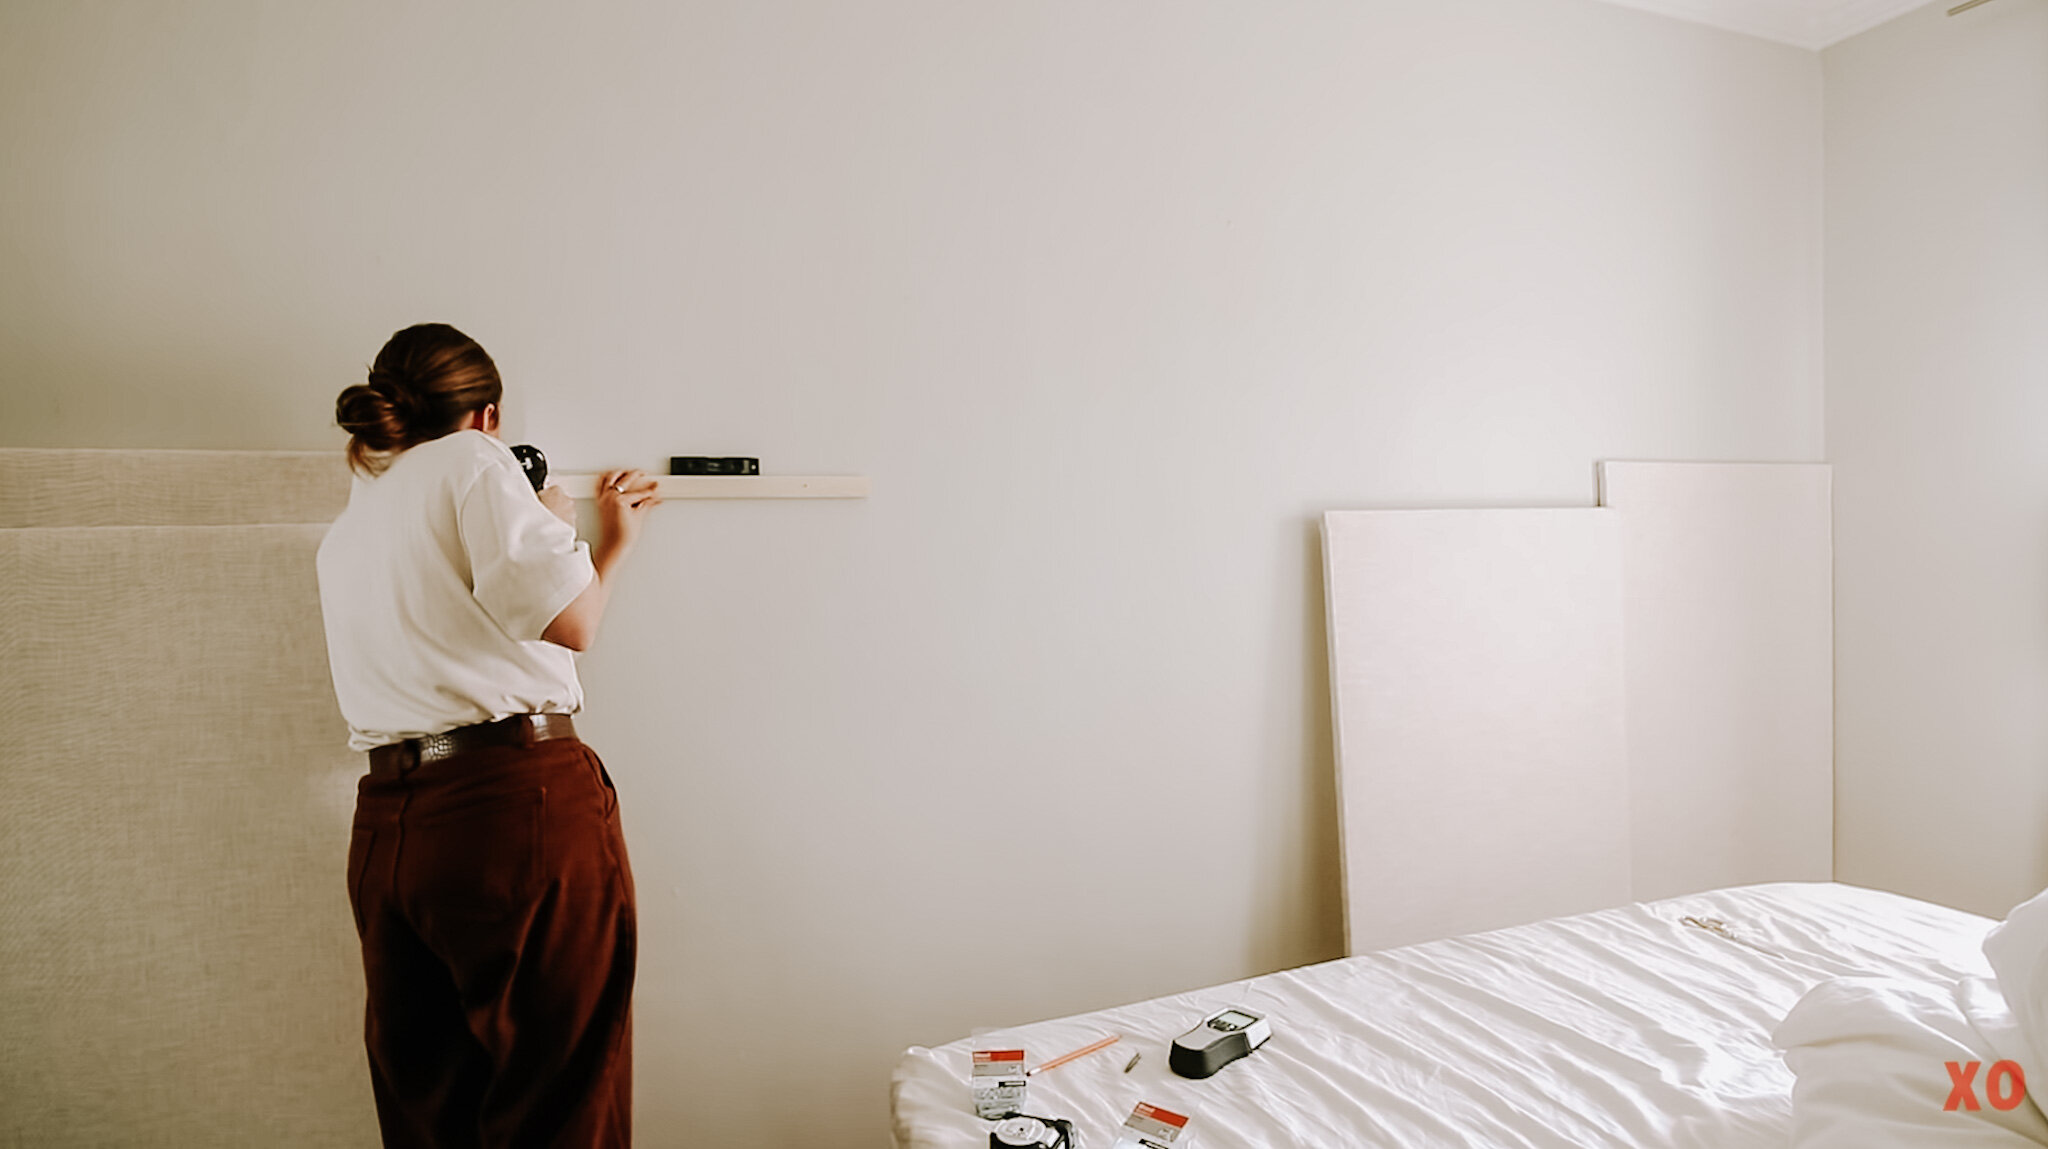
Now, we are ready to hang our panels! I placed the panel exactly where I wanted it on my wall and marked the top. From the mark, I measured 1 1/2” down and 1 1/2” from the sidewall. This gave me the placement for the 30” wood brace to which the panels will be attached. Using three 1 1/4” screws I secured the brace to the wall.
Then, placed the linen panel on top of the brace and attached it by drilling two 1 1/4” wood screws DOWN through the panel into the brace so all the screws are hidden!
I repeated this step down the entire length of the wall with the remaining 4 panels!

Step 4
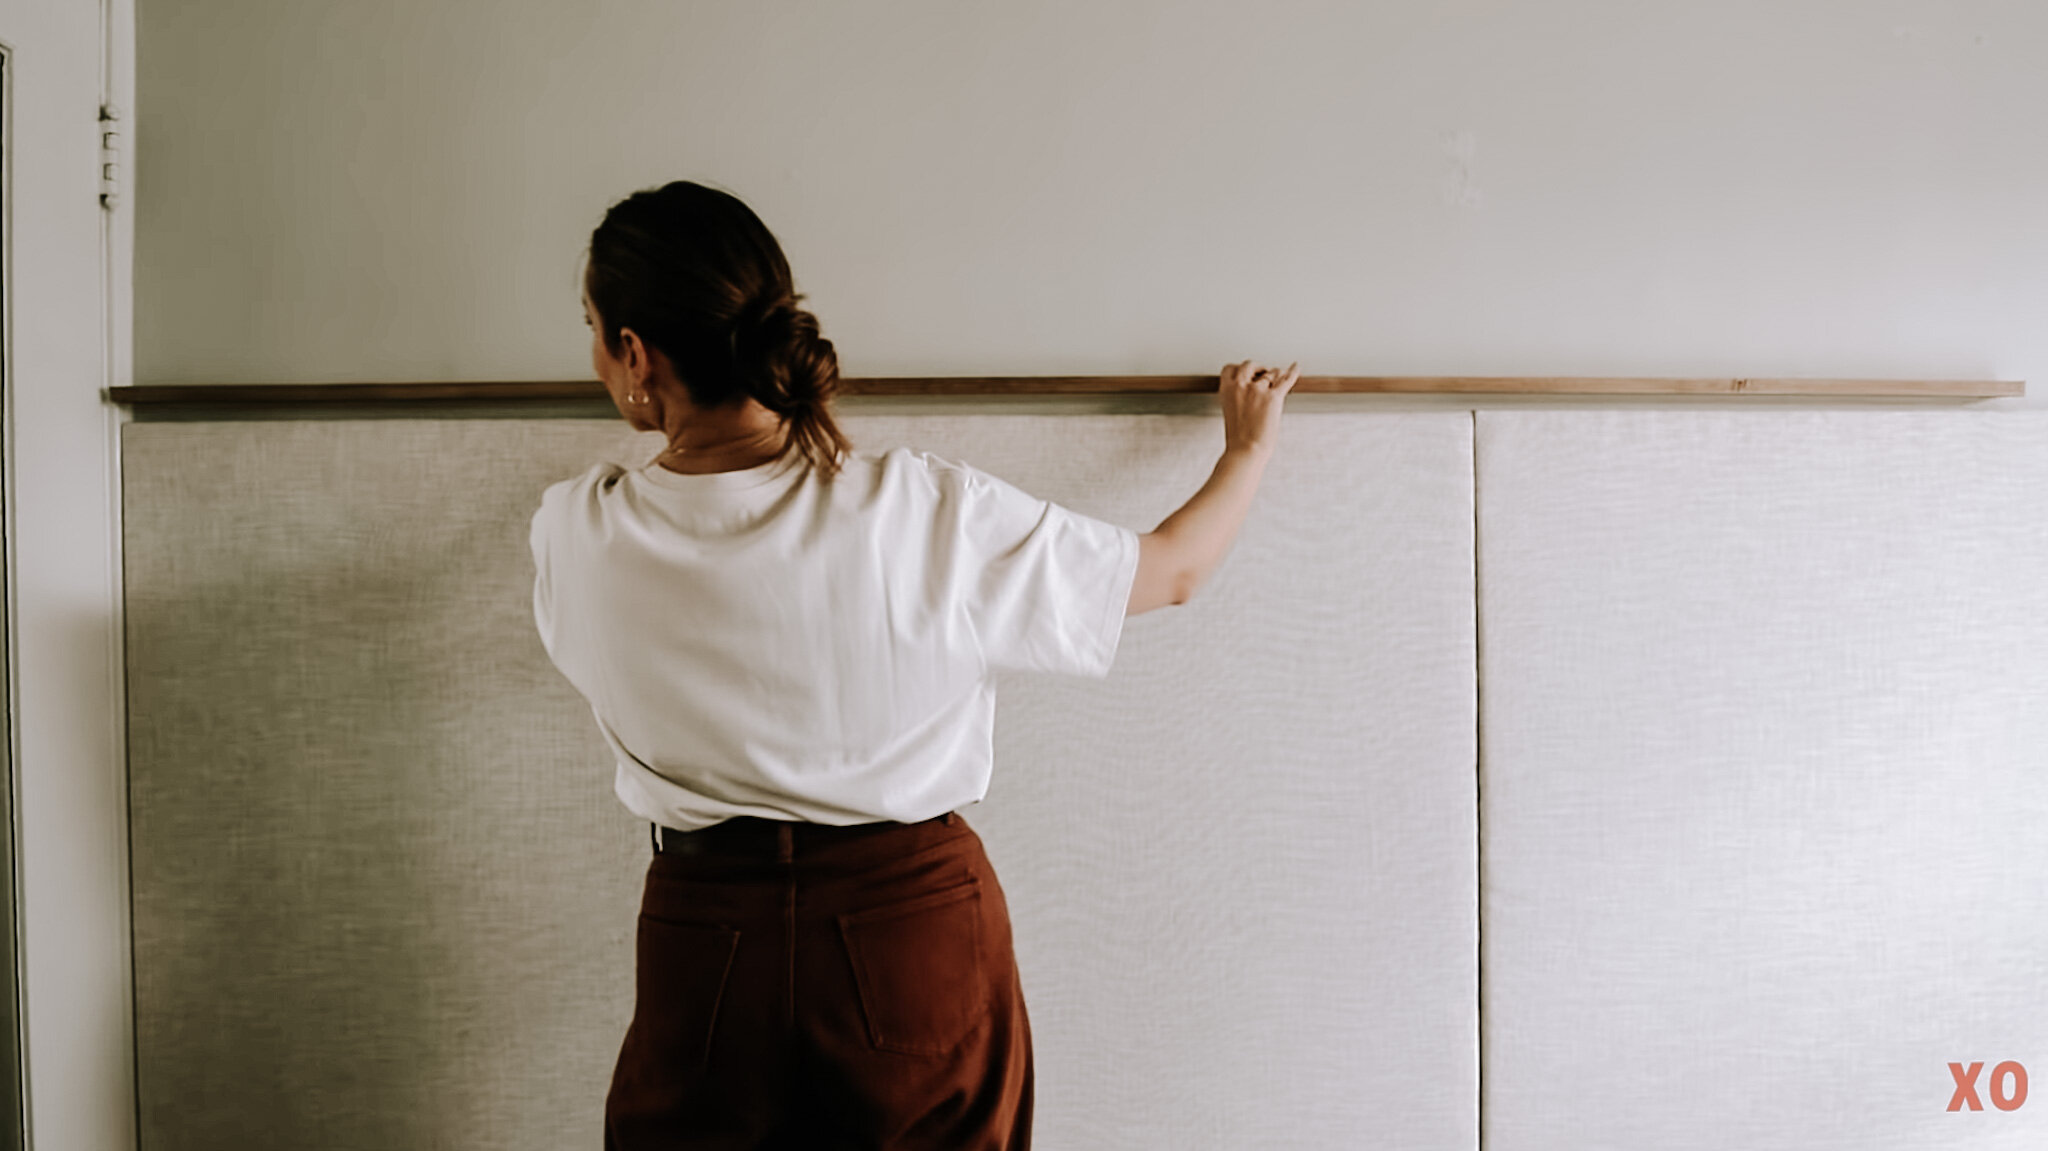
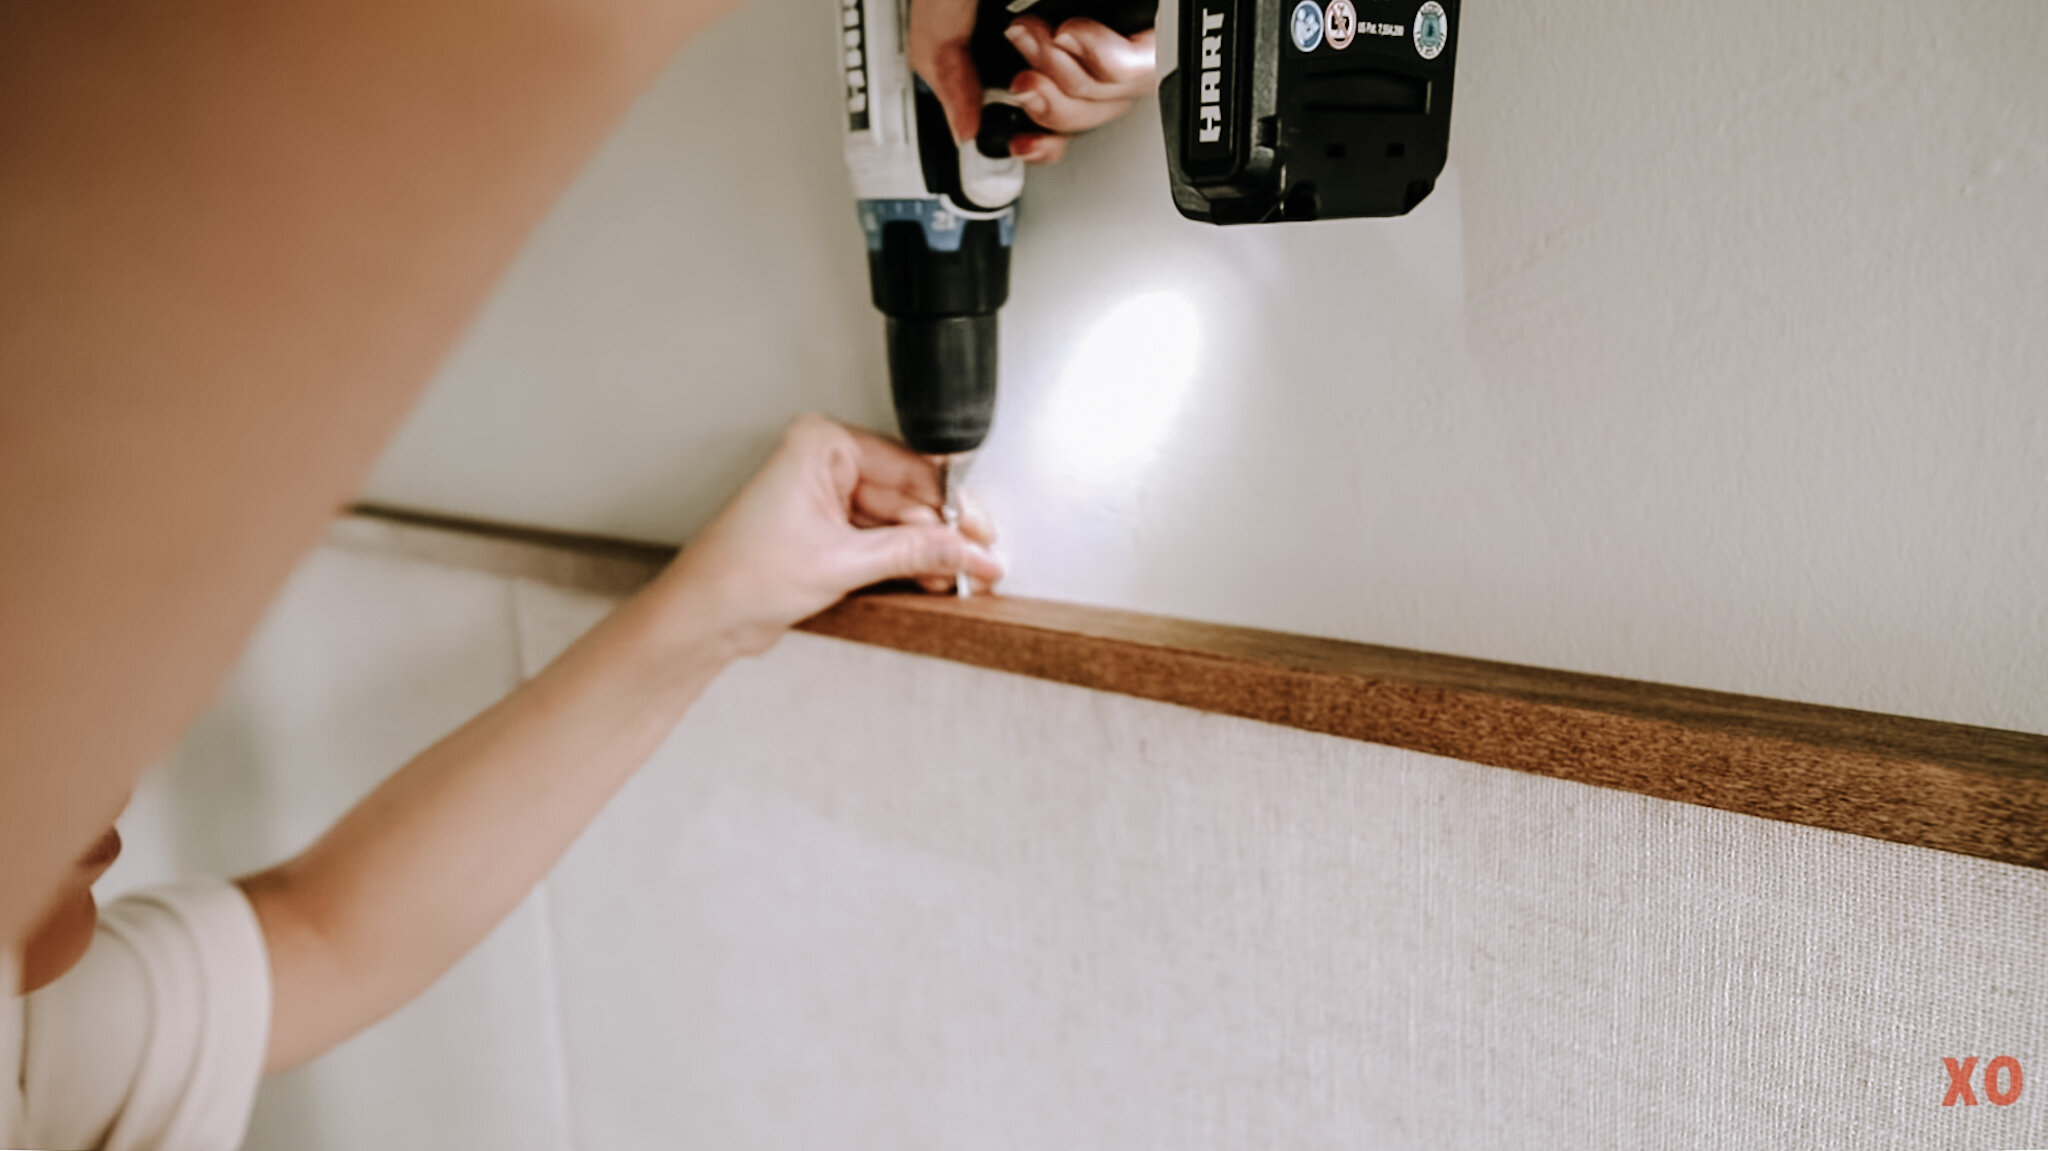
I wanted to add a piece of wood on top to make the headboard look more polished. I used two 85” pieces of wood that will run the entire length of the wall. Then, I stained the pieces with my favorite wood tone, English chestnut. I drilled 1 1/4” screws DOWN into the panel to secure them.
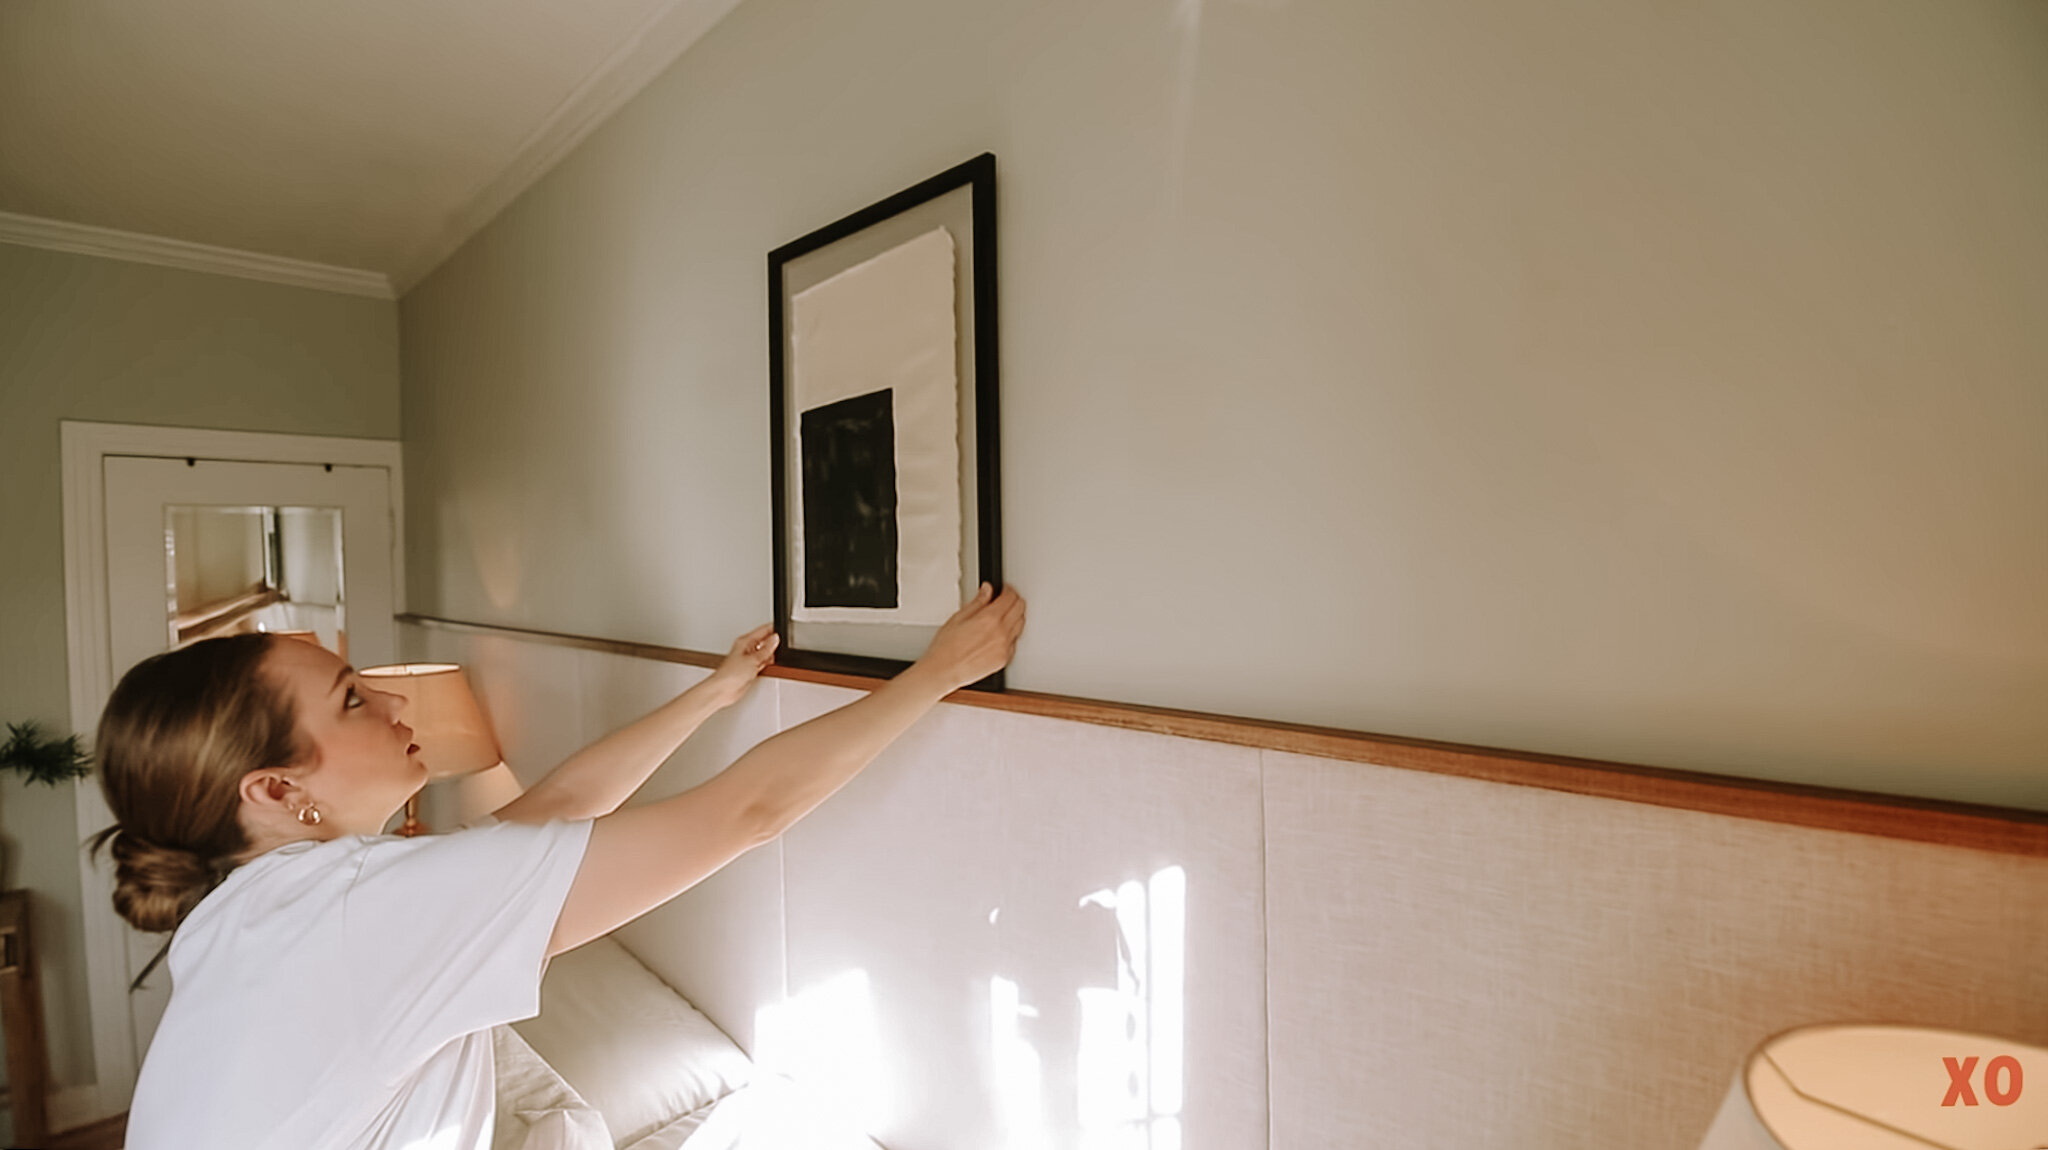
So, there you have it! I absolutely love how it turned out! I added a couple of pieces of art (also DIY’s!) on the ledge and secured them with earthquake tape (cause you know, California! haha). I also updated the side tables by adding some drawers and decorated the top with gorgeous thrifted lamps and vintage books. You can also watch me DIY this headboard and makeover our bedroom in the YouTube video below!