Vintage Breakfast Nook Makeover
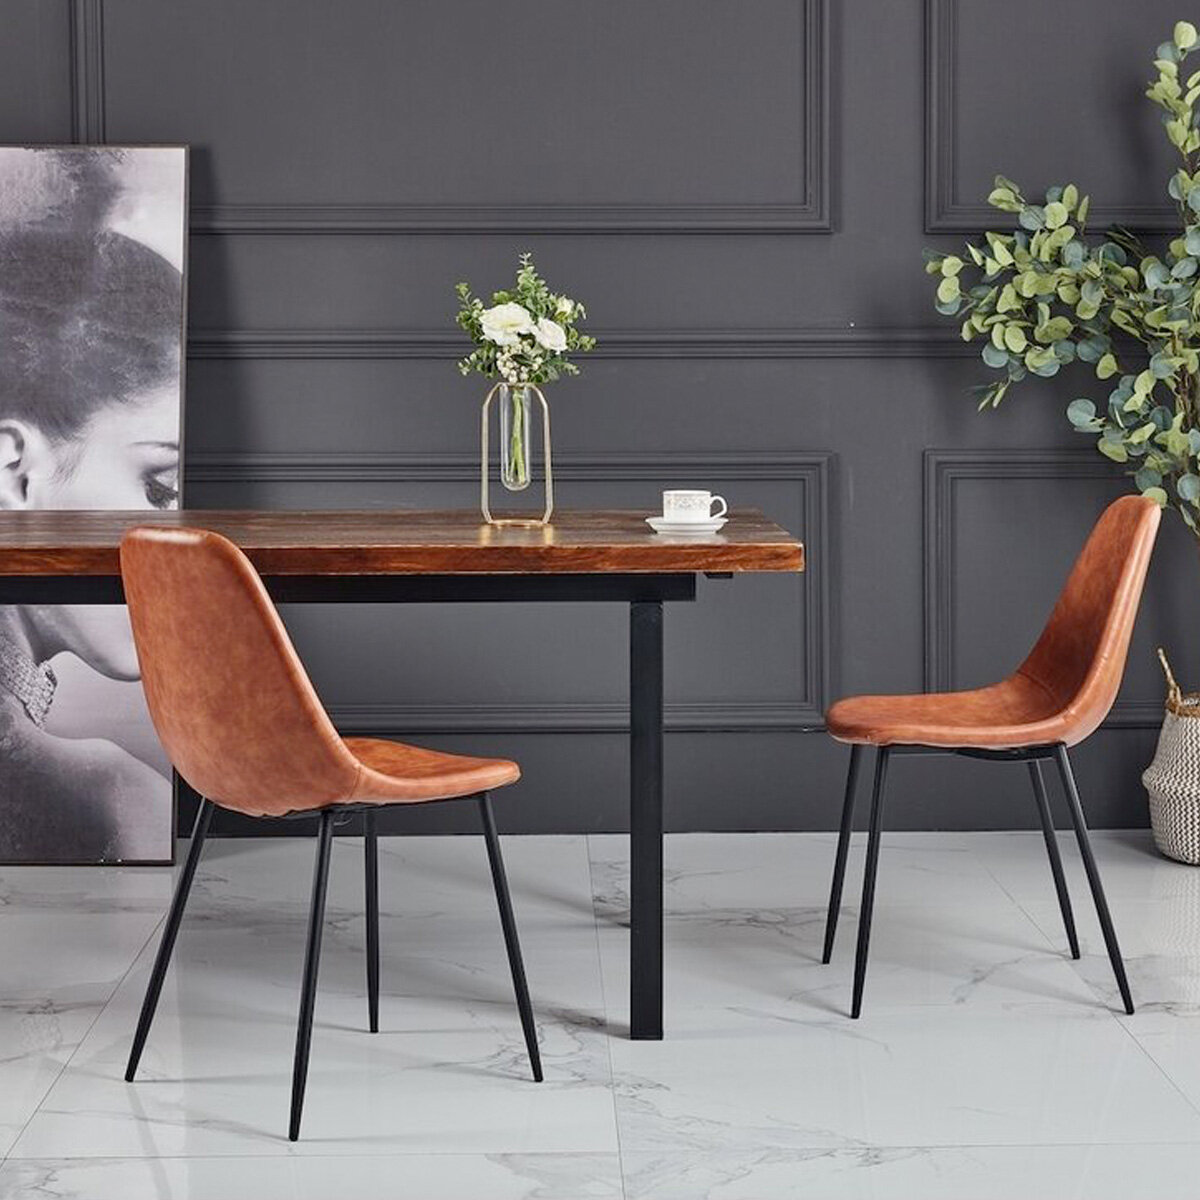
For the first makeover blog post I wanted to highlight my favorite room makeover - our breakfast nook! Although we don’t have a dining room in our rental, we do have this small space at the back of our galley style kitchen. Since we also don’t have a pantry, I wanted this space to serve several functions and have a ton of character. My goal with this space was to incorporate rich warm tones to create a calming feel paired with vintage and handmade elements throughout.


Picking the PAINT color
I like to wait until I’m pretty far into the design process when I pick a paint color for the walls. Although I did know early on I didn’t want this room to be white, but rather a light soothing tan.
First, I gathered some of the elements I would be using in the space — art, vintage frames and wood tone. Then I purchased a few sample size paints from the hardware store to test out in the space. I always have a tendency to select paint colors with too much pink undertone so I have to be mindful of that and pick wisely.
It’s so important to see paint colors in the room at all times of the day - morning, night and with the lights on. Paint colors can change right before your eyes sometimes so I don’t rely on how it looks on the color card or inside the hardware store — I bring home a sample and paint it directly on the wall.
…I did all that and still painted the room the wrong color hahah (too pink).
I repainted the room in Natural Tan SW 7567 by Sherwin Williams and absolutely LOVE this color. It has the perfect balance of undertone hues — not too green, not too pink, not too yellow.
Creating a
CUSTOM GALLERY WALL
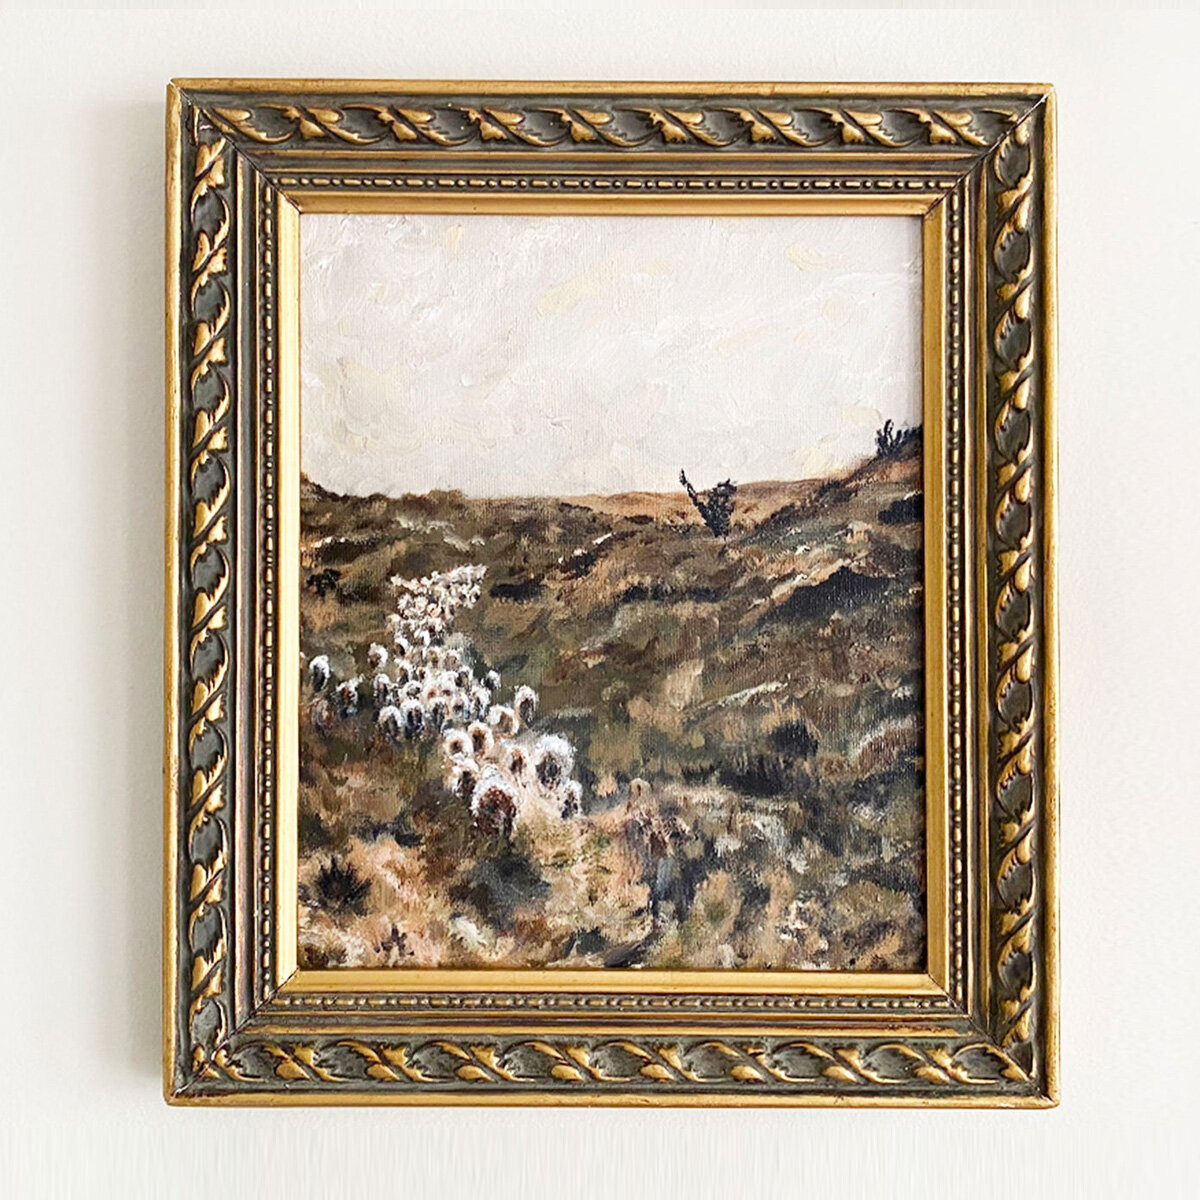
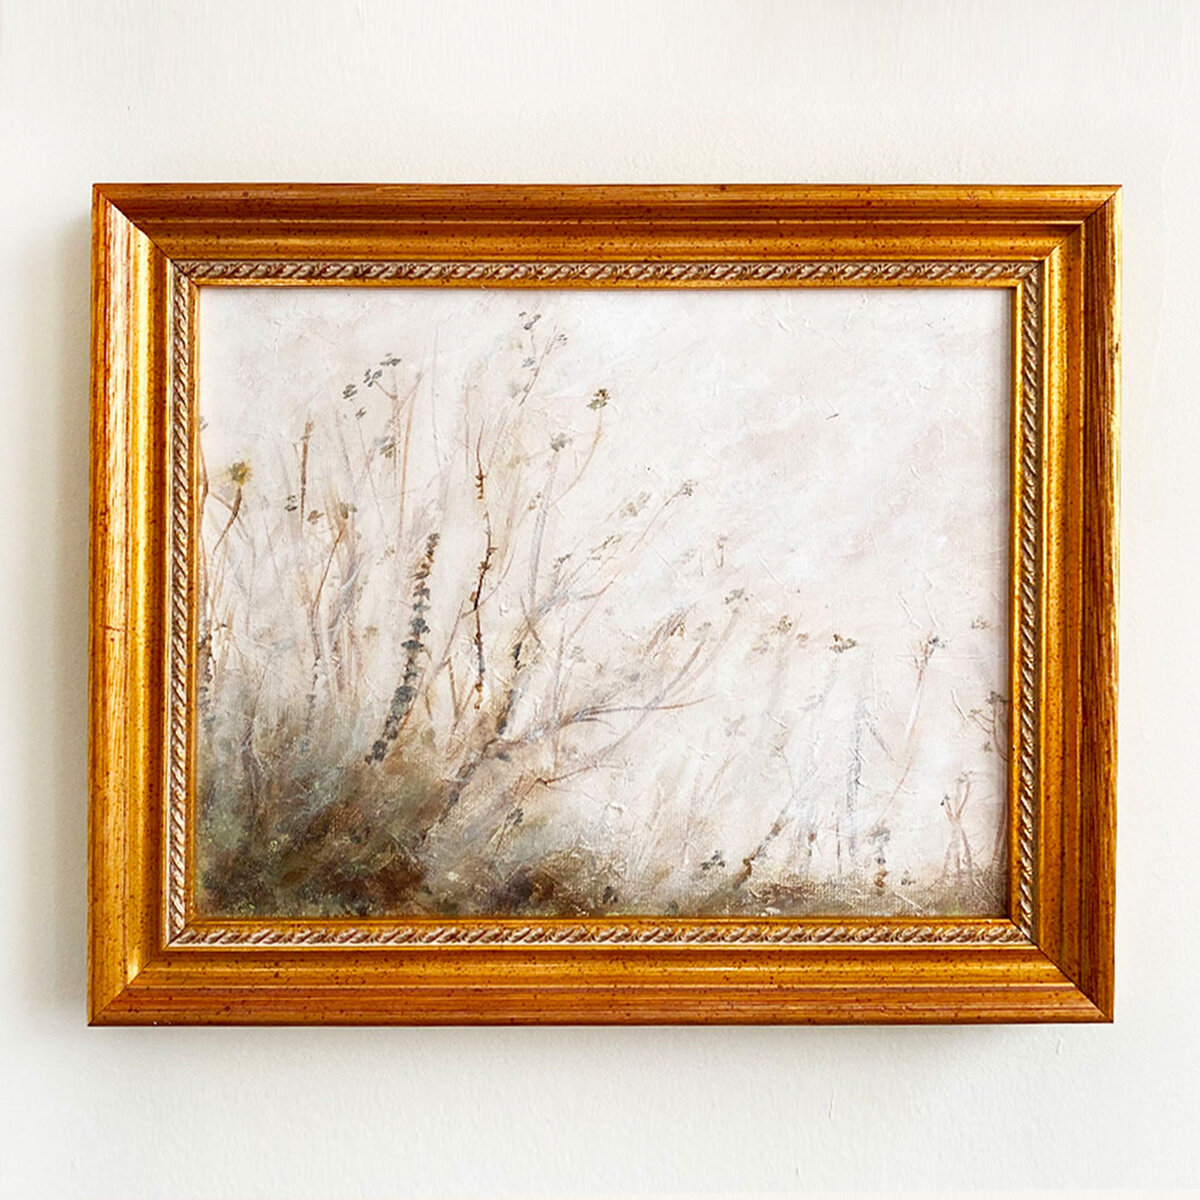
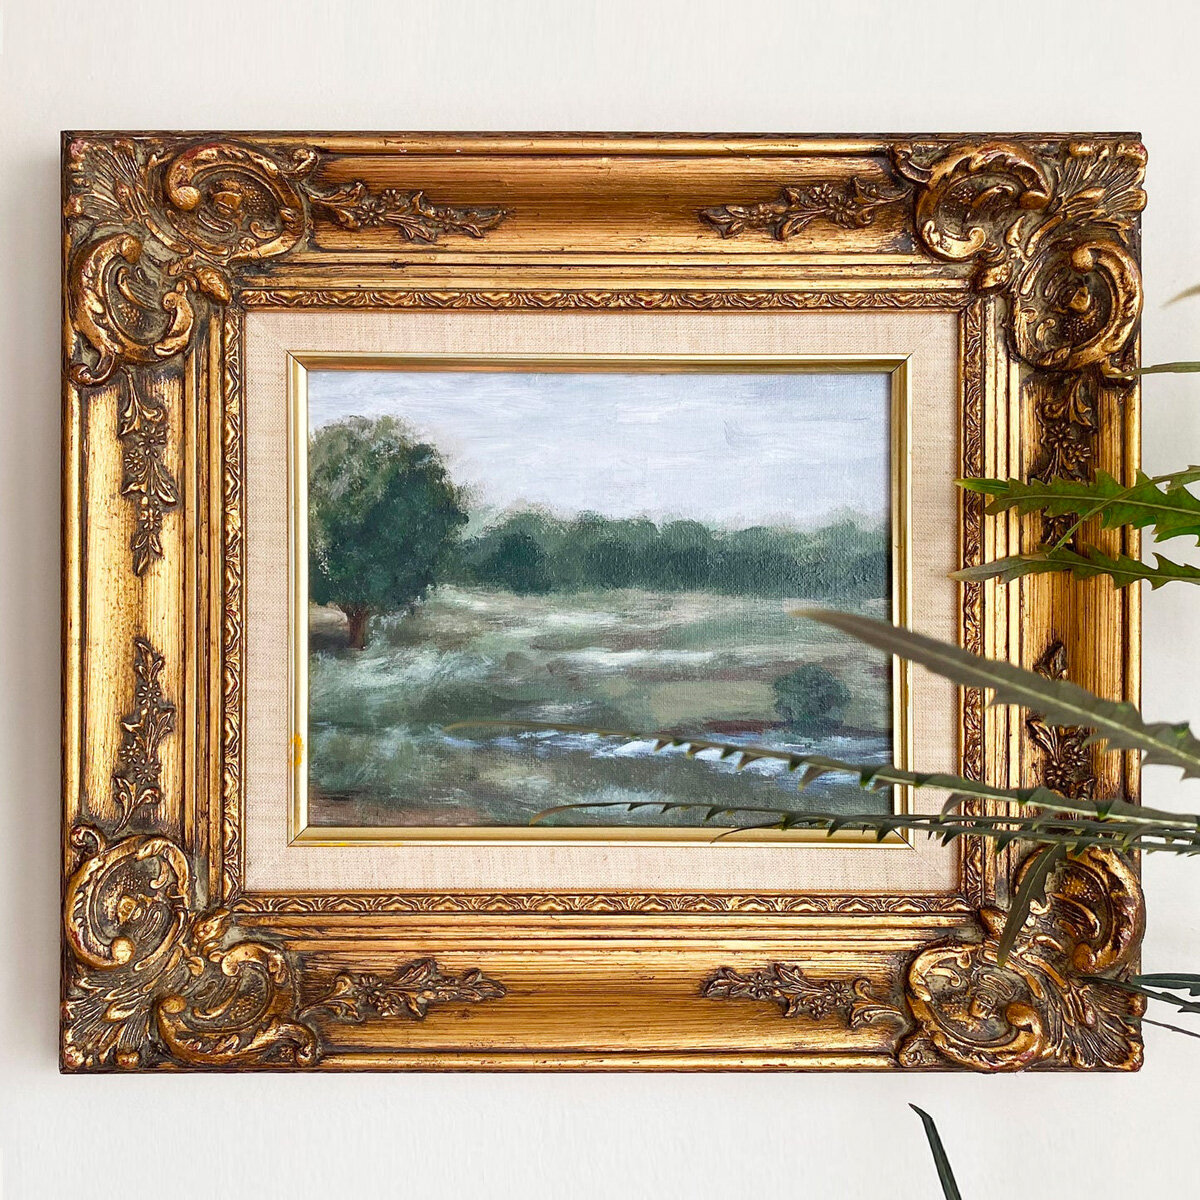
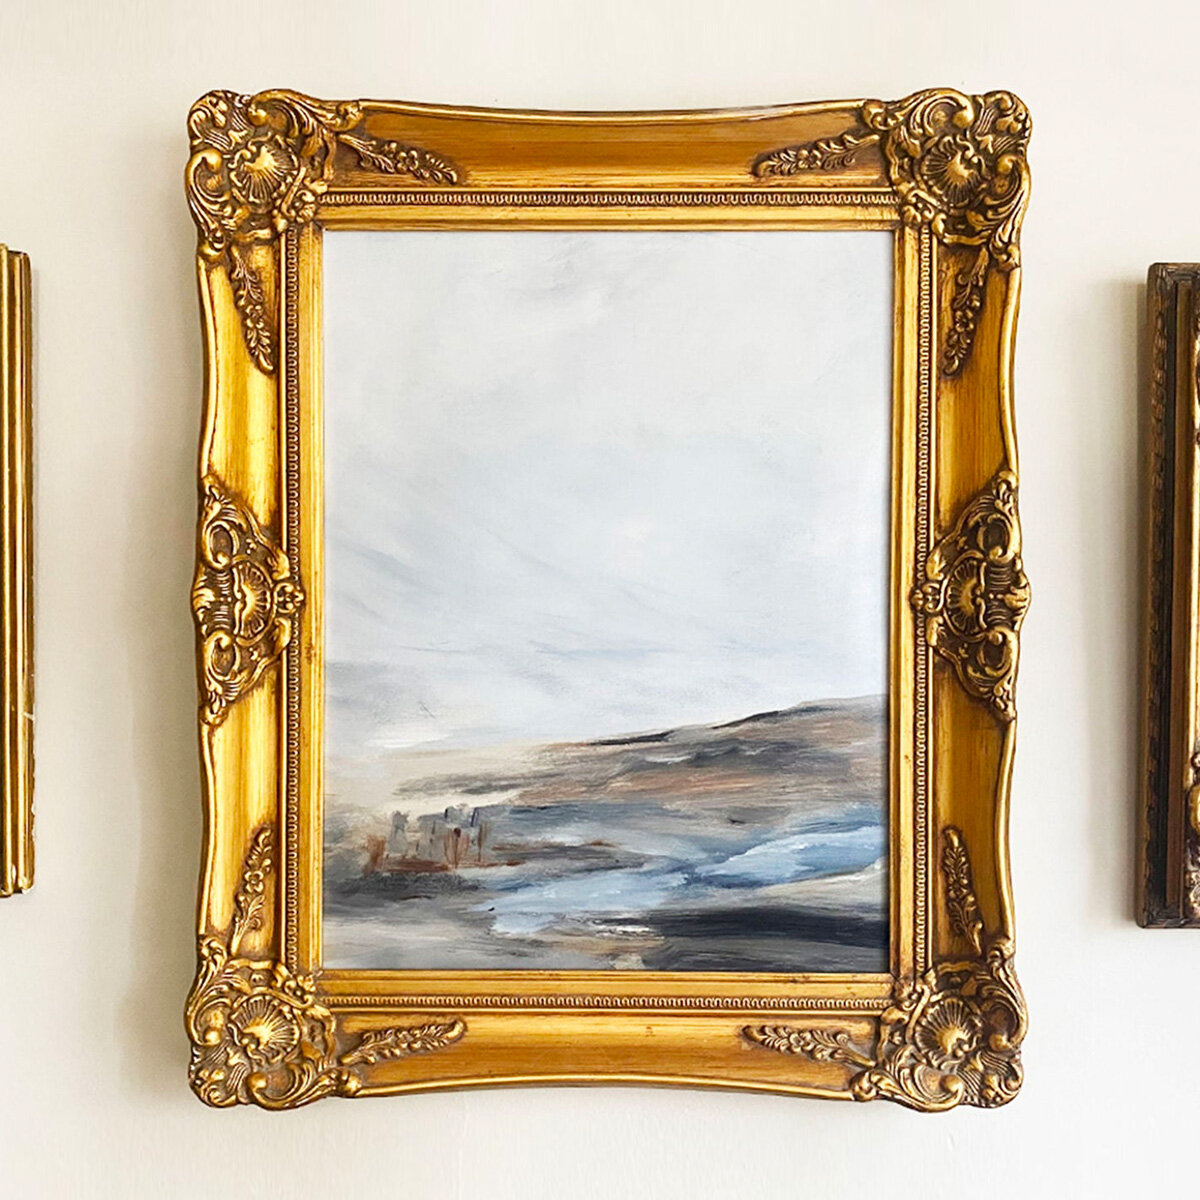
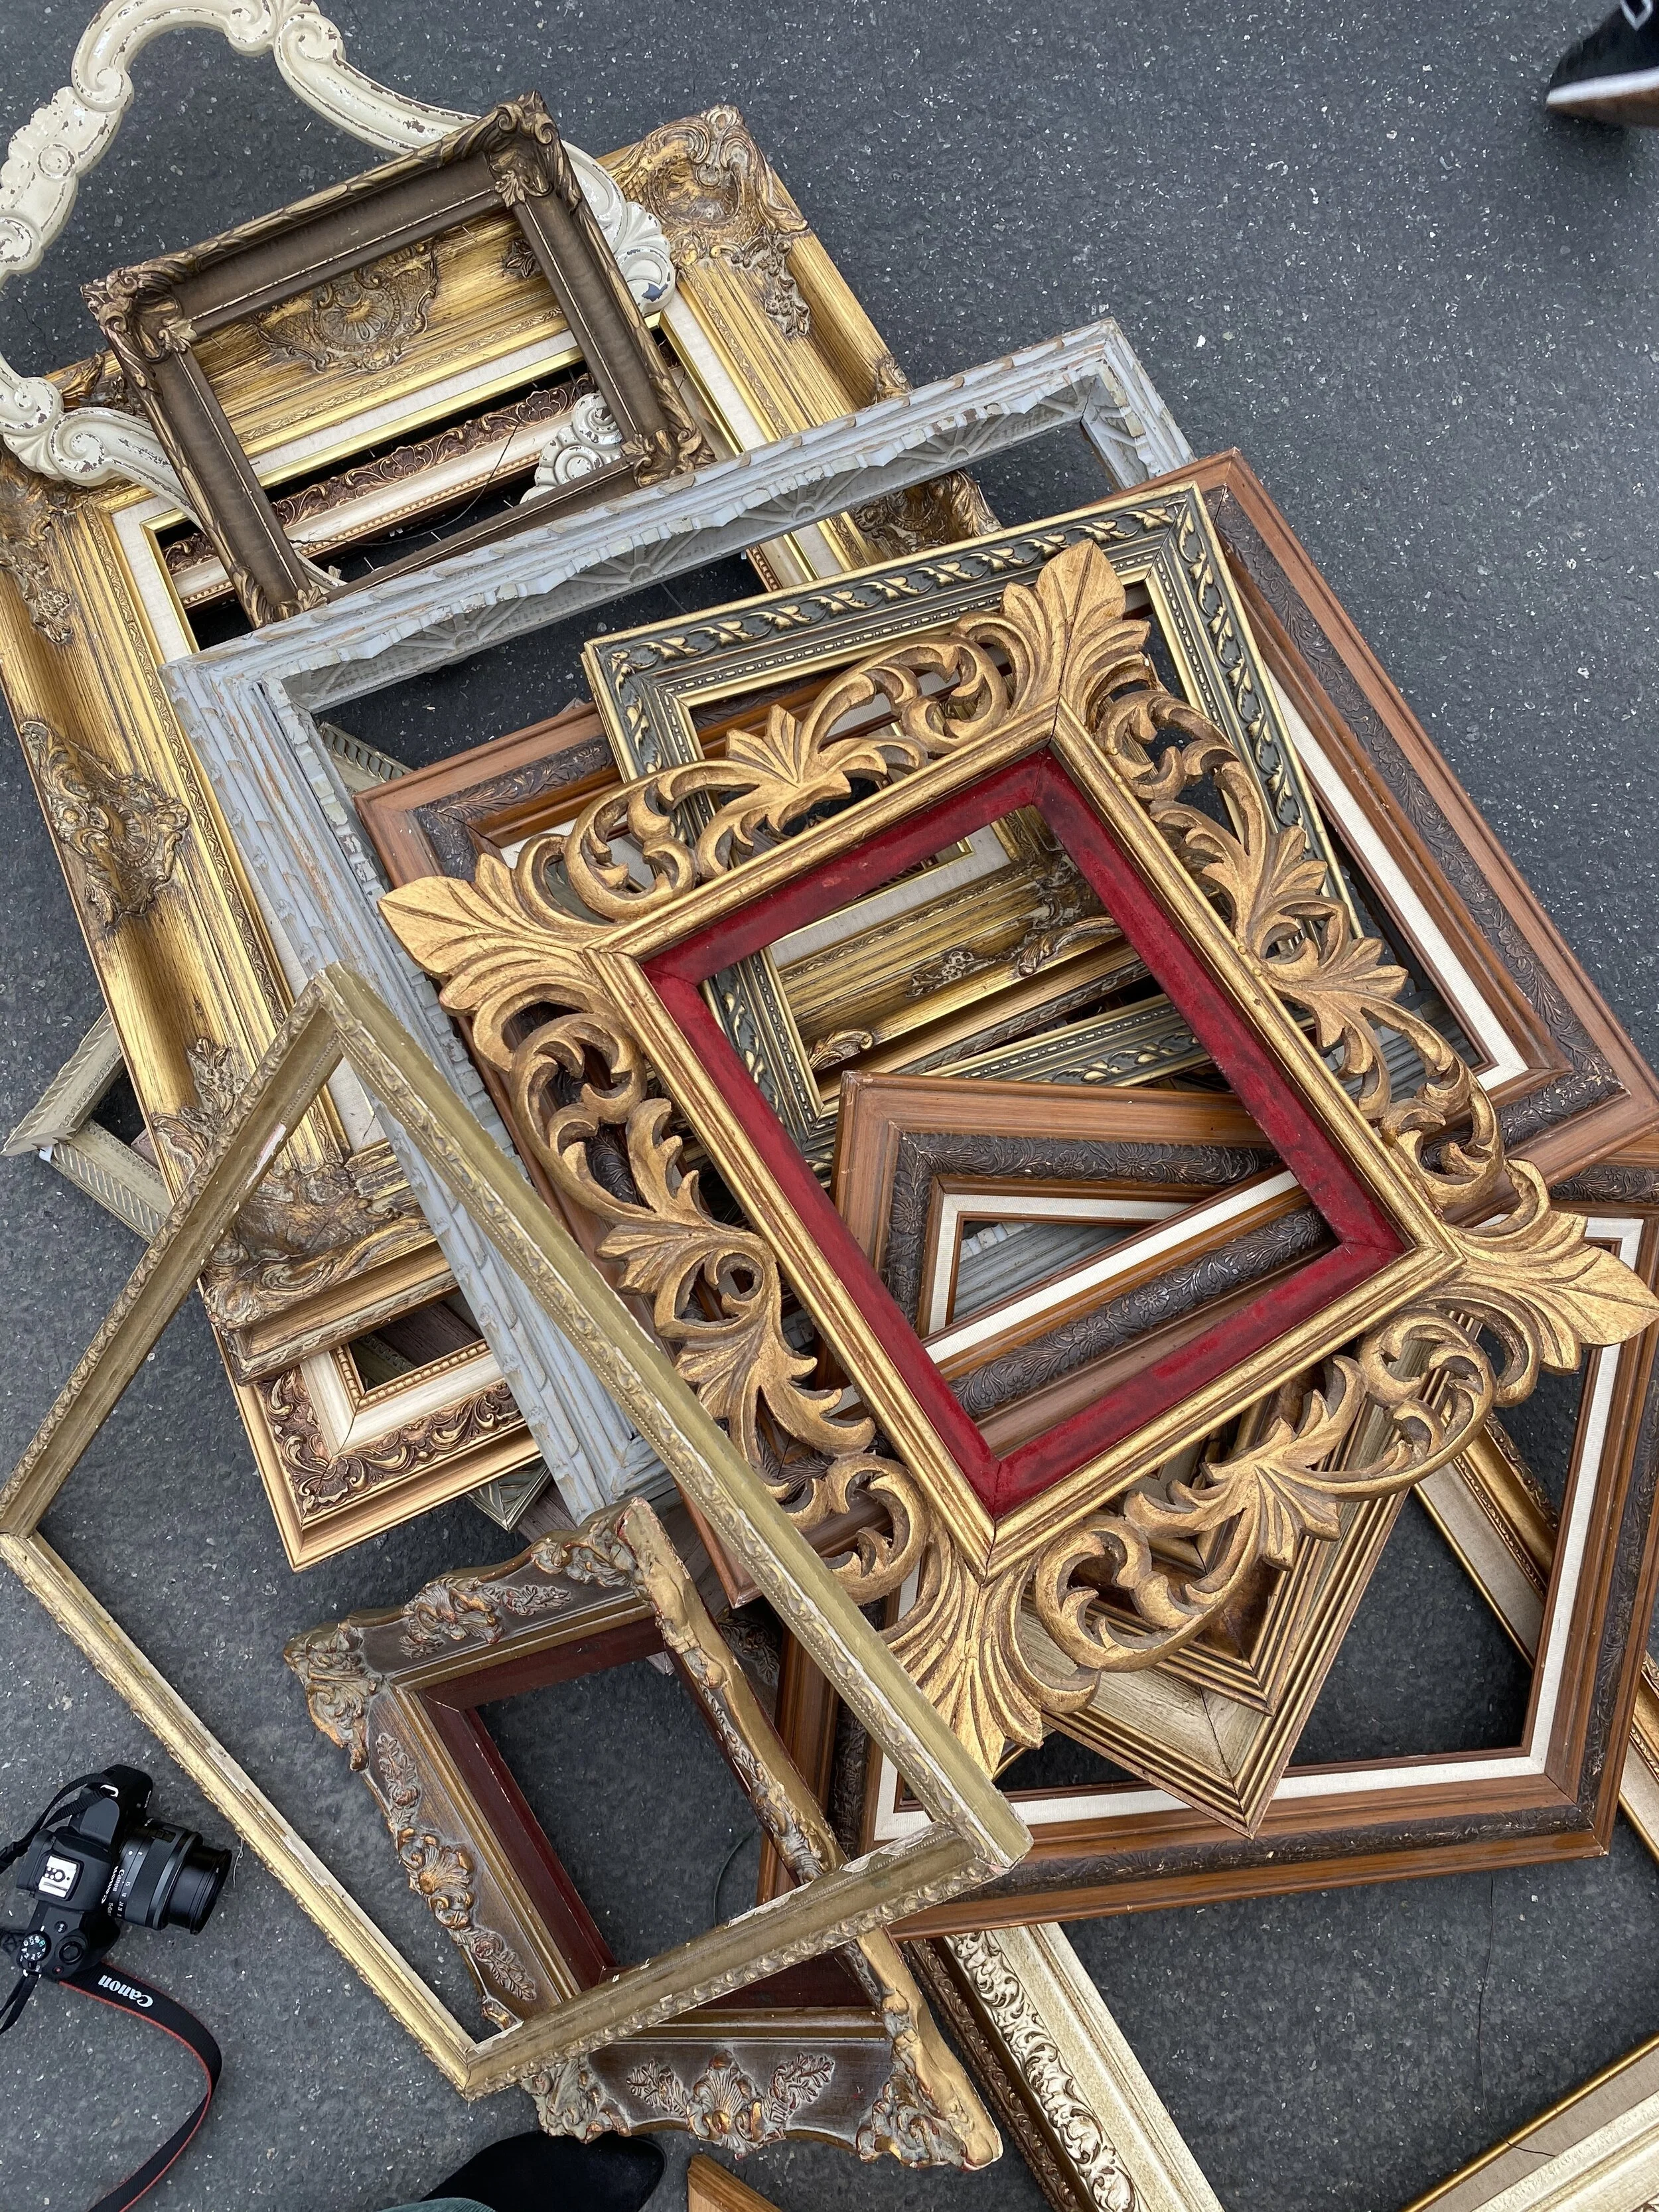
I’ve been dreaming of creating a very unique and special gallery wall in our home somewhere, so for about 8 months I’d been sourcing and collecting vintage wooden frames from various flea markets and thrift stores. I found 2 frames at a thrift store in Texas for under $4 each and then some of the large frames at the Long Beach Antique Market for around $20/$25 each. So all in the frames cost under $80.
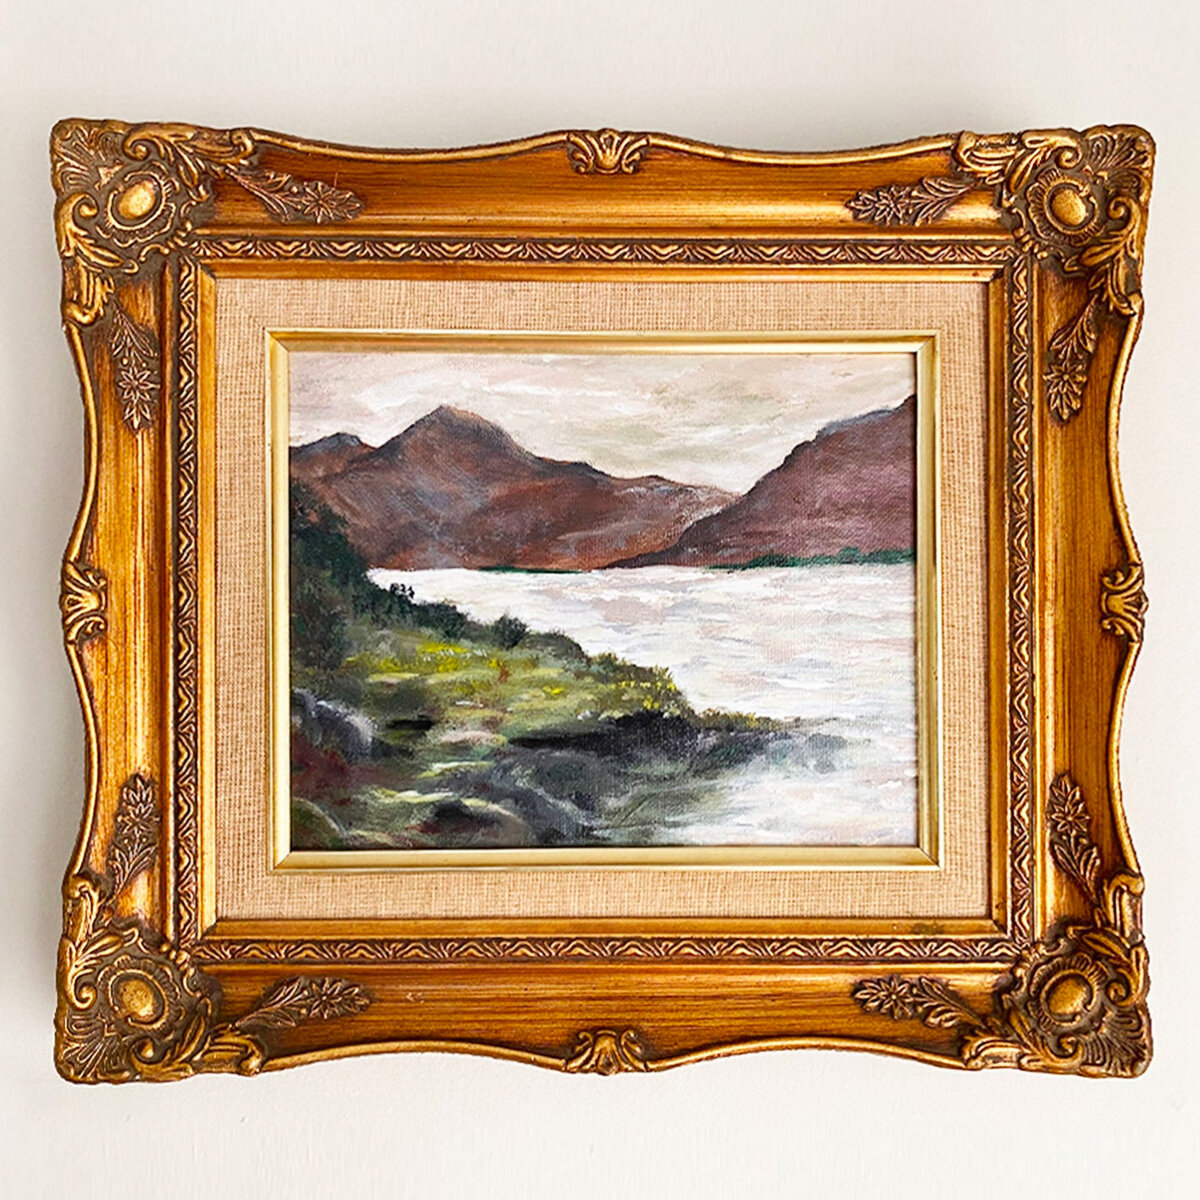
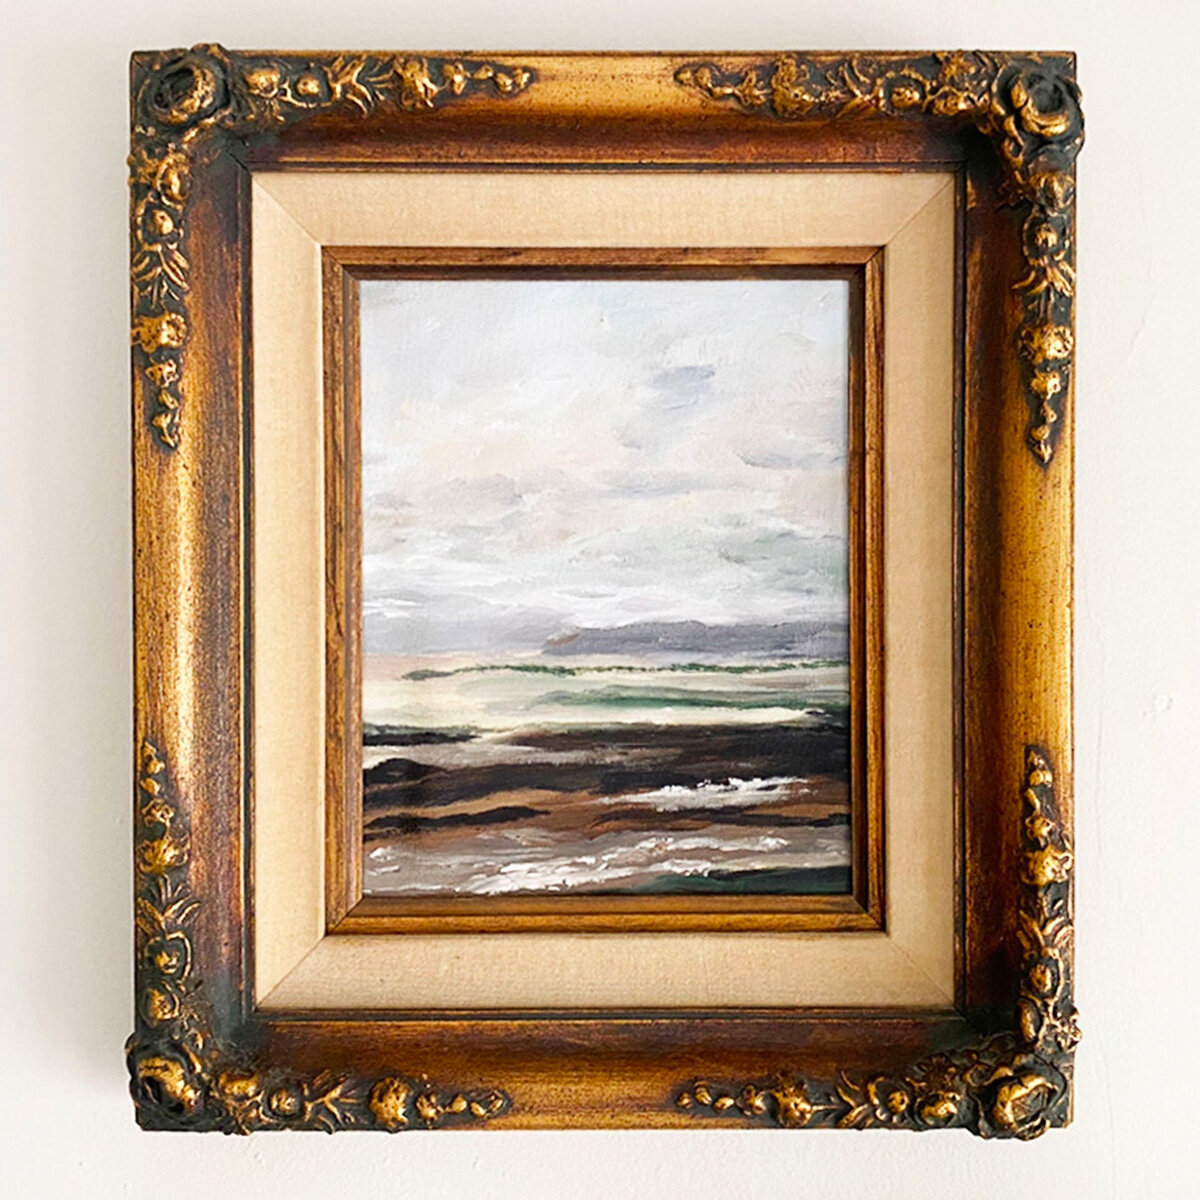
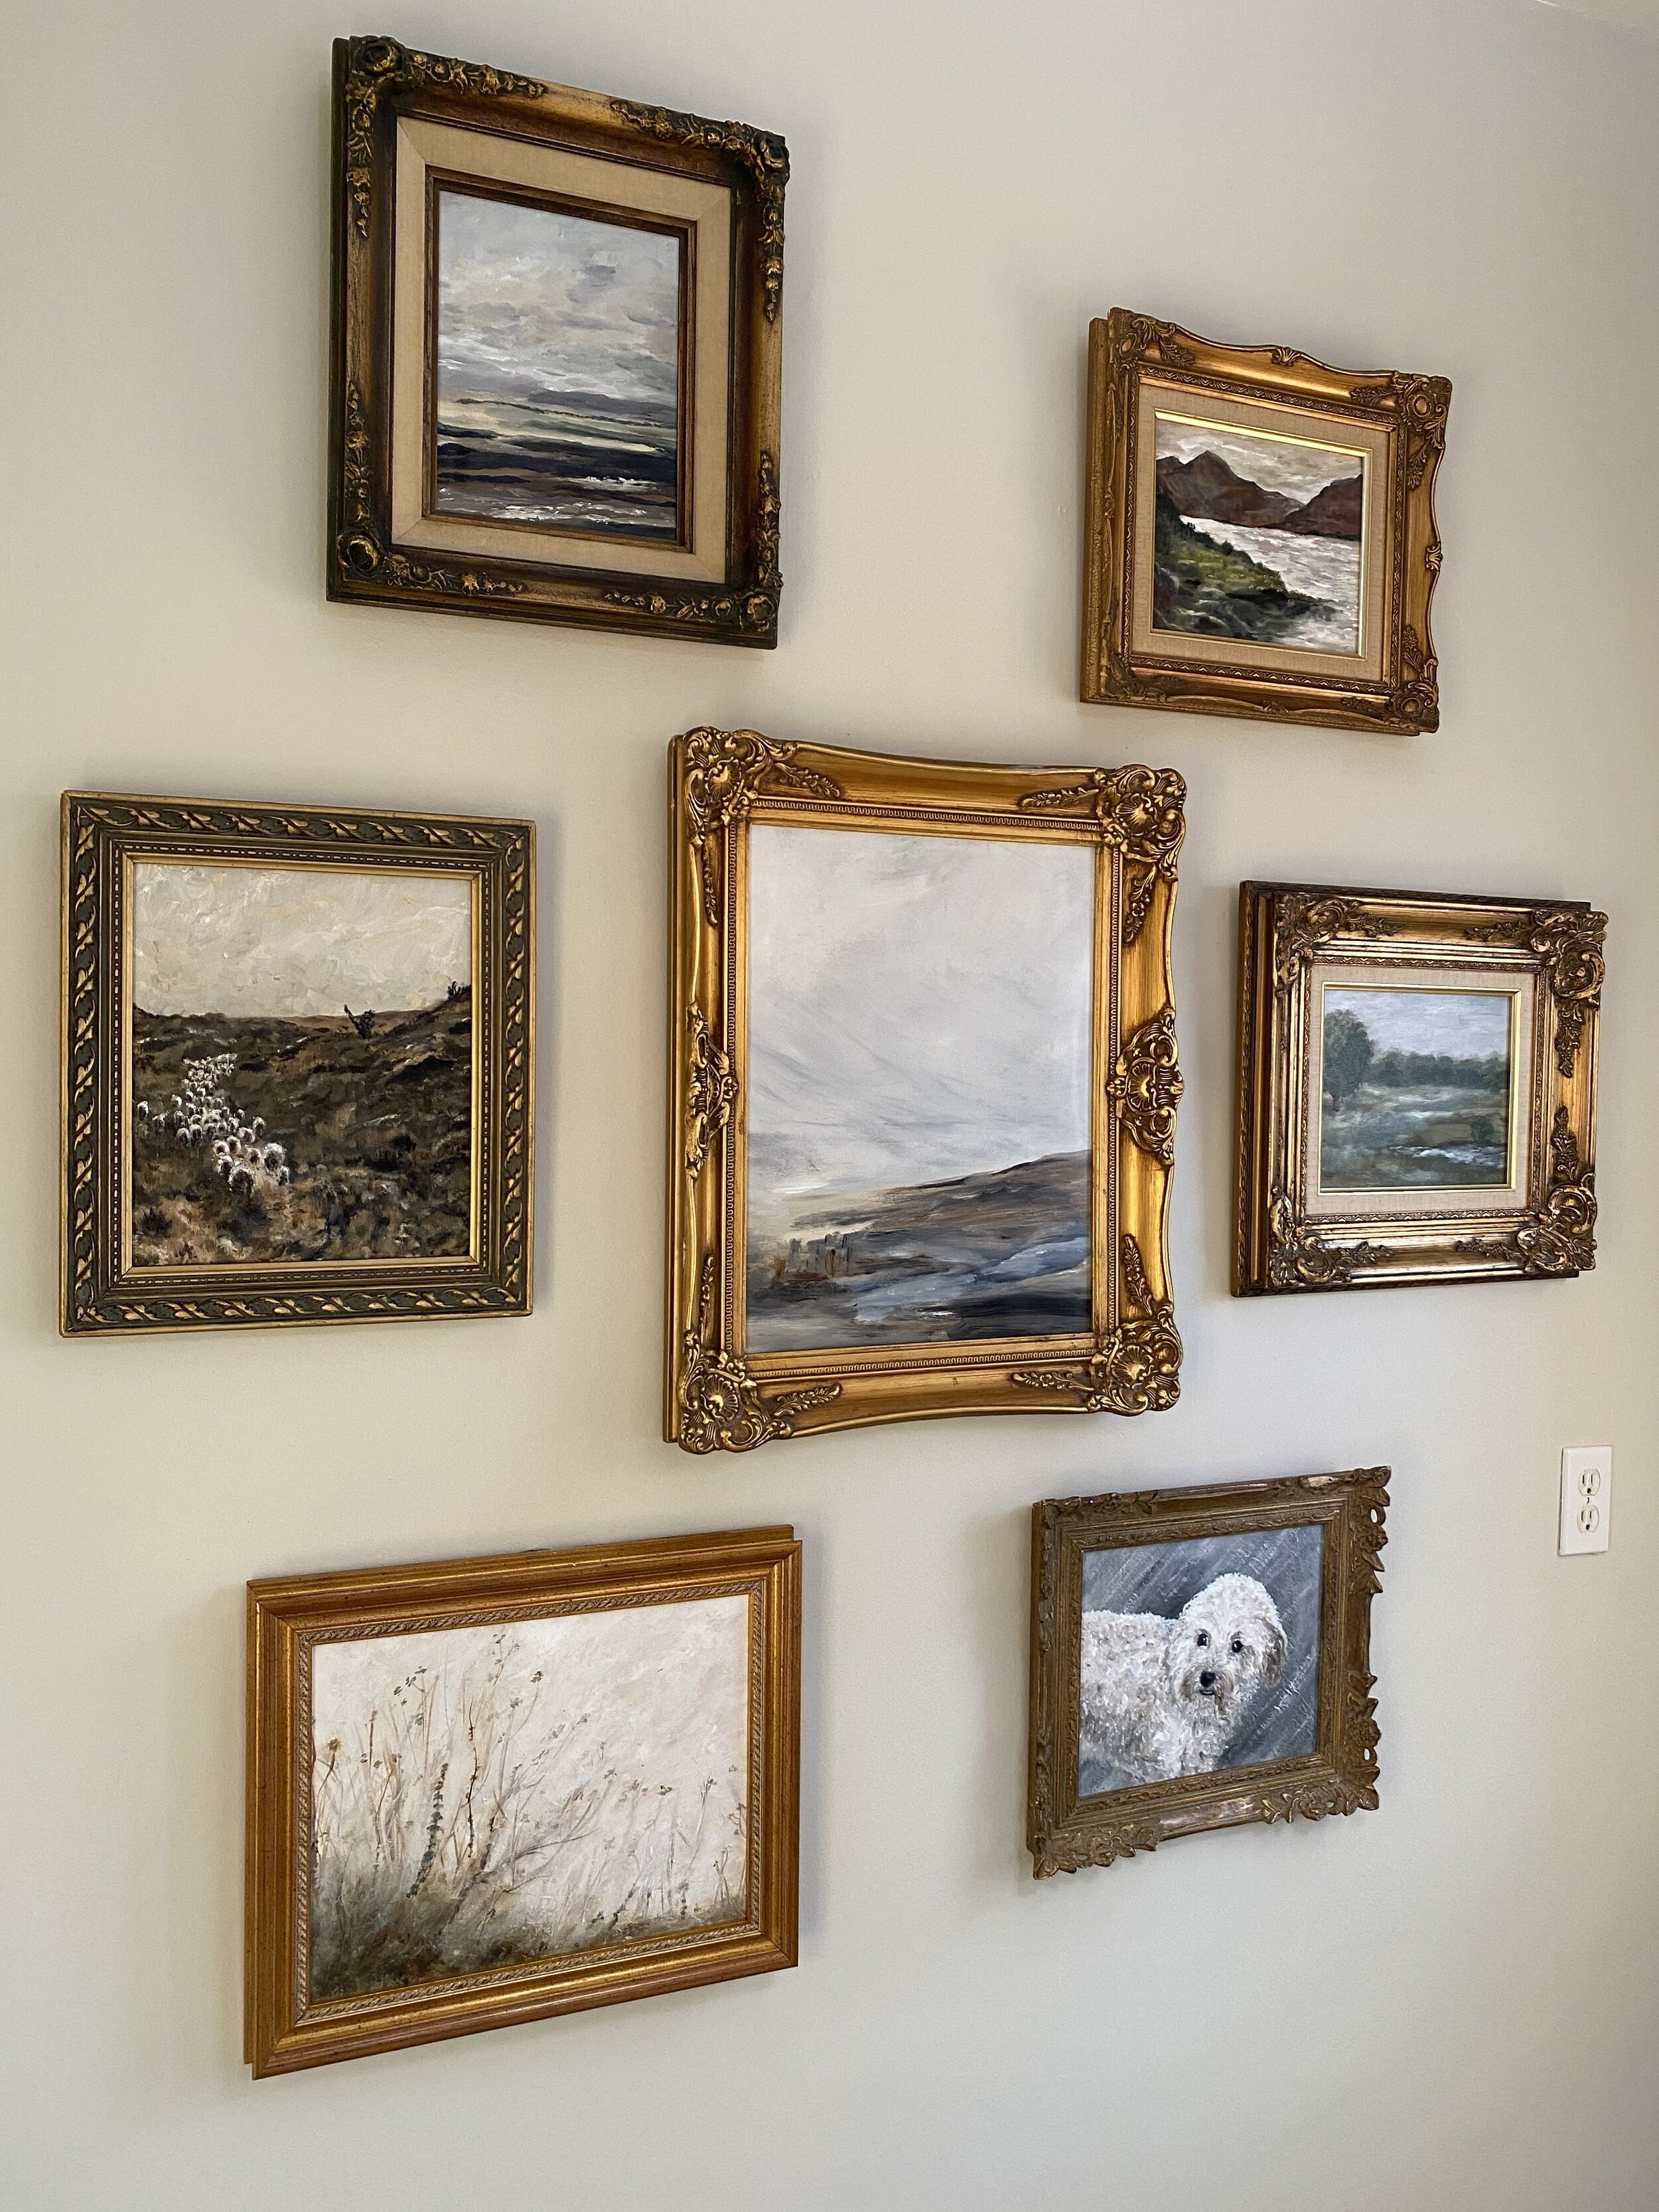
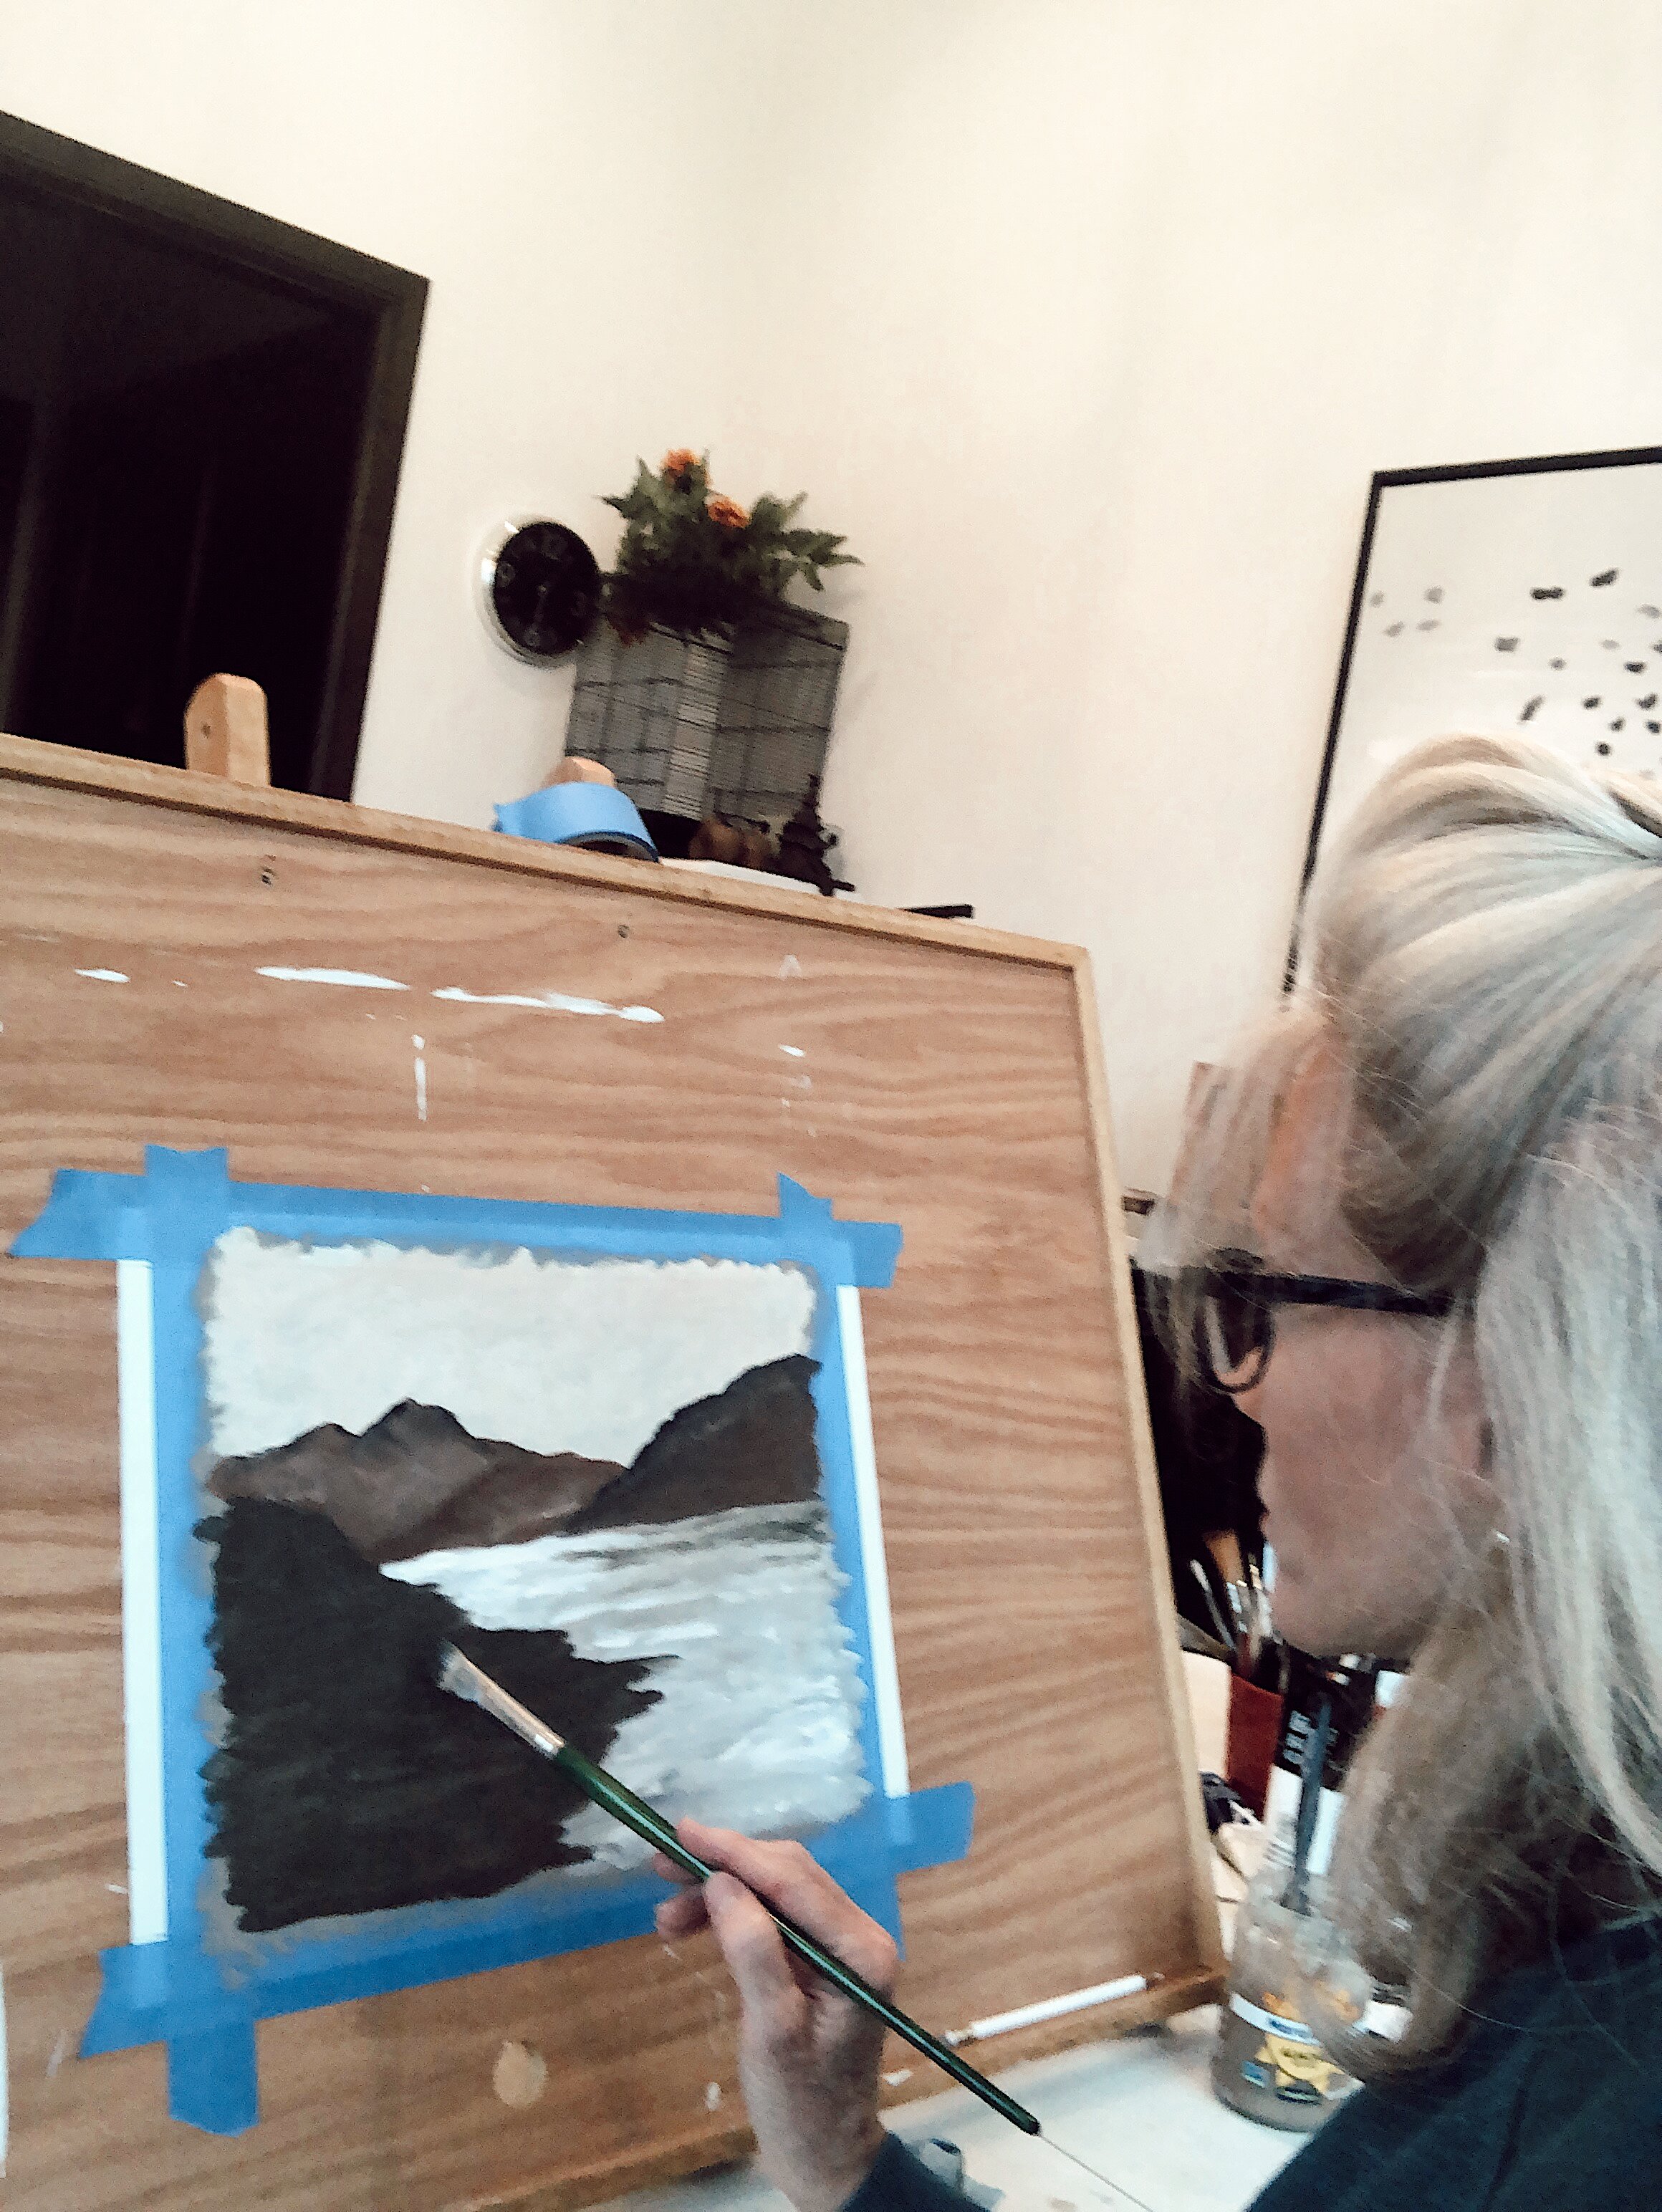
Once I’d found enough frames, I laid all the frames on the floor and moved them around until I had the right layout. I wanted to create custom artwork for each frame - a combination of landscapes and abstract scenes in warm neutral colors. Although I love to paint myself, my mom is an INCREDIBLE artist. She’s never painted professionally or sold her artwork, but has a natural talent and eye for color.
I FaceTimed my mom and asked her if she would be willing to create some art for me and of course, she loves me — she said yes. NEVER did I think I would be as blown away and emotional over the art that she created. WOW … just WOW. I’m still in AWE of what she was able to create and the oil painting of Kinsley just had me in tears! (You can watch me ball my eyes out in the YouTube video hahah)
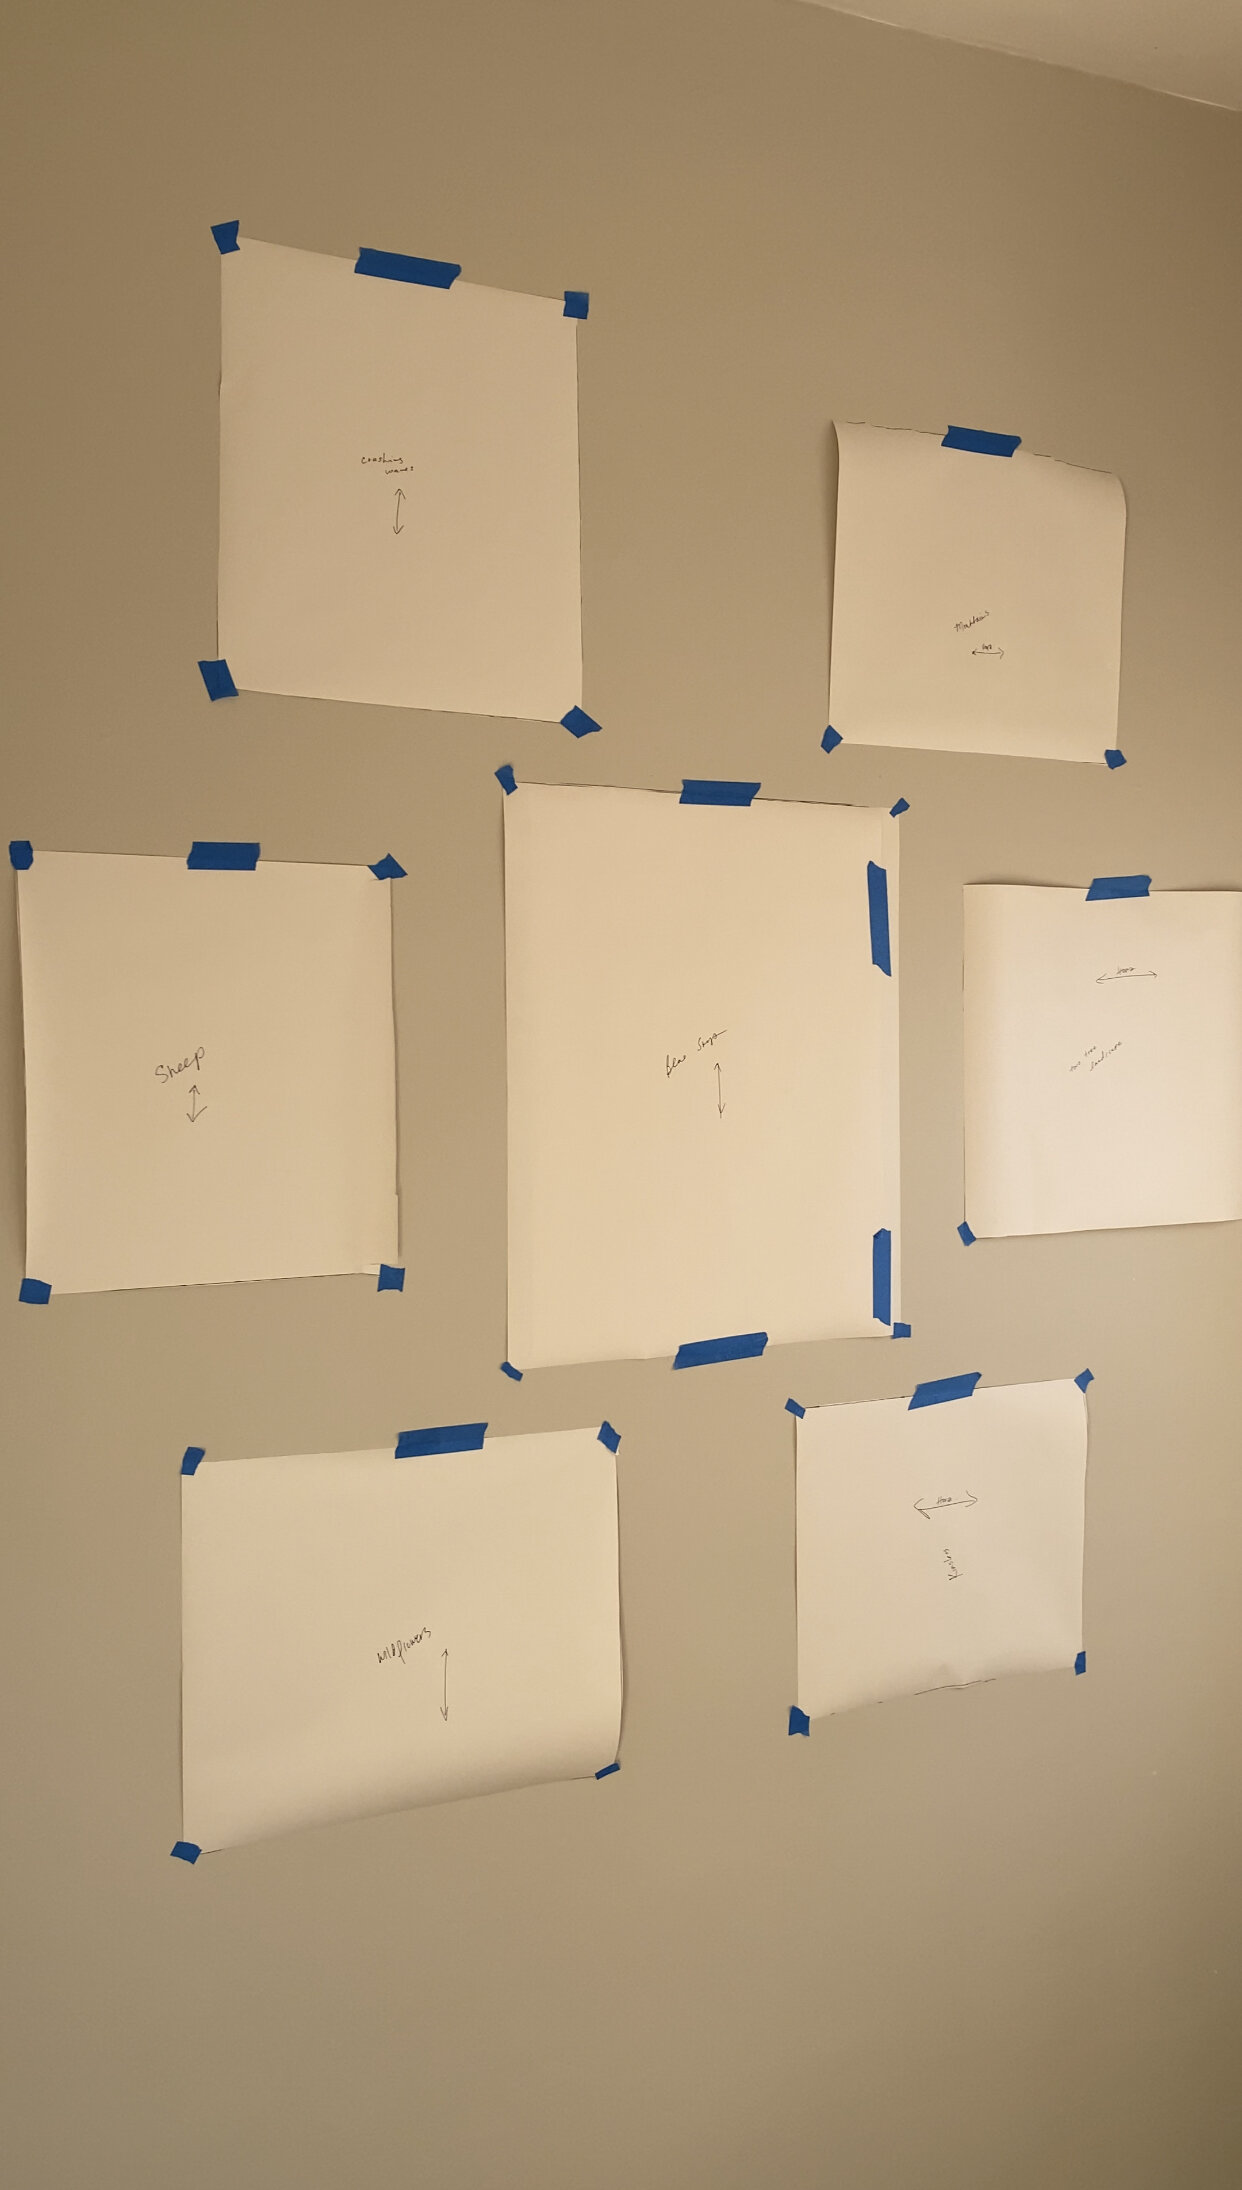
Once I put all the artwork into the frames, it was time to hang the gallery wall. The easiest way I’ve ever hung a gallery wall is to create paper templates of each art piece and tape it up on the wall. This way you can move the paper templates around until you get the layout and spacing just right before putting any holes into the wall.


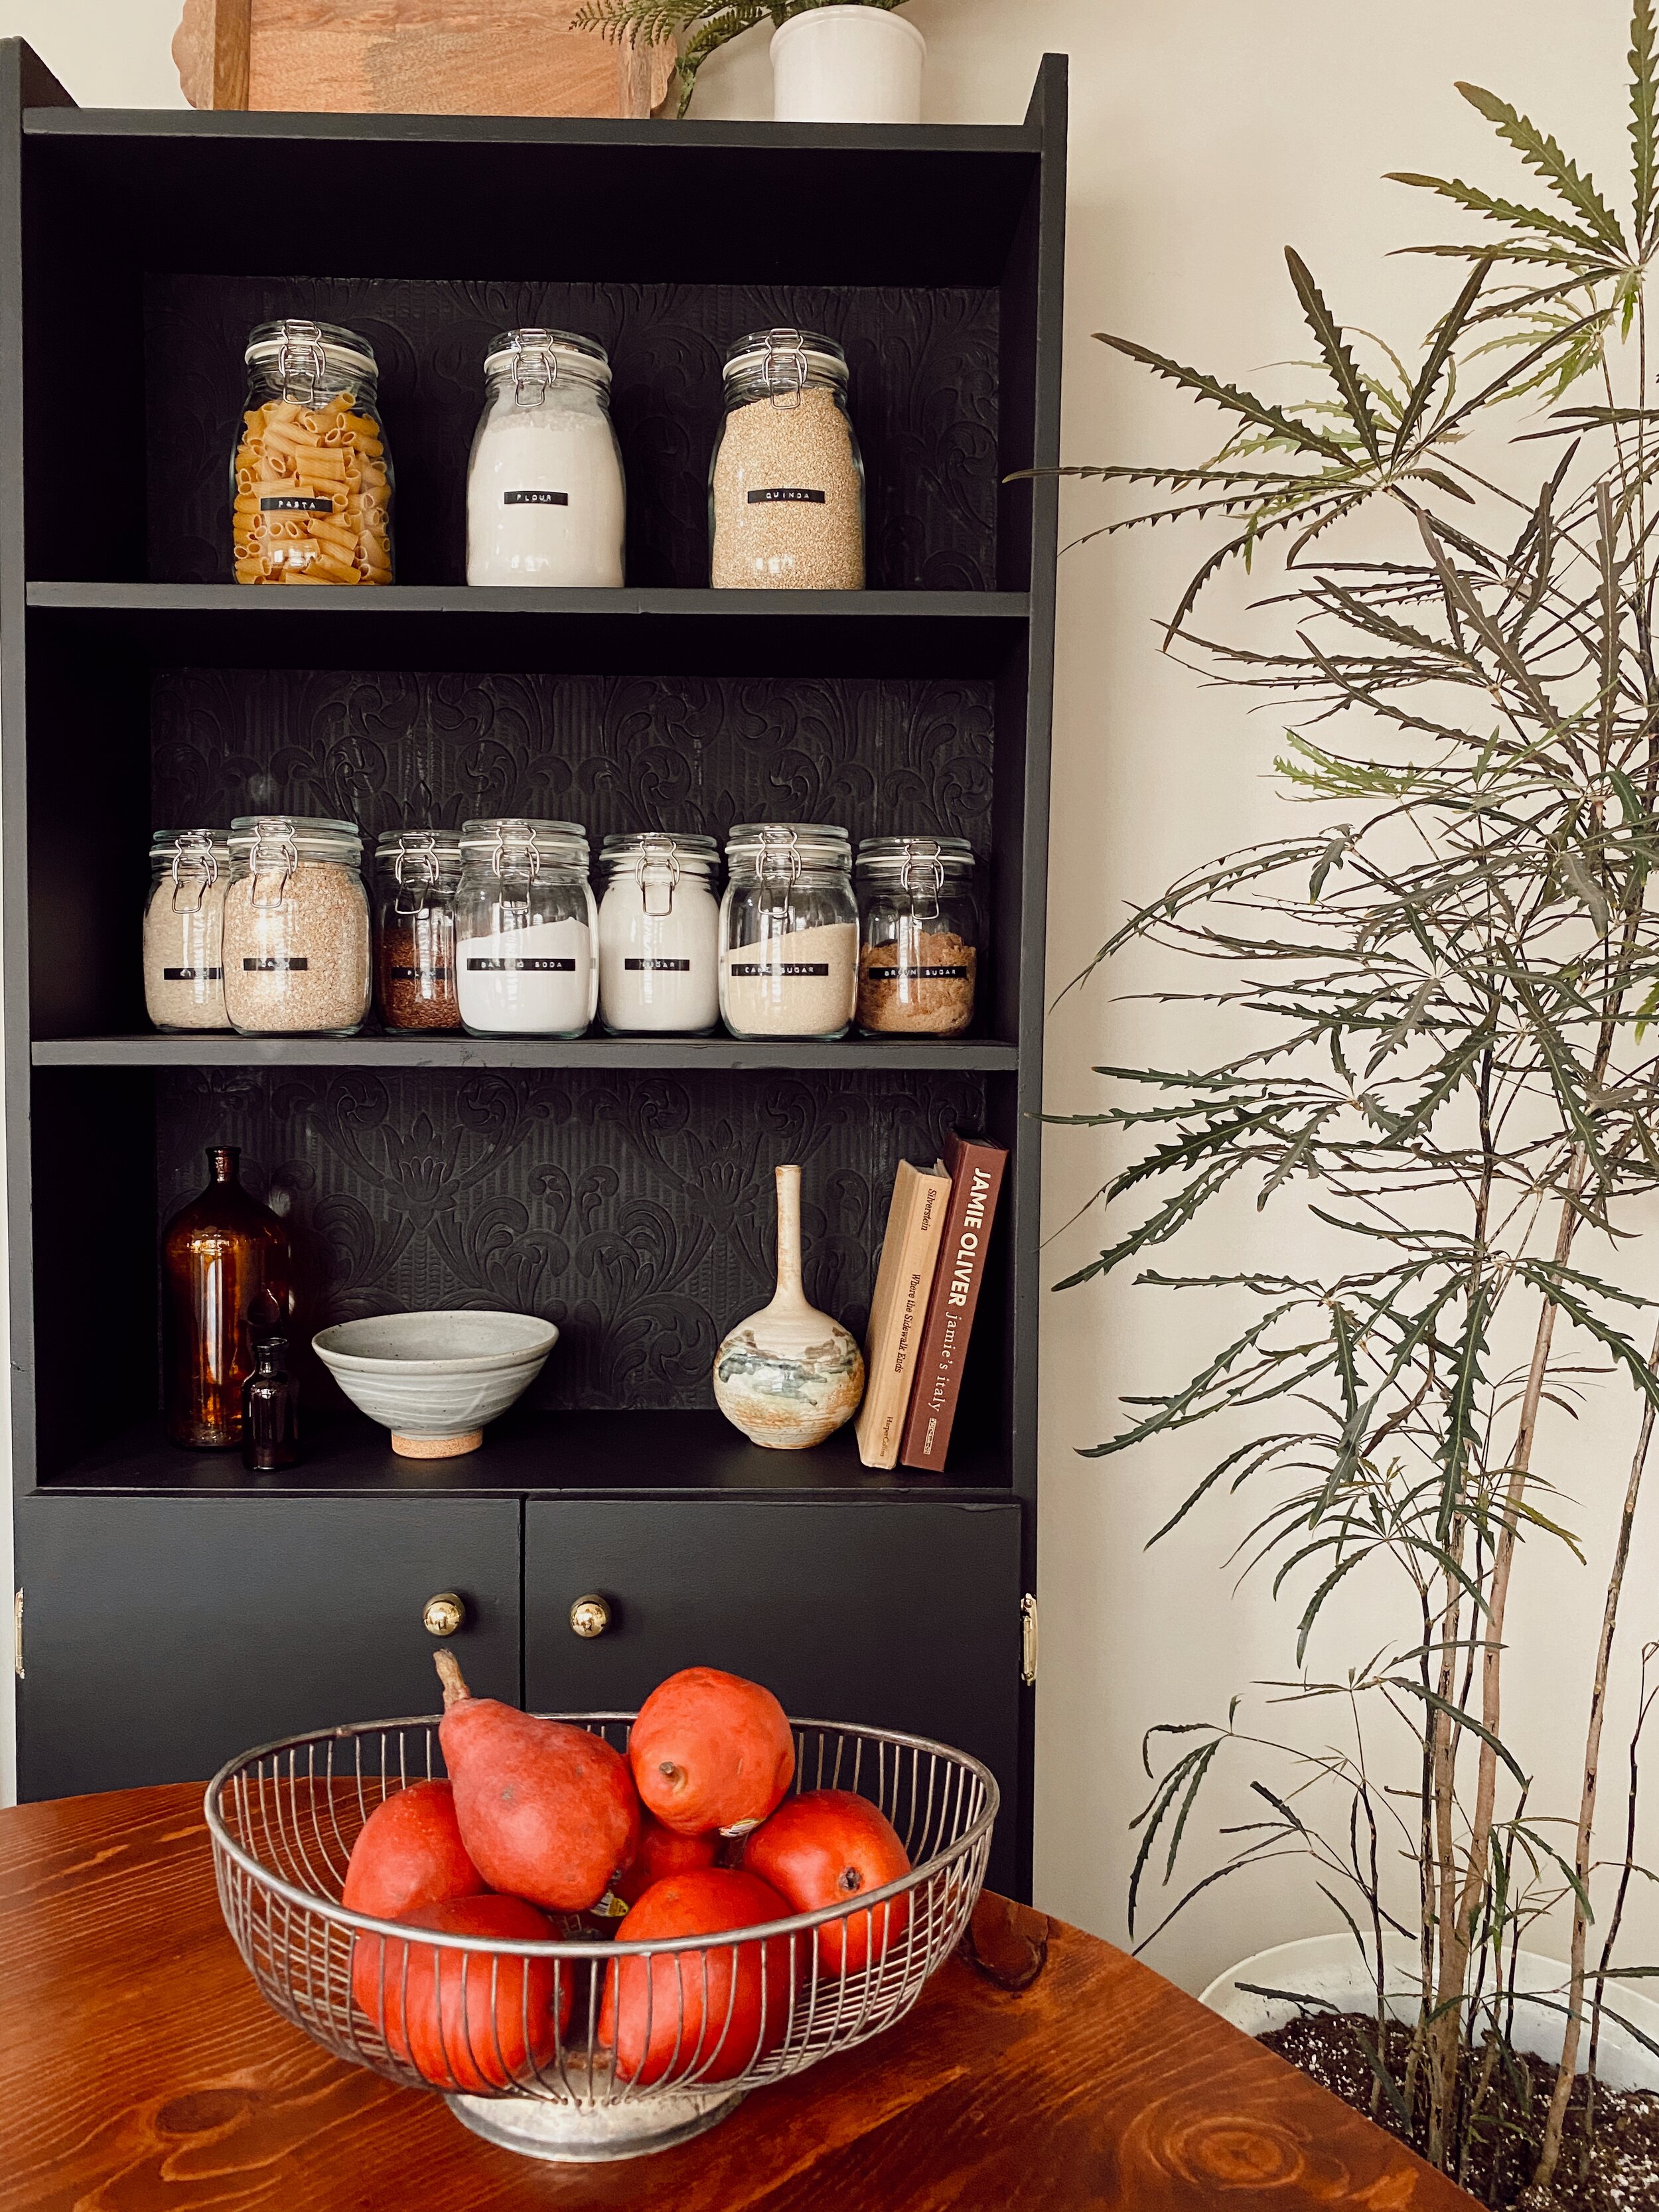
DIY PANTRY
from a thrifted bookcase
We don’t have a pantry in our kitchen so we quickly run out of space for snacks and dry goods. Although the breakfast nook is small, adding storage to this space was a definite must-have for us.
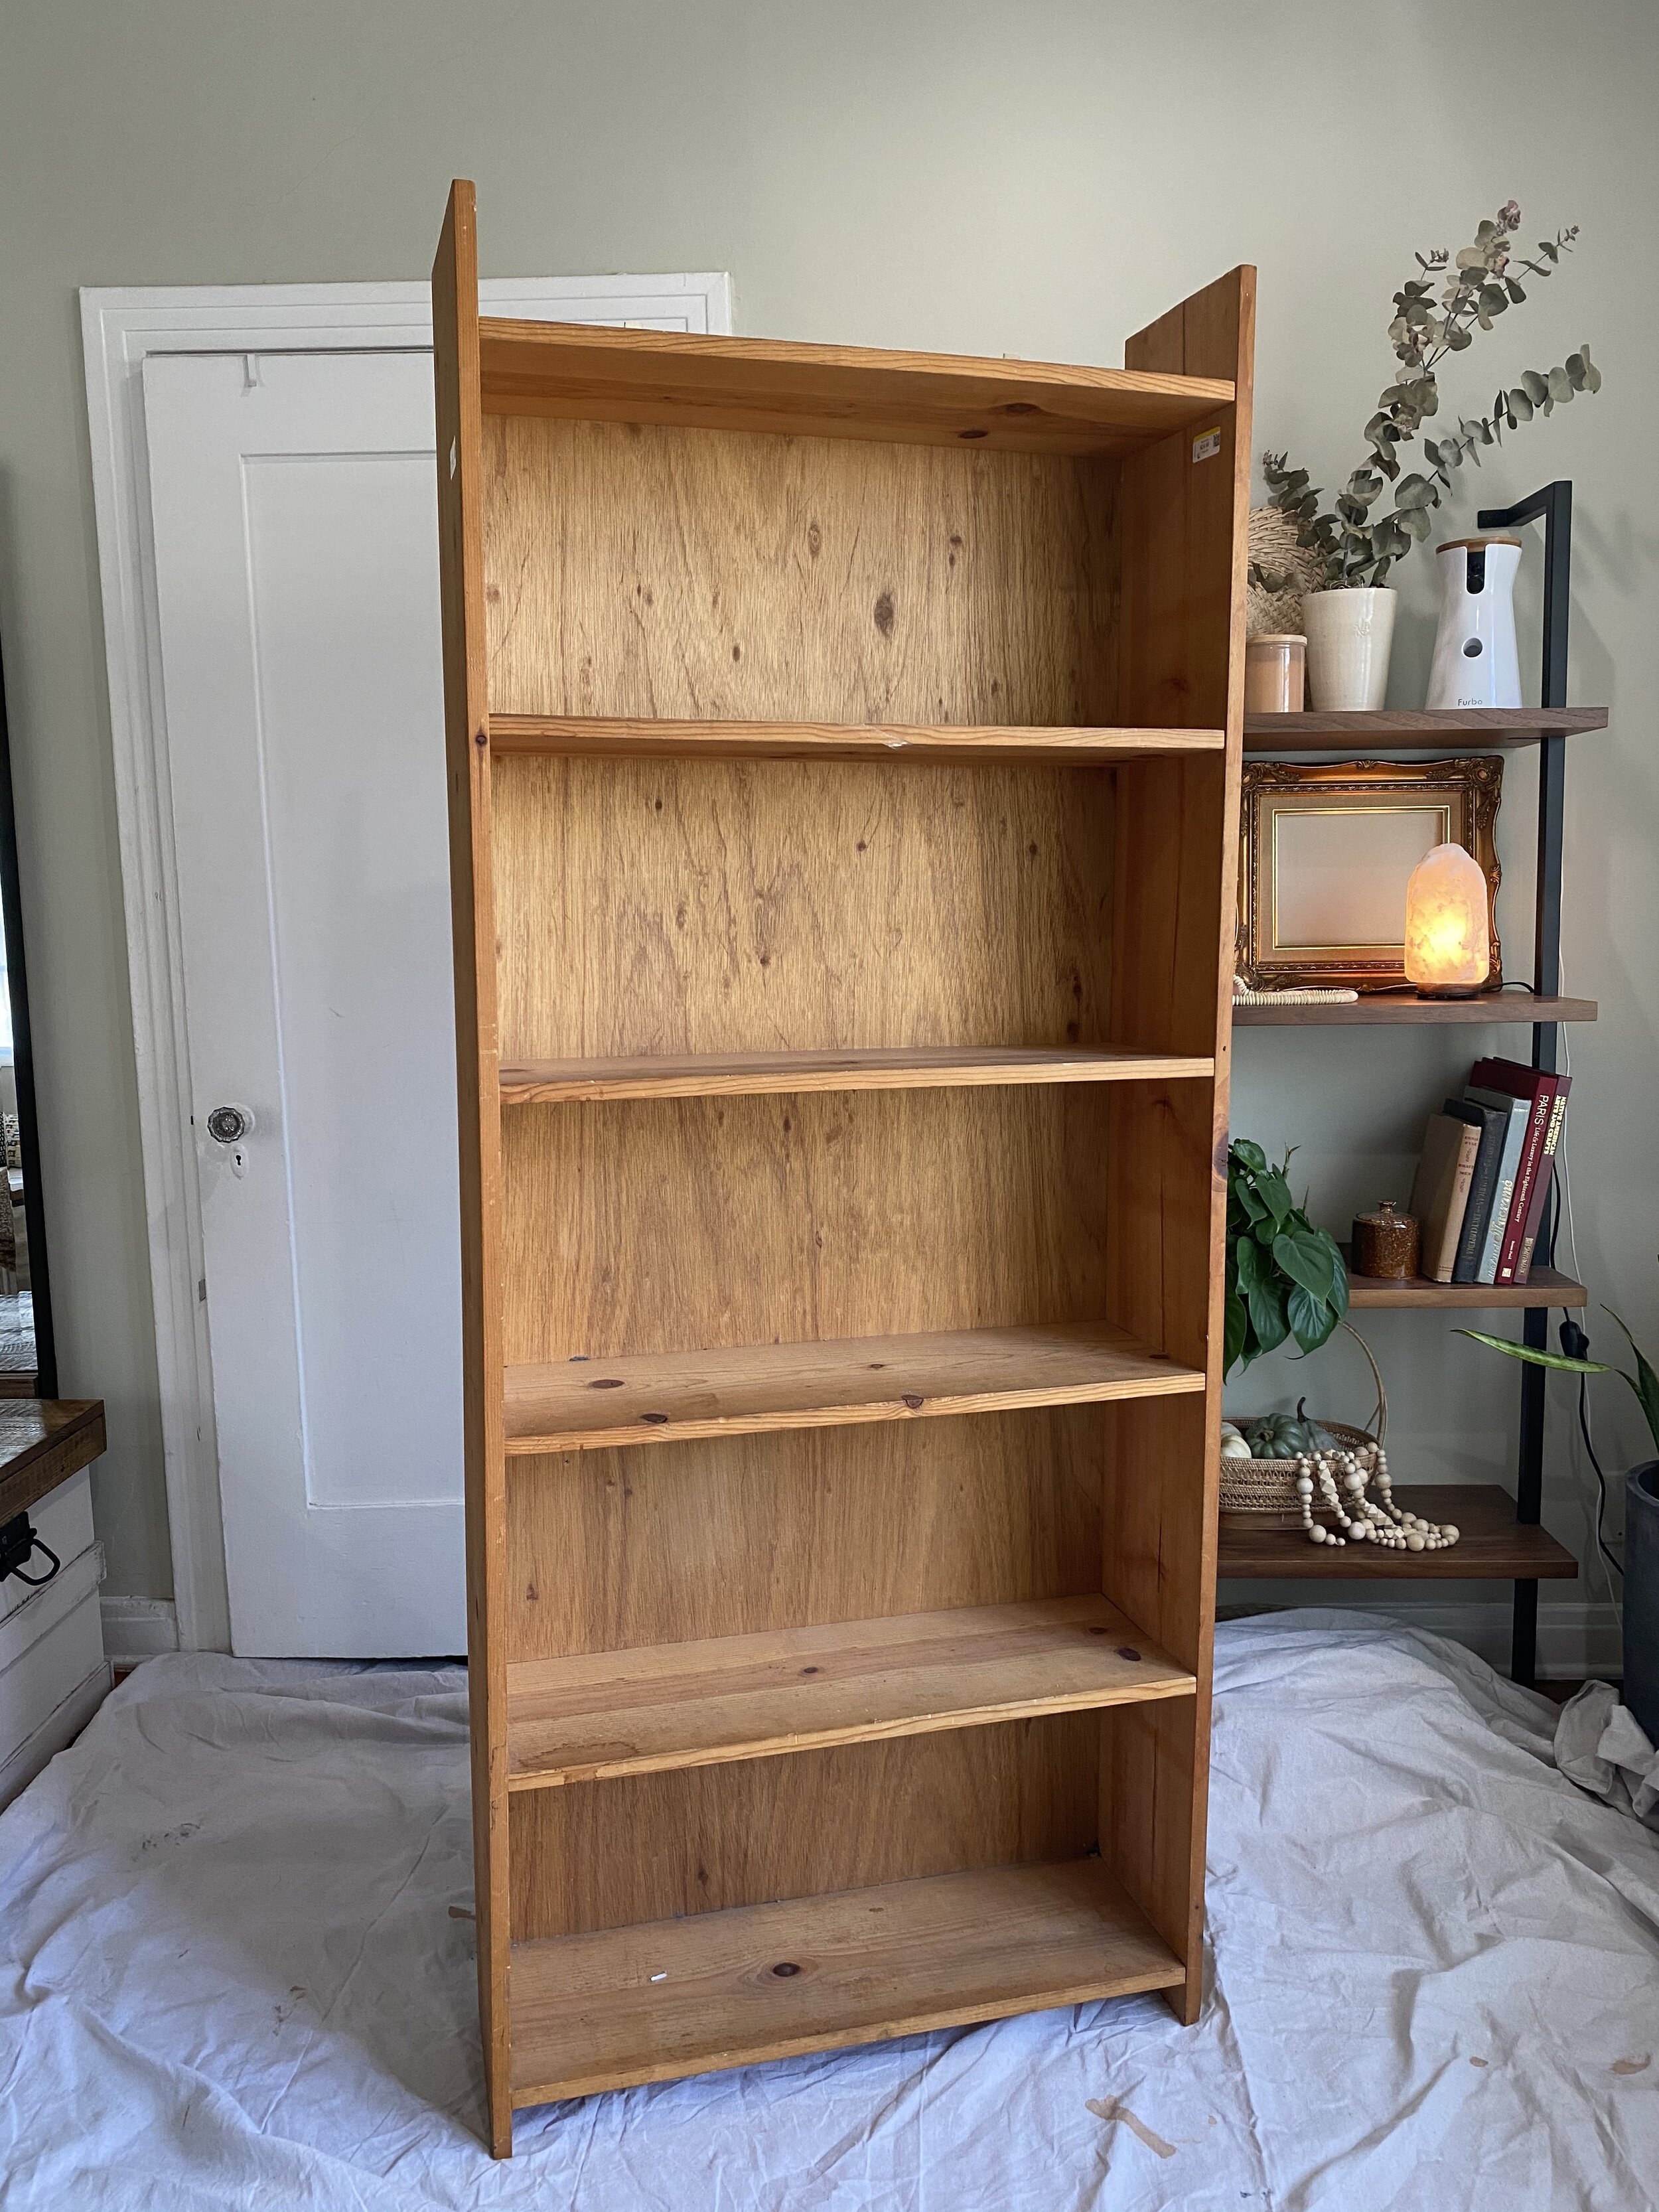
I found a wooden bookcase at the thrift store for 50% off which made it $12.99 (which is such a great deal). For $12.99 I wouldn’t even be able to buy the wood to make something like it. The bookcase was only 12” deep so it was skinny enough to fit into the space but also store quite a bit.
I wanted to transform the bookshelf into a mix of open shelving on top and enclosed storage on the bottom by adding cabinet doors. While at the Flea Market I came across a roll of vintage embossed wallpaper for $5 and a bag of round, solid brass door knobs for $5 apiece.
First I applied the wallpaper to the inside back surface of the open-shelf section using mod podge glue. Next, I primed the entire bookcase (except the wallpaper) with my favorite primer - Bin Zinnser Water-based Primer. I wanted the pantry to have a matte look to it so I went with a Flat Finish in Tricorn Black by Sherwin Williams. Finally, to give it a durable surface I applied three layers of Minwax Polycrylic Sealer.
To make the enclosed storage I used 3/4” thick sanded plywood and cut it down to the size I needed for the doors. To attach the doors I used these brass hinges to match the vintage brass nobs.


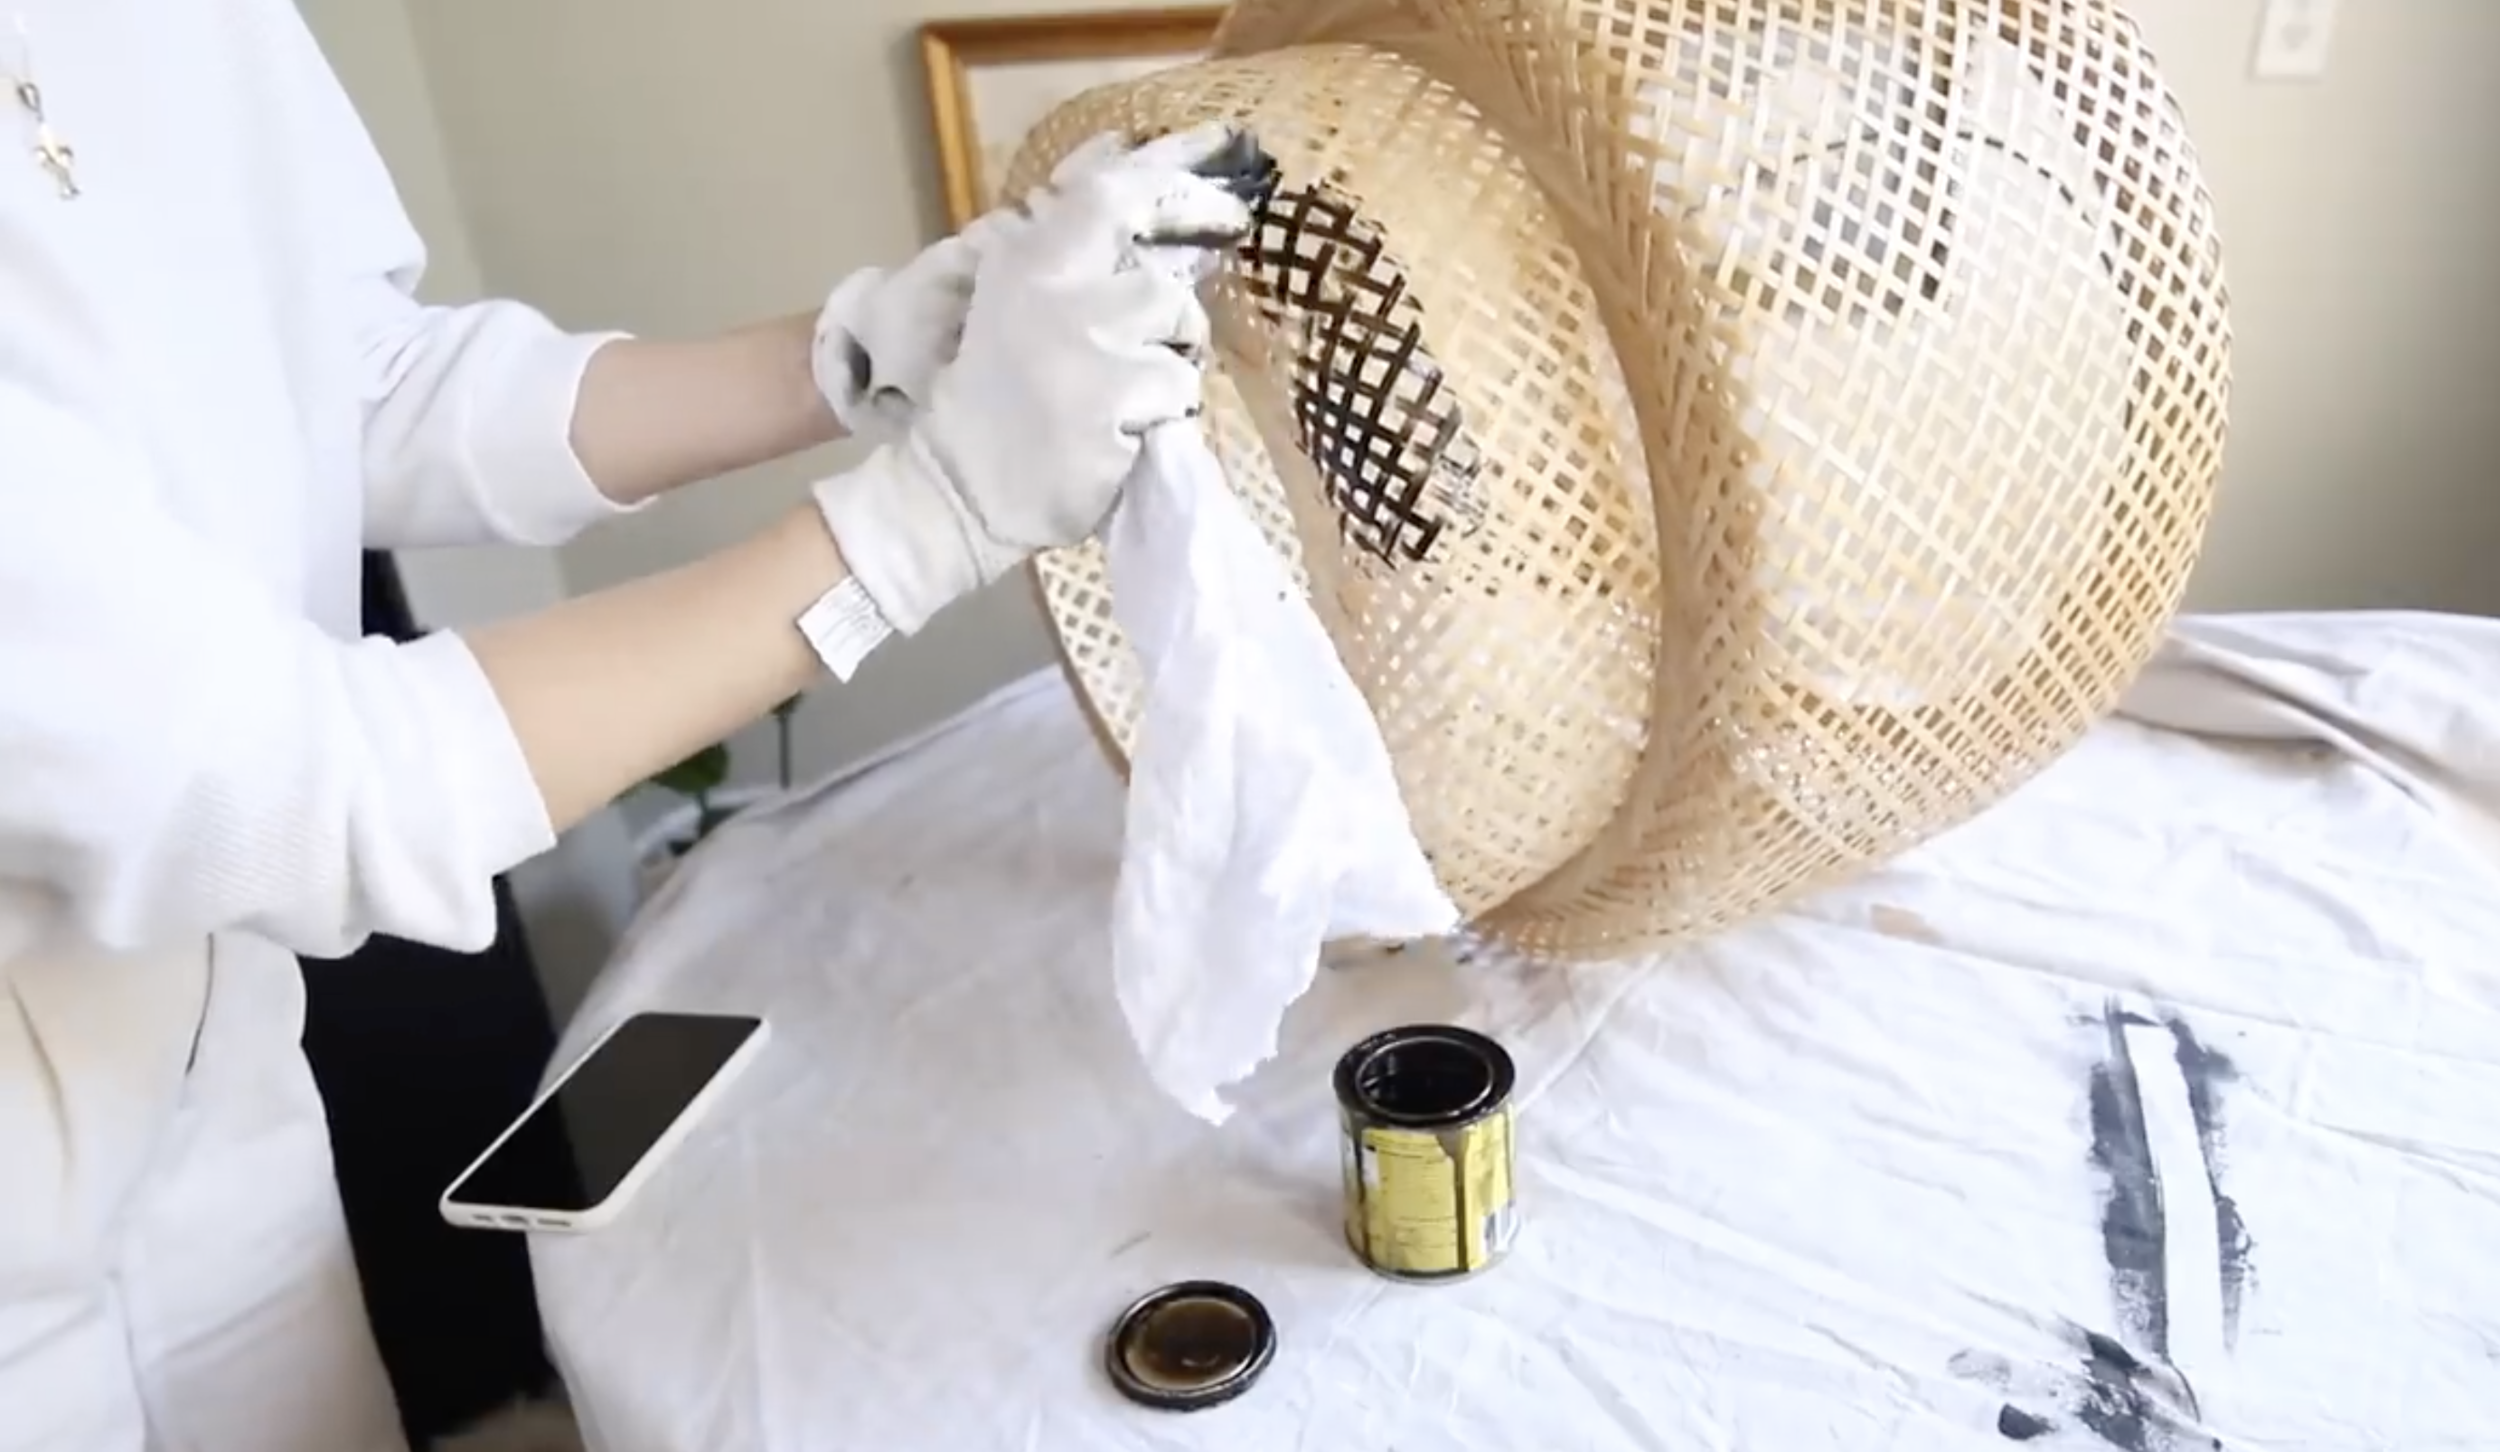
Up-cycled Light Fixture
I’ve had this IKEA light fixture for a while, which I actually found at the flea market for $12. I really liked the shape and natural woven look, so I wanted to paint or stain it to make it work better in the space. Using a rag I stained the entire fixture with a Minwax oil based stain - Jacobean.