DIY Kodak Carousel Pendant Lights
When I started my YouTube channel I never imagined I would enjoy thrift shopping and transforming items people no longer wanted into beautiful pieces of decor. I fell in LOVE with thrifting once Romeo finally convinced me to go thrift shopping with him. Something about browsing the aisles and having to dig through junk to find unique pieces inspired me. It made me feel creative and open minded about what a piece could become and took my DIY game to a whole other level!
On one of our regular weekly thrifting trips, I came across several old Kodak Carousels at a thrift store in Los Angeles for $1 a piece. They each had a sticker on the side from the original owners that said which photos the carousels once held — Greece 1972 & Christmas 1973. After reading the stickers the carousels became that much more special and I had to find something to transform the carousels into while keeping their original cool shape.

When I find something at a thrift store that intrigues me I look at it from all angles ... flip it over, on its side, upside down, against a wall so I can start to imagine what it could become. Once I saw the hole in the middle of the carousel I knew they had to be PENDANT LIGHTS! Also I had been on a pendant light kick for a while so I was turning everything into pendant lights hahaha.
Once I cleaned them up and transformed them into pendant lights for each side of my bed they quickly became my favorite DIY I’ve ever done. So if love warm industrial decor and you ever come across some Kodak Carousels here’s how to transform them...

SUPPLIES
140 slide Kodak Carousel
1/4” Craft Sticks (5 3/4” long) - you’ll need 54 sticks
Minwax stain (used Jacobean)
Hot glue
E6000 glue
Pendant Light
Iron wall bracket
Edison LED light Bulb
Screw driver
Step 1
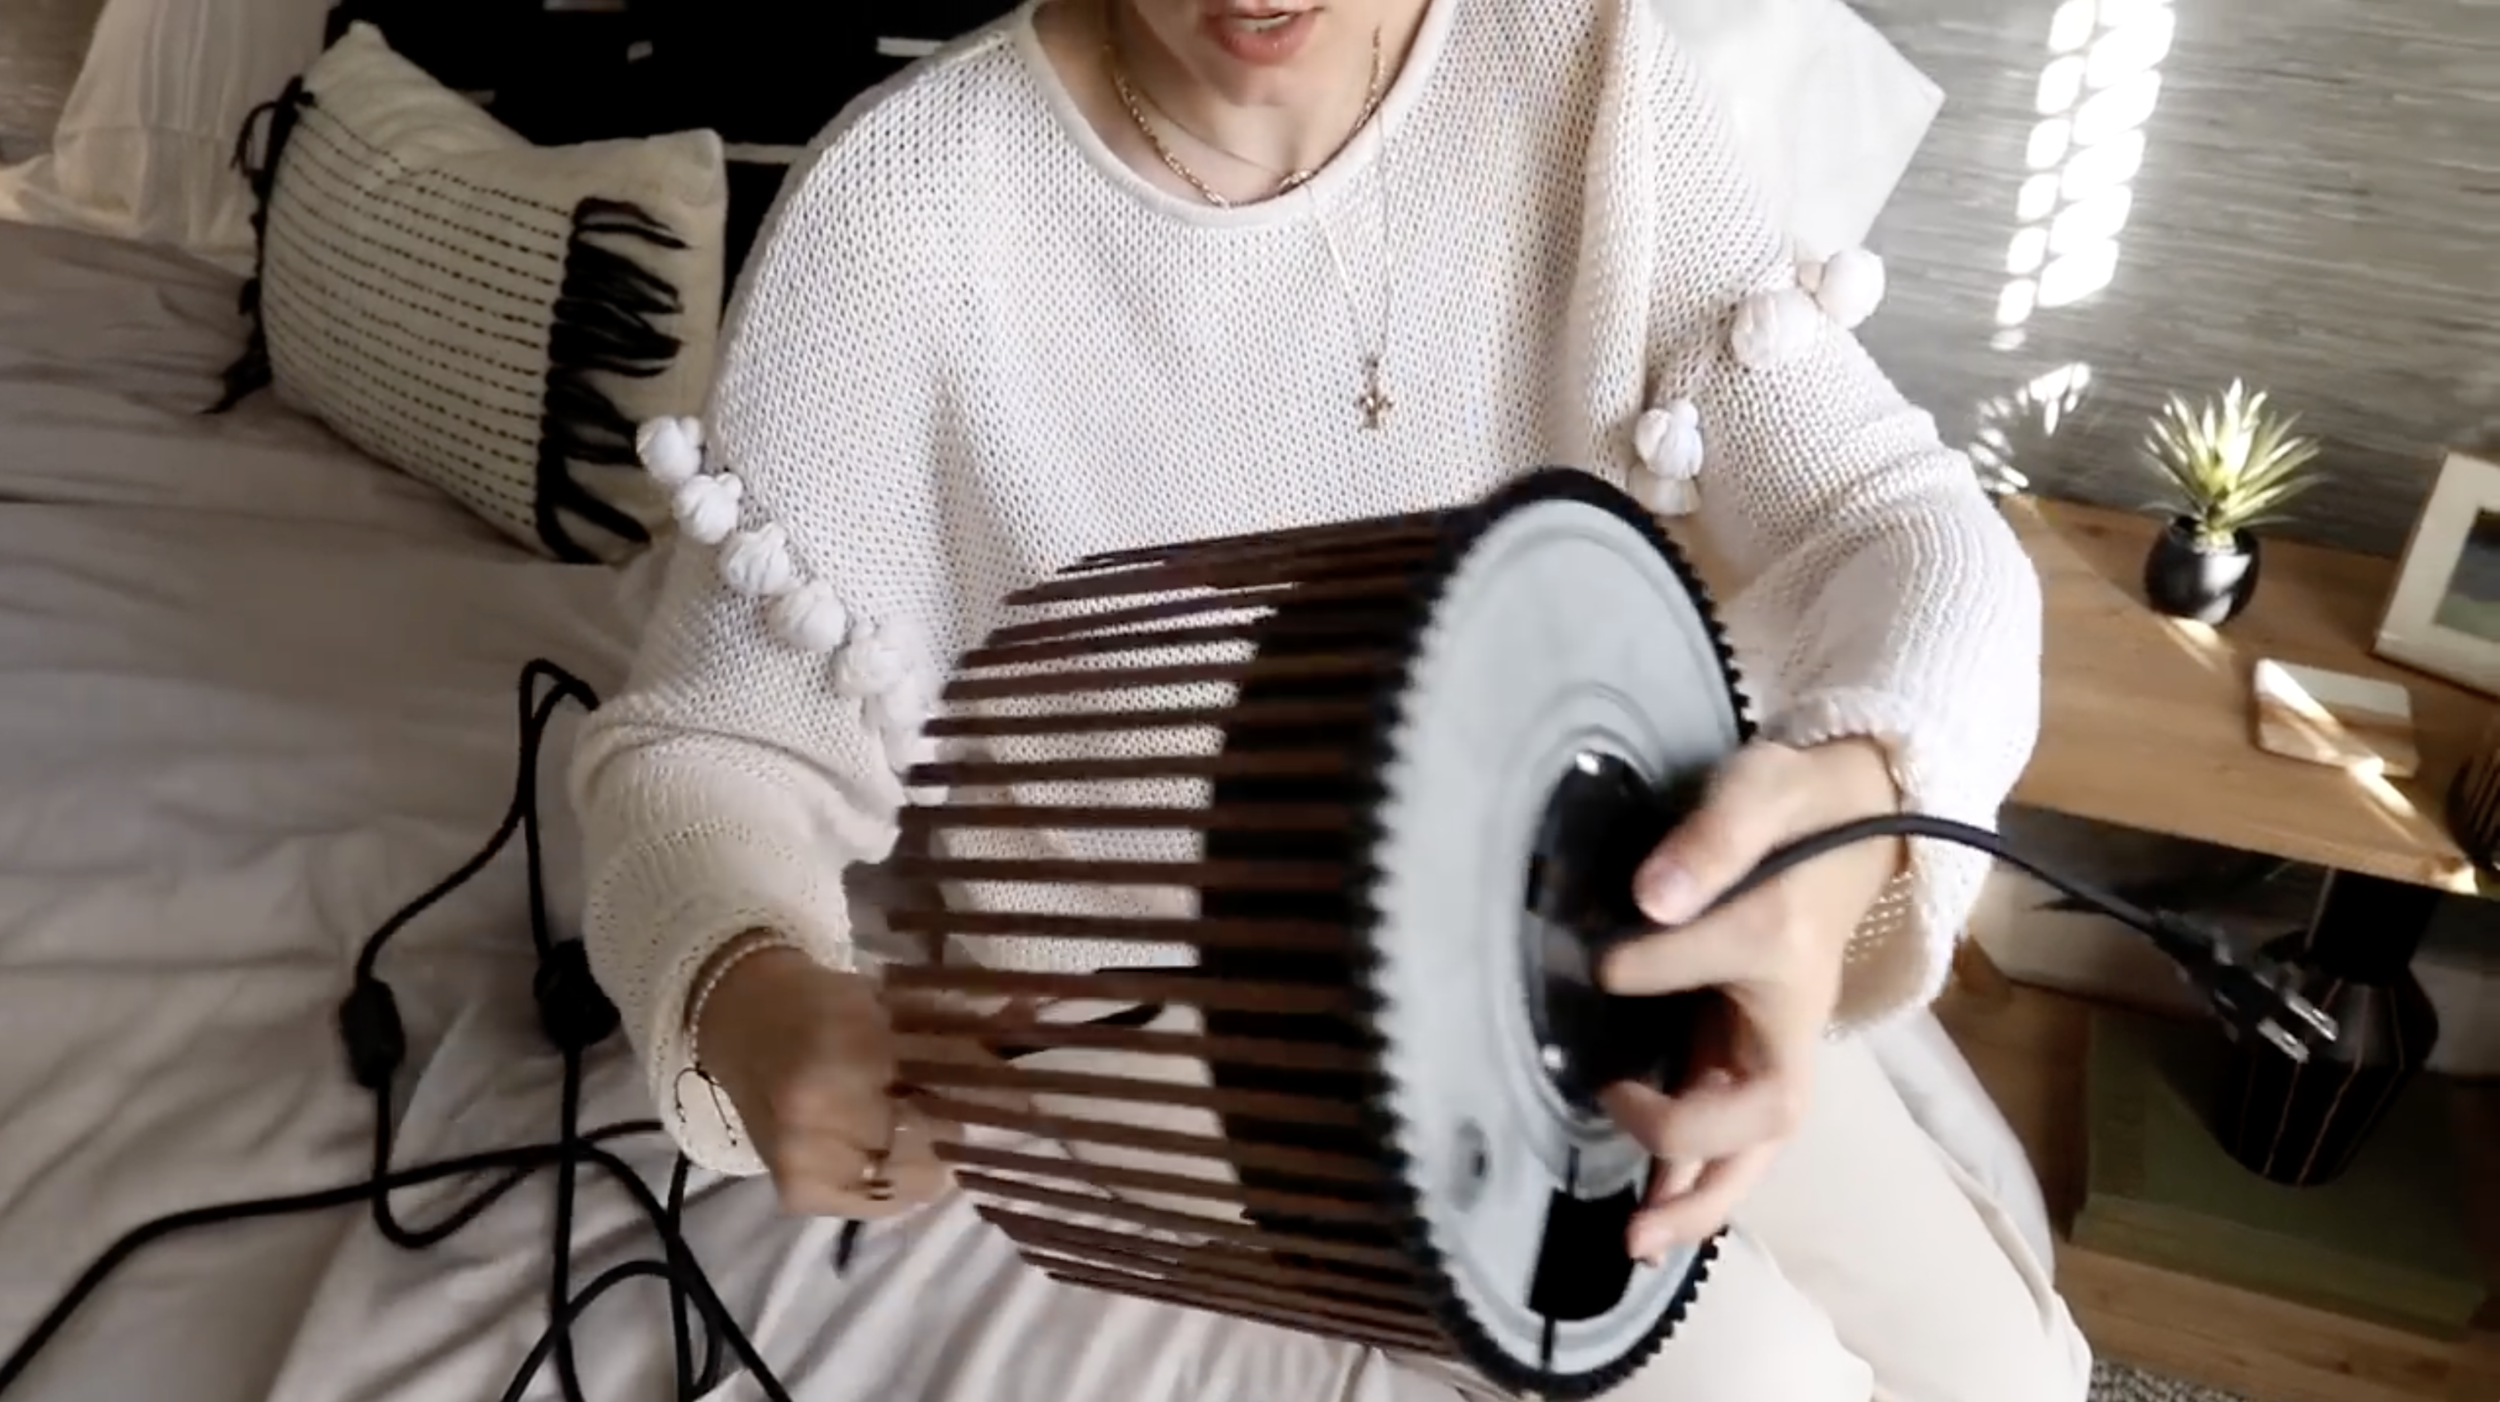
Clean up the Kodak Carousel, remove any stickers and remove the silver plate from the bottom. Sometimes I find the carousel won’t have the silver plate any more, but if yours does you can easily remove it by unscrewing it from the bottom. I like to remove it because it will allow the light to shine up through the carousel as well. After its removed I wash it in the sink with soapy water and let it dry.

Step 2
Lay out 54 craft sticks on a clean surface and make sure you select the straightest sticks. Usually I find several bad sticks (curved or broken) in the pack so I eliminate those. Next you’ll use the Minwax stain color of your choosing and stain each stick (front, back, and sides).
Let dry.

Step 3
Flip the carousel over so the side you removed the silver plate from is facing down. You’ll notice that the carousel has numbers around the rim. I like to use the numbers as a guide for where I’m going to be gluing the sticks.
Using a combination of hot glue and e6000 glue apply the glue to the bottom 1 1/2” of one of the sticks and glue it to the rim of the carousel at number “0”. I use a combination of the two glues as e6000 is super strong but takes a while to dry, so by adding in hot glue it will hold it in place so the e6000 will dry.

Apply the glue combination to a second stick and place it on the rim between numbers “2” and “3”. This will make a 1/4” gap in between each stick for even placement around the entire carousel.
Continue with the next stick at “5” and then in between “6” and “7” and so on. So on a number, in between a number, on a number, in between a number until you make it all the way around.
Let dry.

Step 4
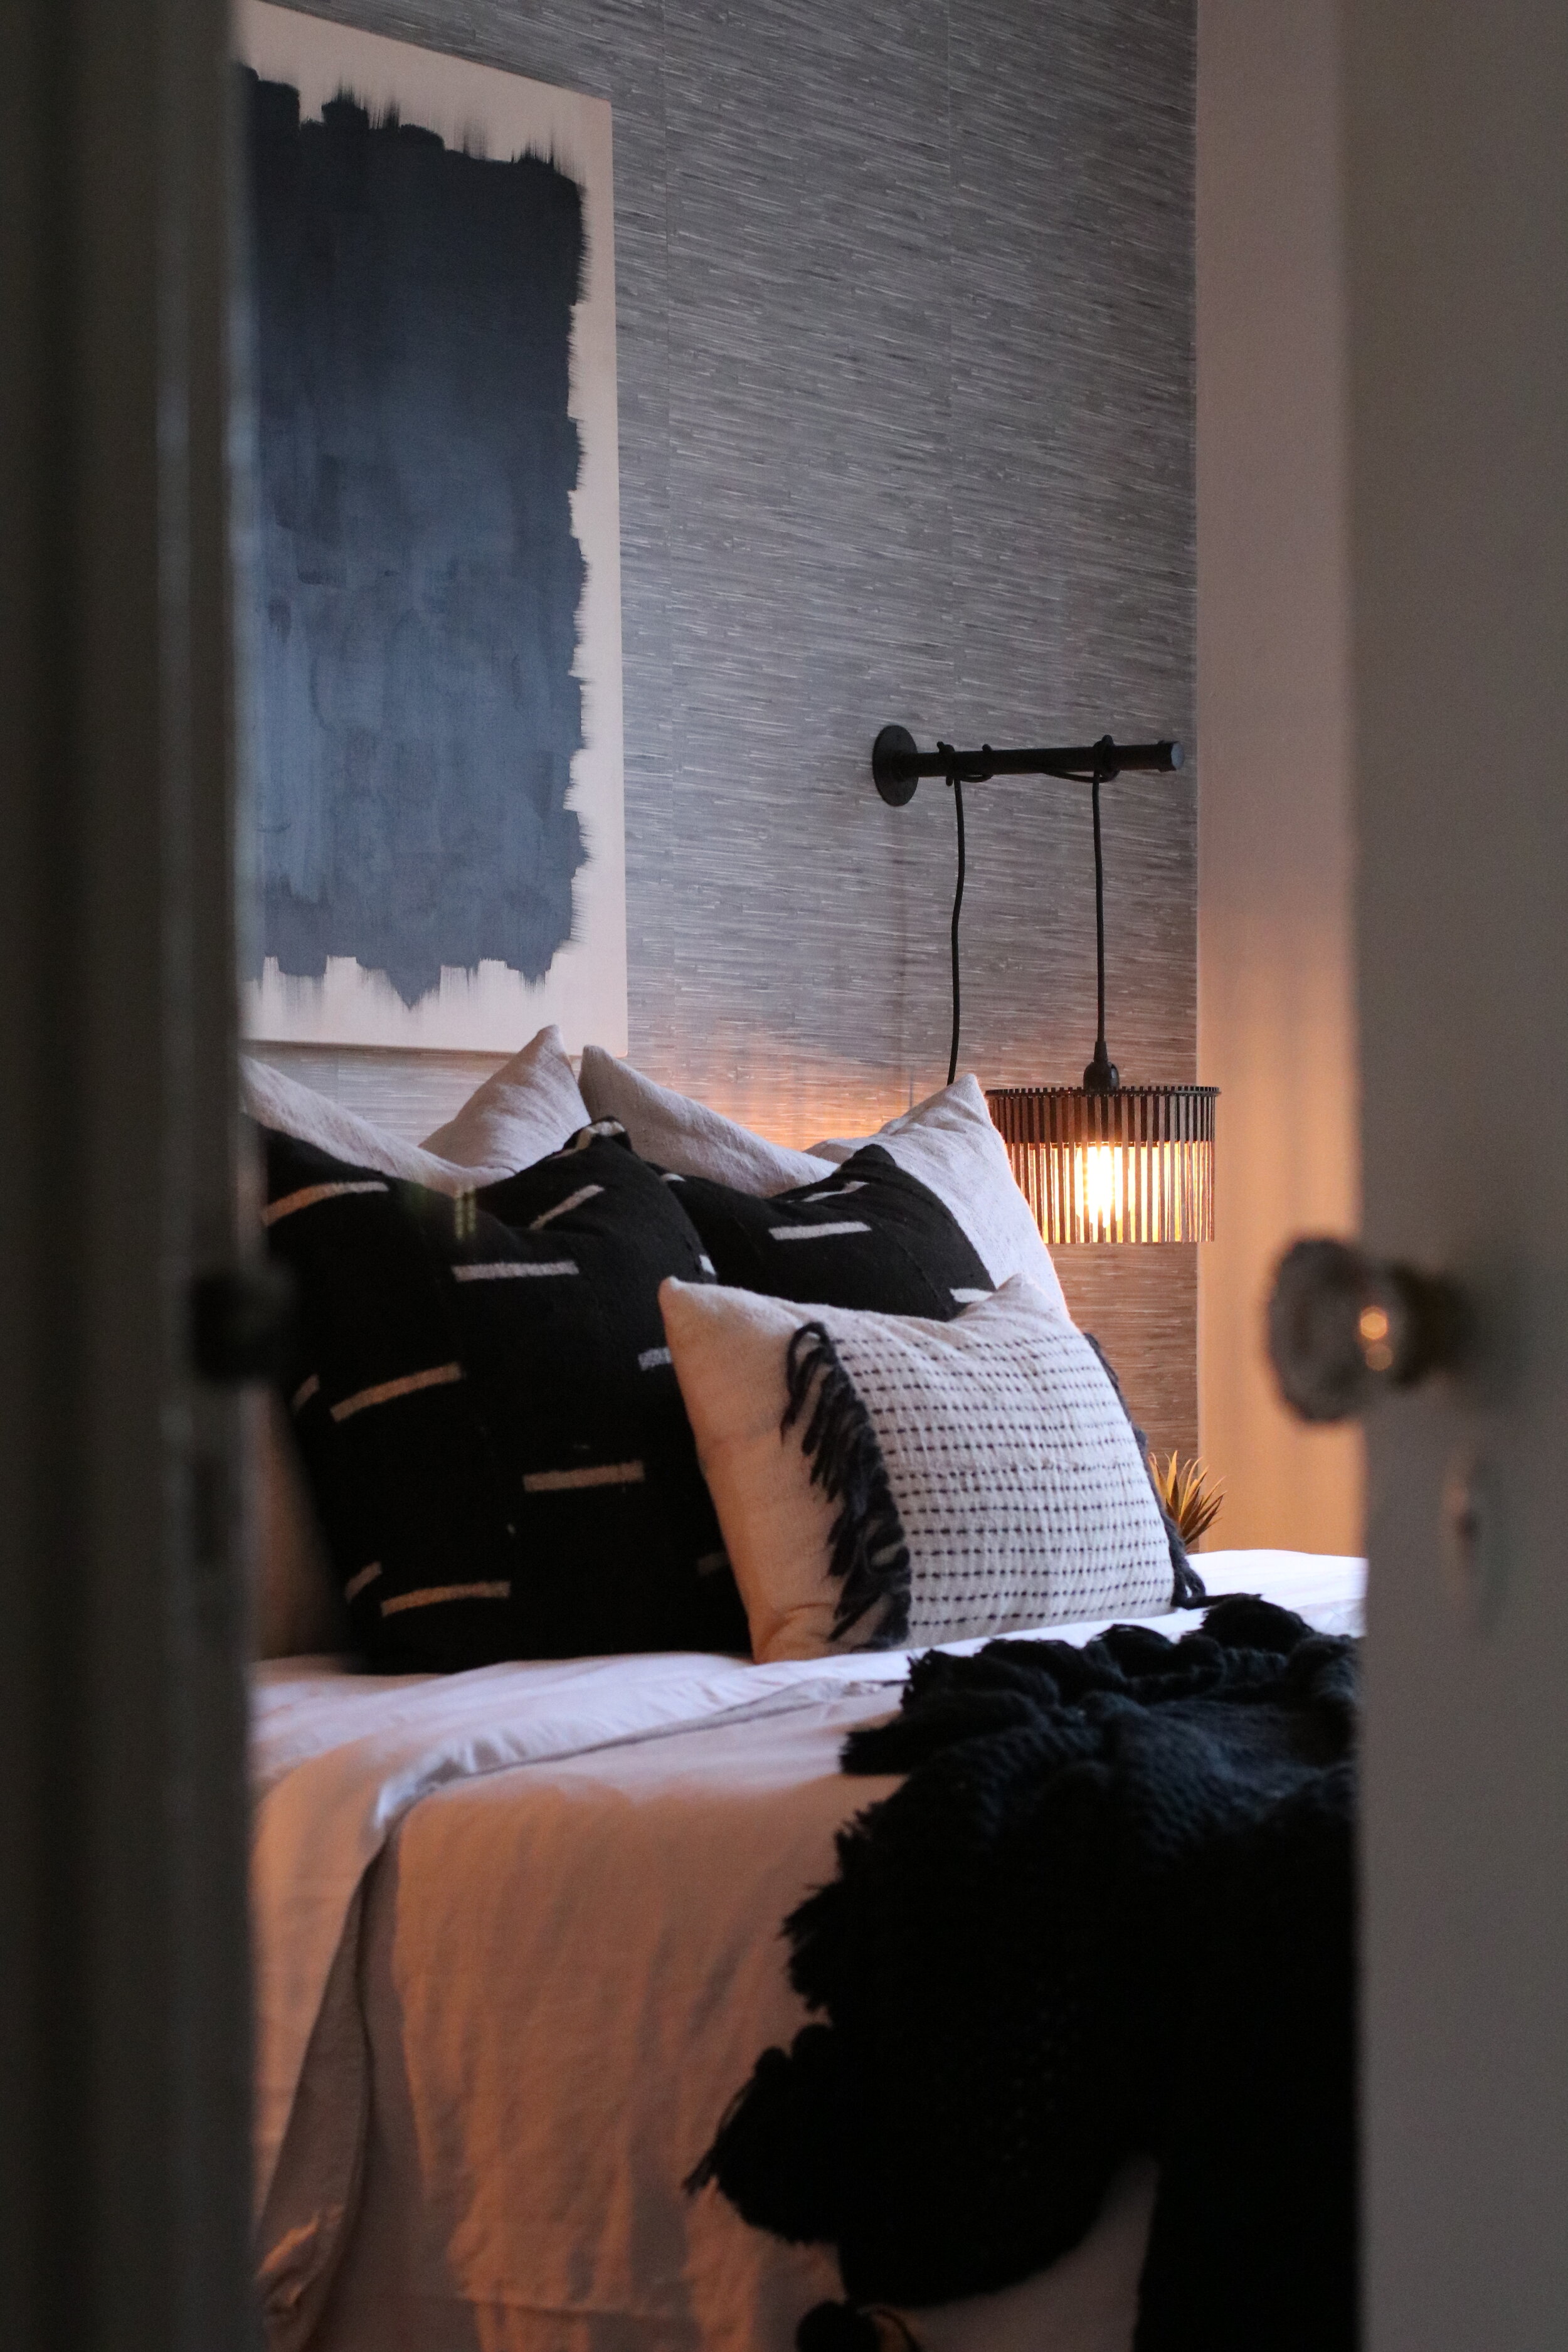
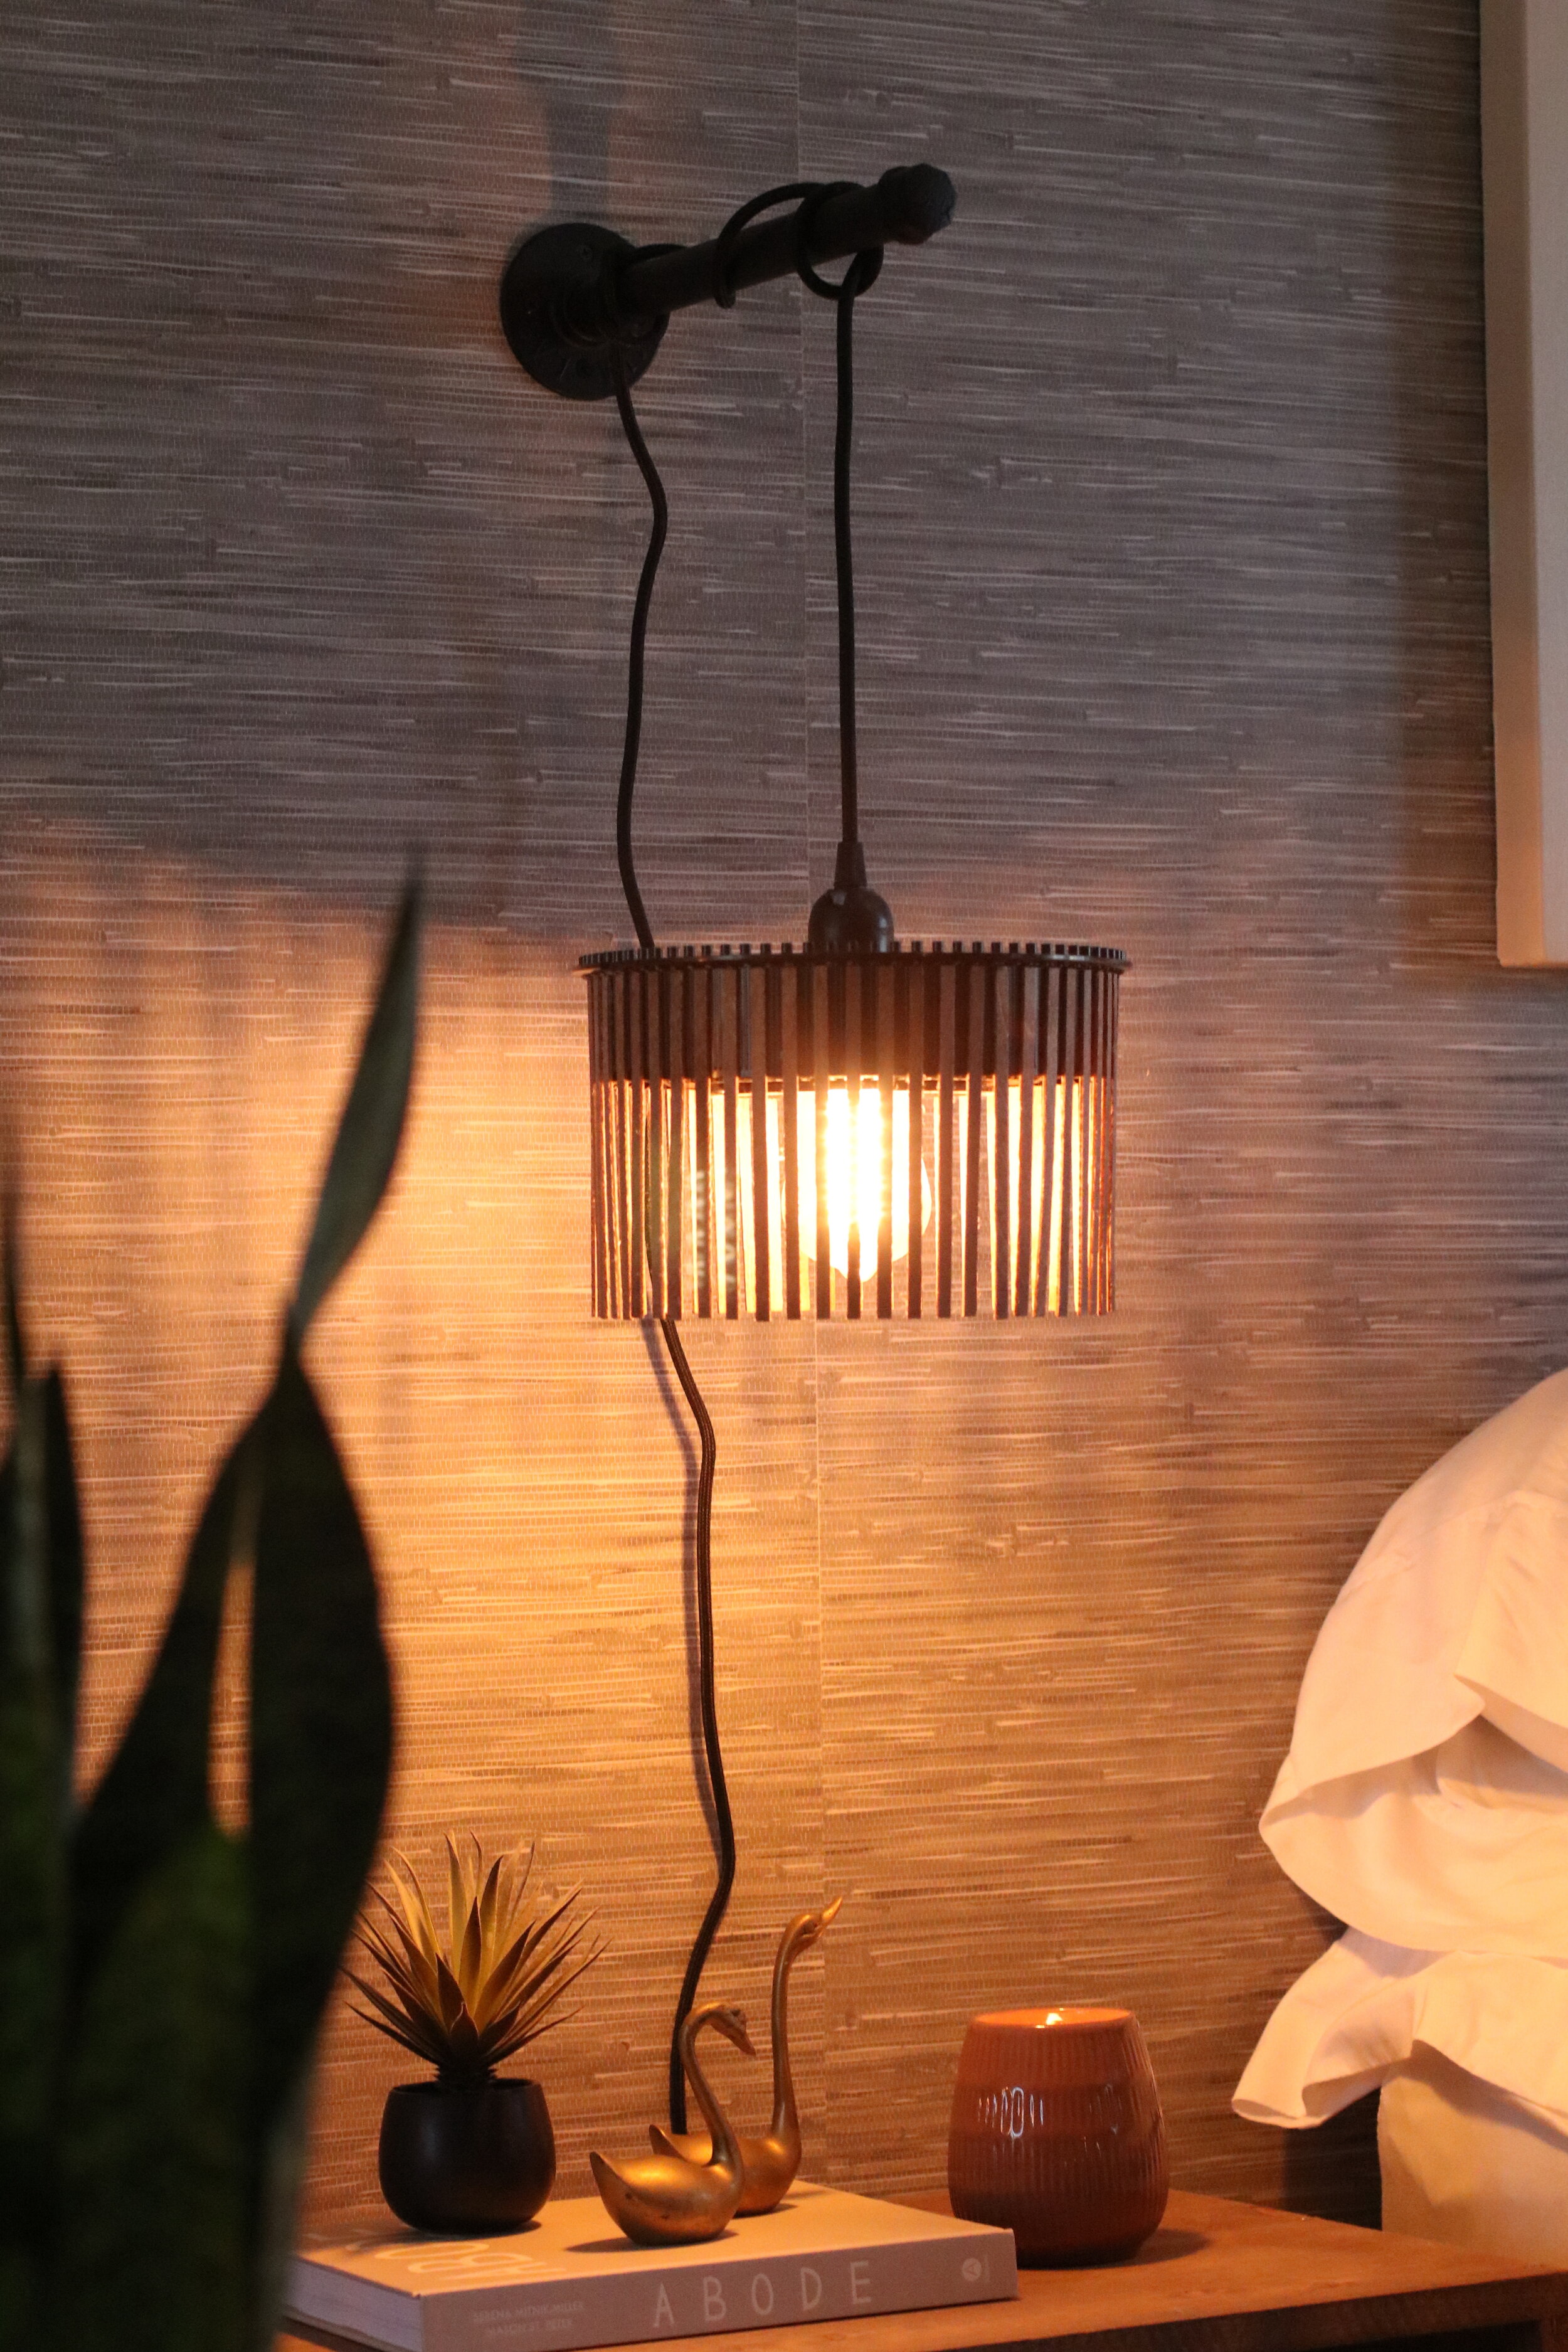
Hang your iron wall bracket on the wall where you would like them. I have mine on each side of my bed hung 24” above my nightstands.

Step 5
Take the plug end of your pendant light strand and feed it through the center hole. Once the head of the pendant light has made it to the hole opening you should find it fits like a glove.
Step 6
Now your ready to hang the pendant light on the wall bracket. I like to make a loop knot in the cord and slide that onto the wall bracket to hold to light in place. Then wrap the cord around the bracket twice and make another loop knot at the back closest to the wall.
And finally add in your Edison bulb for warm moody lighting.

Watch the YouTube video tutorial and check out my other thrift flip decor pieces I’m made!
XO, MaCenna