DIY European Linen Pillow
The right throw pillows can bring coziness and dimension to any bedroom or add eye-catching detail to a living room. I like using different sizes, shapes and colors so they can snuggle up together and add loads of texture. Good pillows can be pricey so I’ve actually gotten pretty good at making them myself! I’ve updated existing covers with embroidery, updated blank linen pillowcases with boho prints, and even made some out of macrame! (CLICK HERE for DIY macrame pillow tutorial.)
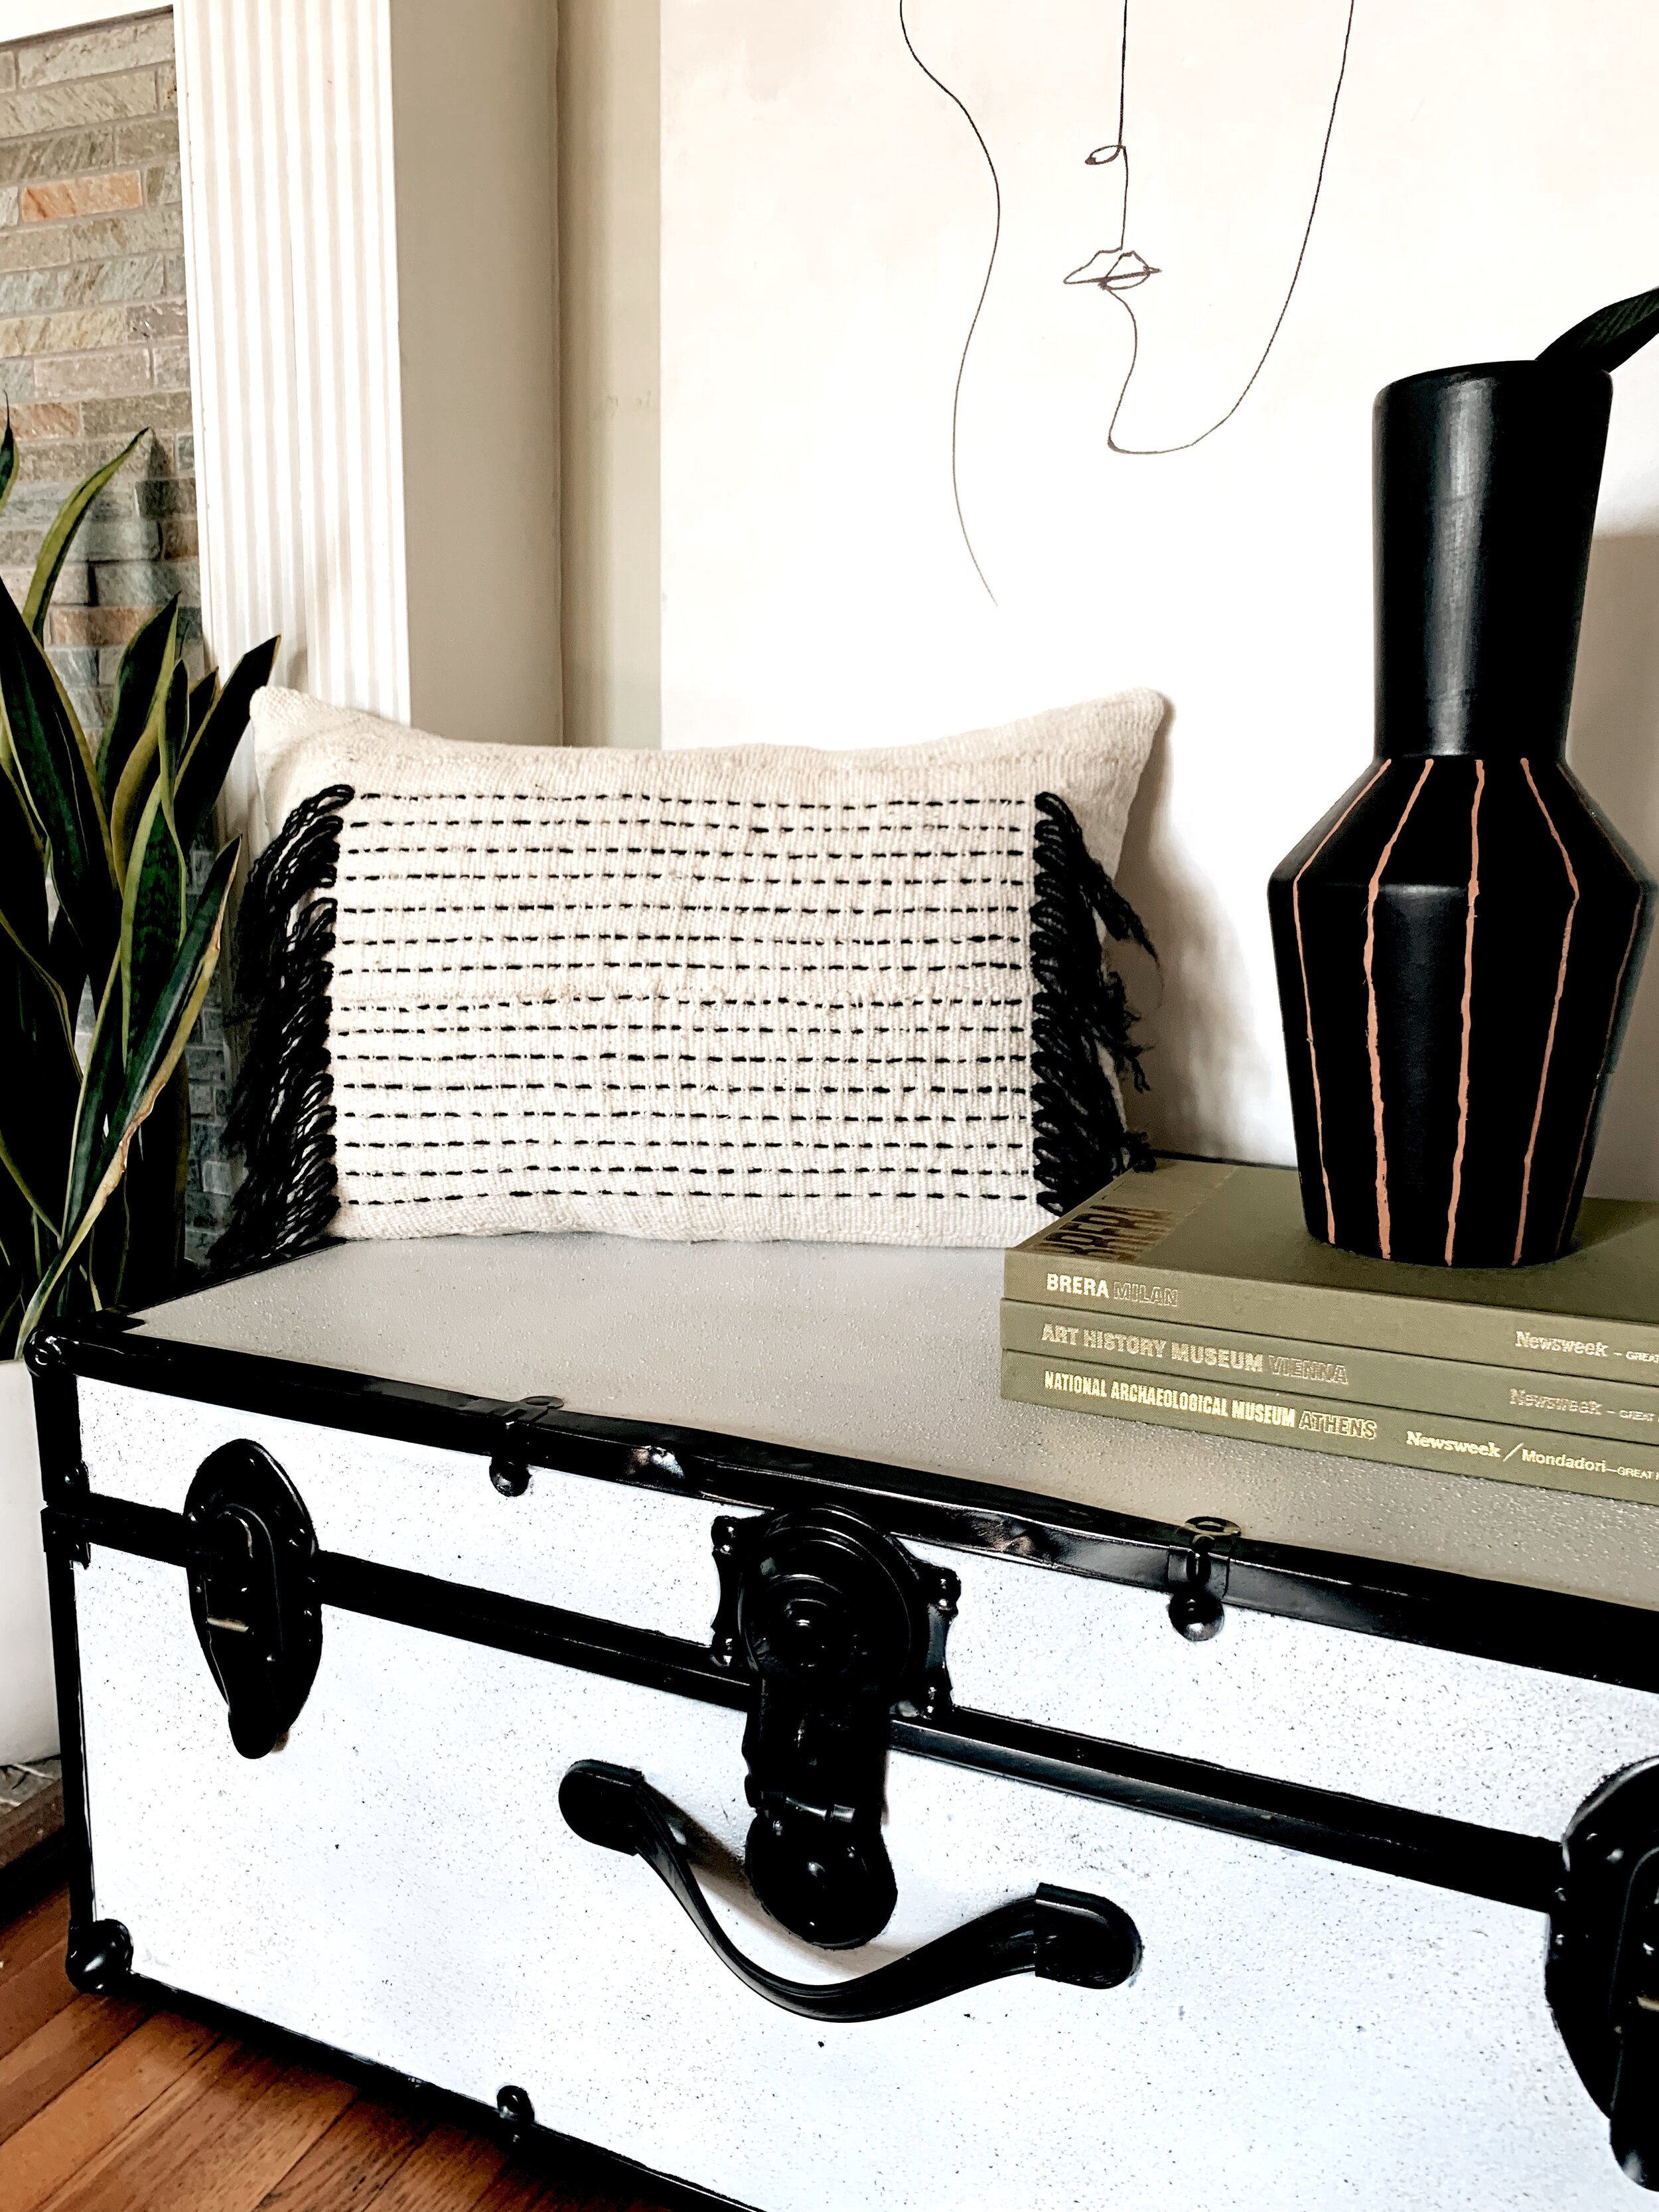
On a flea market trip to the Rose Bowl, I found a vendor that was selling pieces of vintage grain sacks made of European linen. It had a luxurious texture and the color was the perfect slubby taupe. (Slubby: fabric with threads which are thicker in some parts than others) The slab of fabric measured 57” x 87” and after doing the math I figured out I could make THREE(!) 24” pillows. I love the style and size of these pillows so much I made three more for my living room out of taupe colored linen I picked up from the local fabric store. These were such an easy DIY and they look so elegant and high-end. Oh, and they were also UNDER $25!

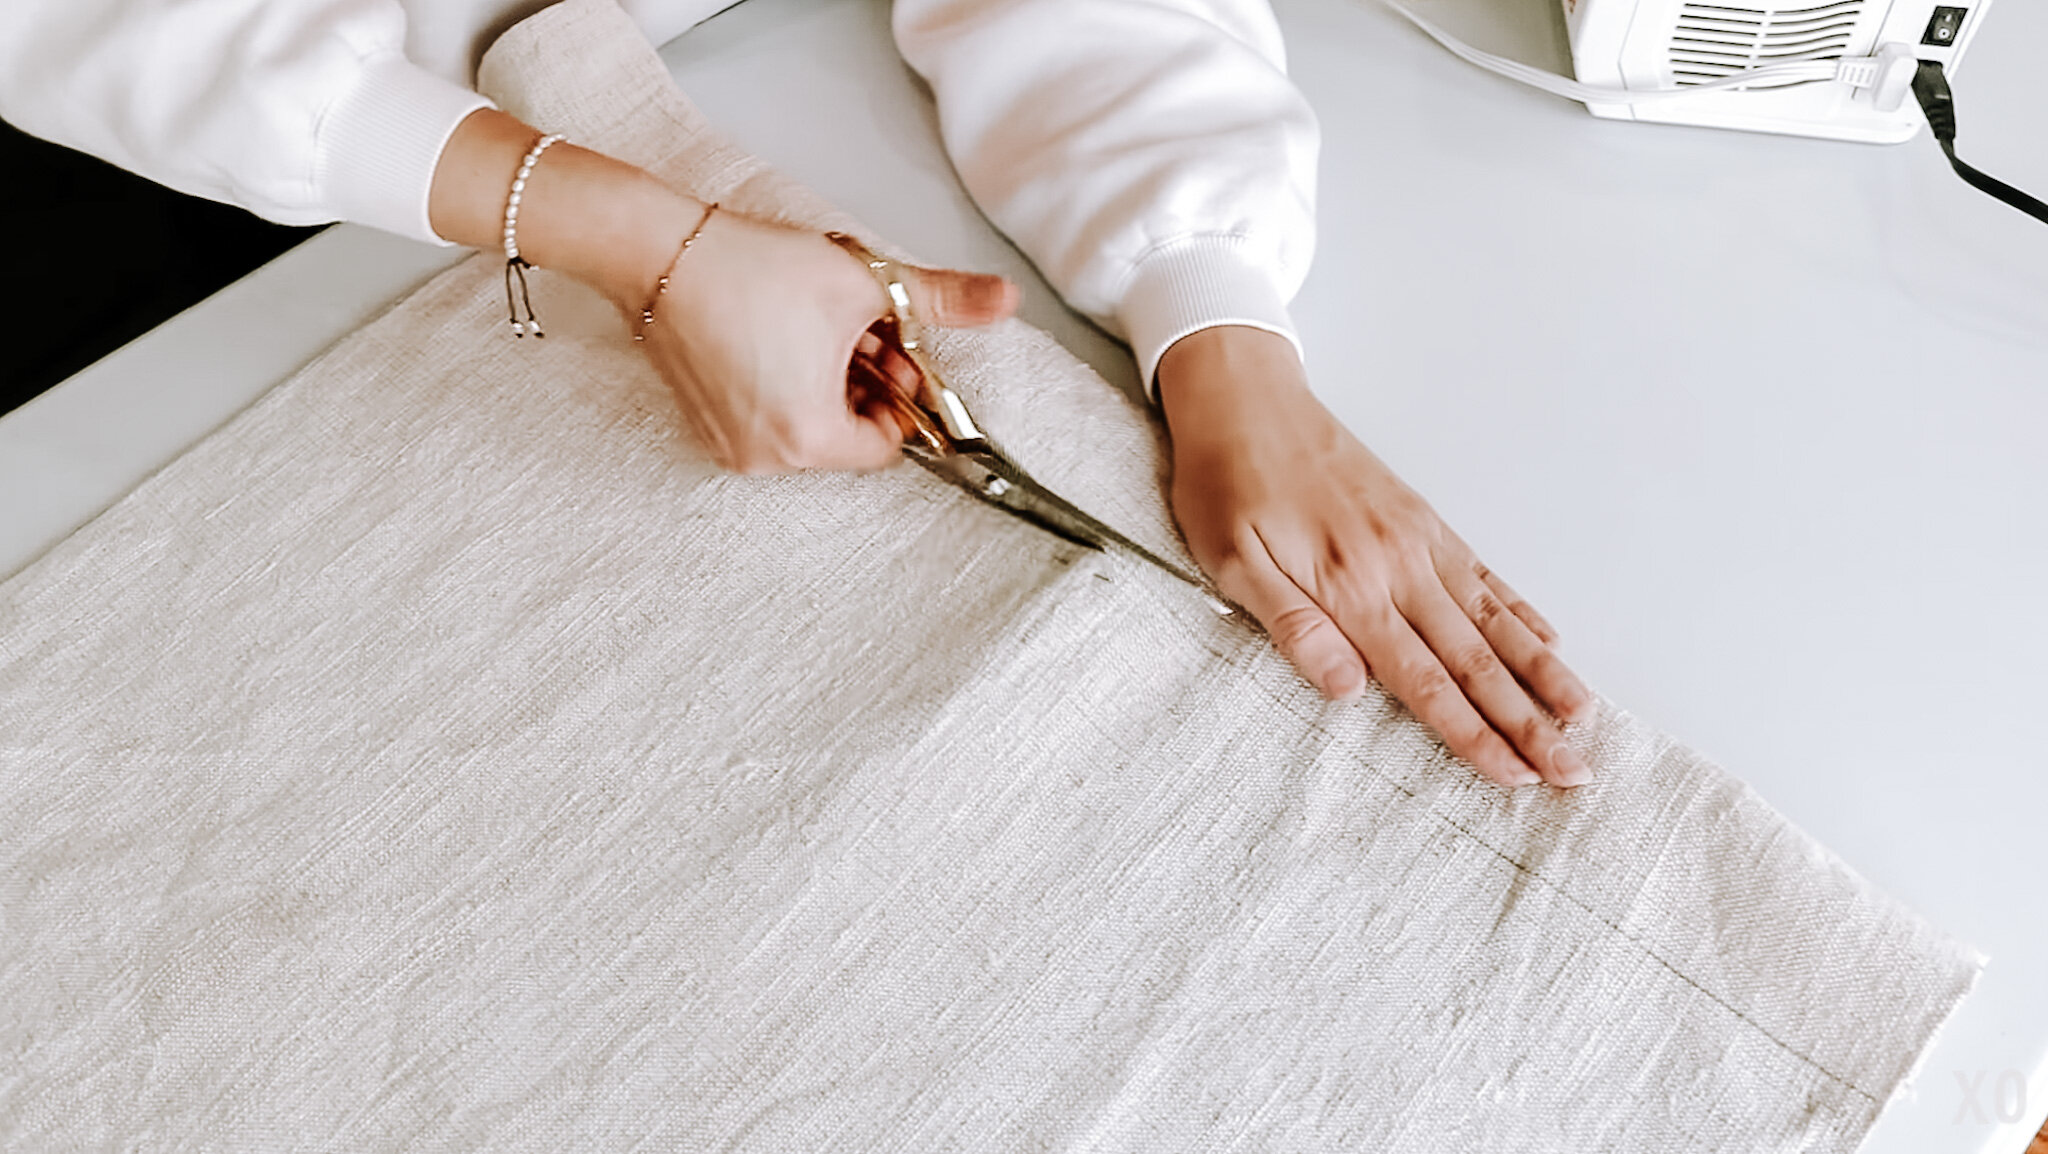
Lay out your fabric and draw out your cut lines using the L-ruler and charcoal pencil.
I cut 25” squares because I will need a 1/2” all the way around for seam allowance.
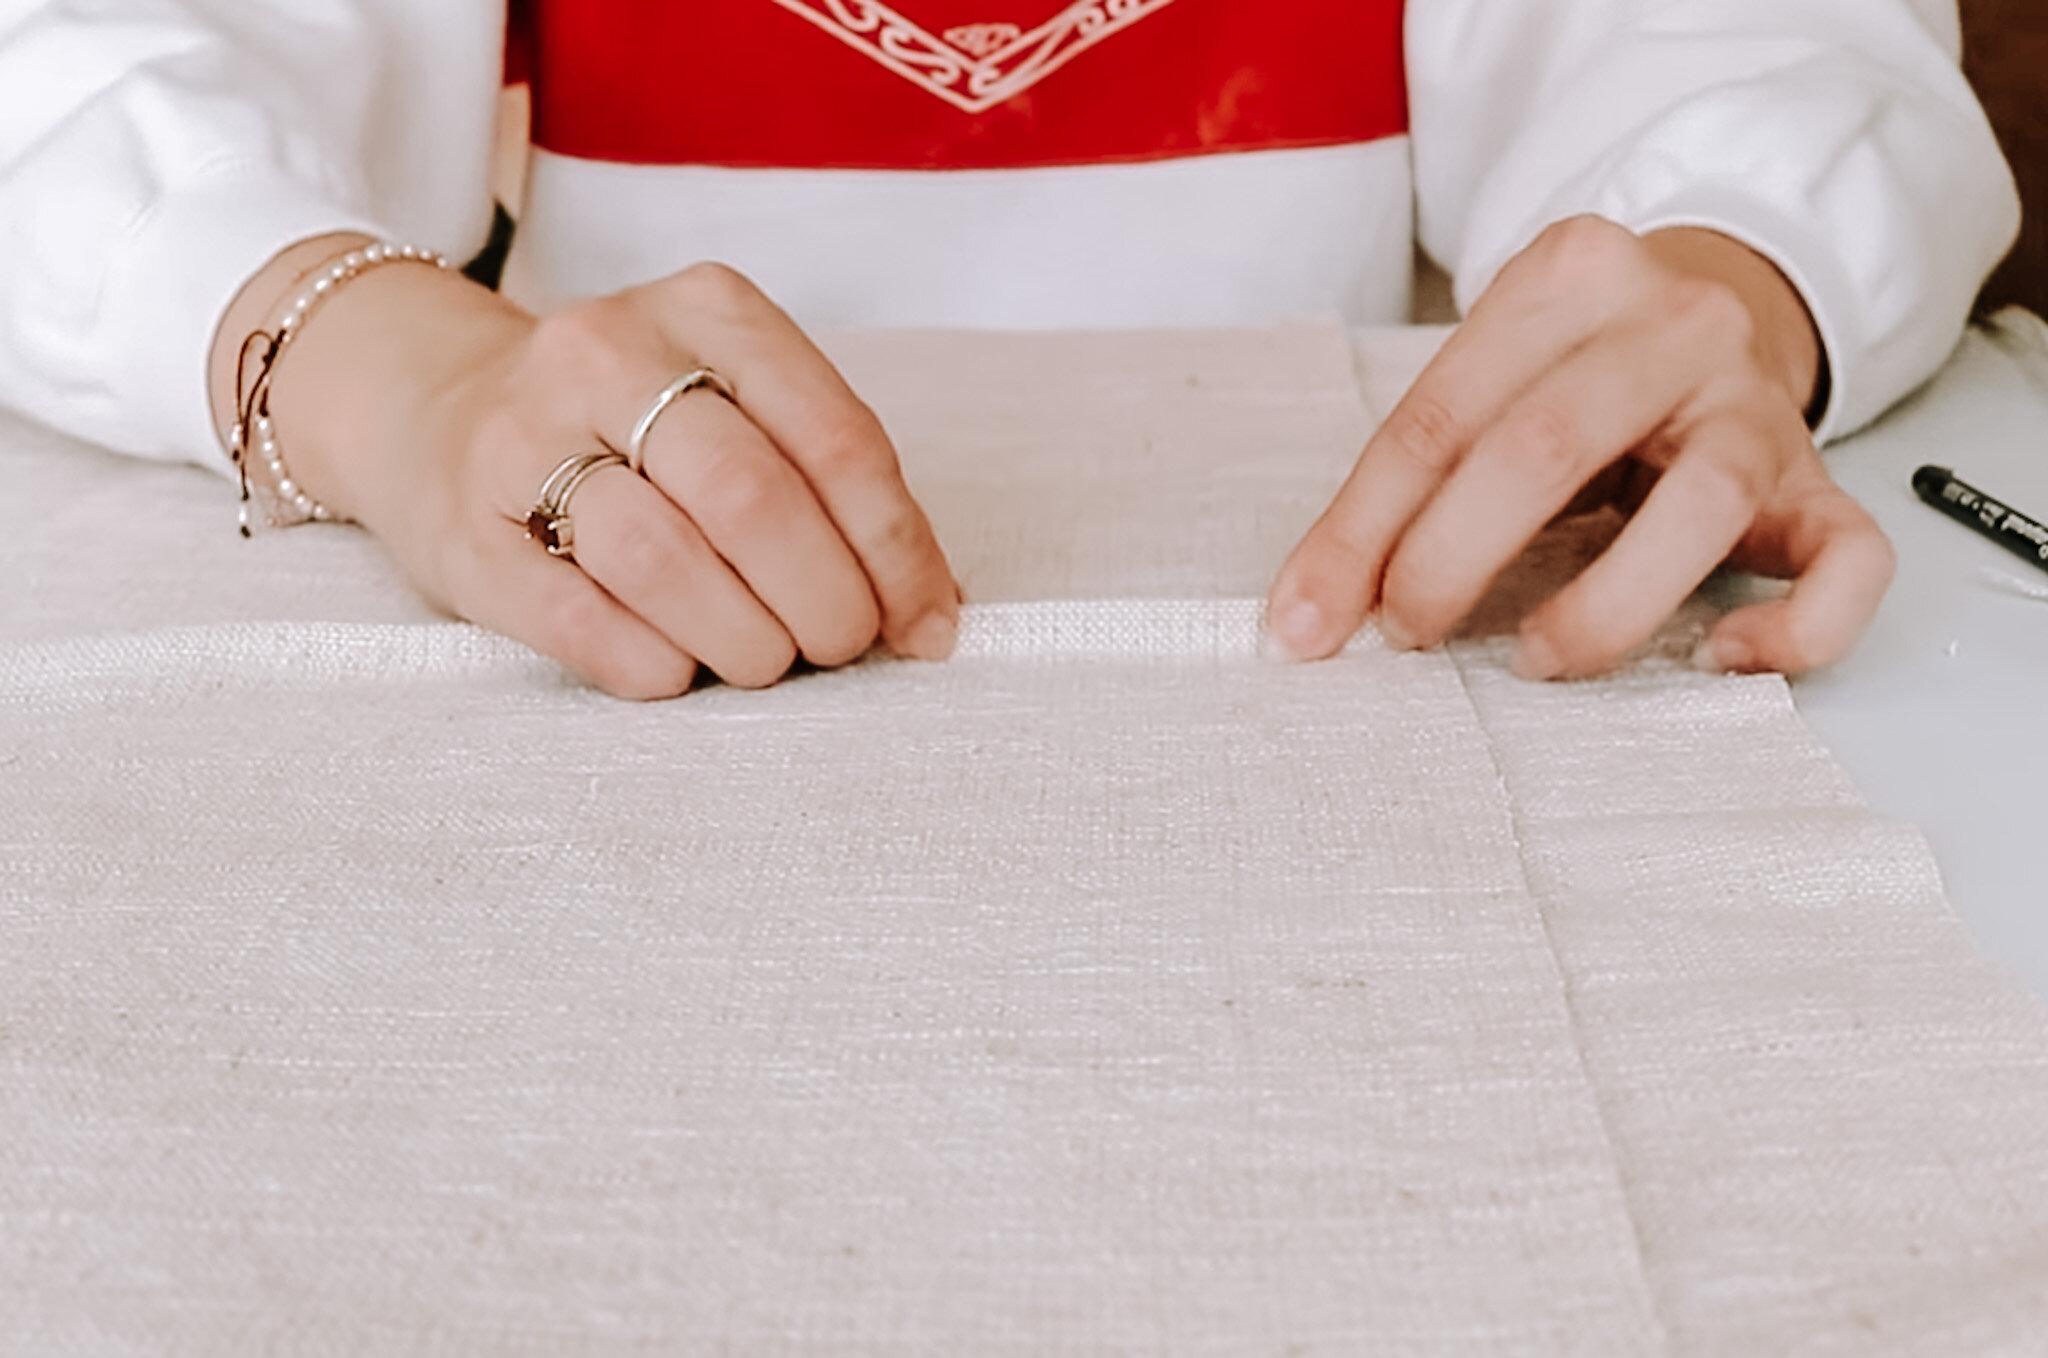
I wanted to add a simple yet luxurious detail to the pillow so I decided to add a single pleat in the center. I took the backside of the pillowcase and folded it in half. Then stitched it 1/4” from the edge on each side of the pillowcase. (make sure you’re doing this step before sewing the two sides of the pillowcase together)
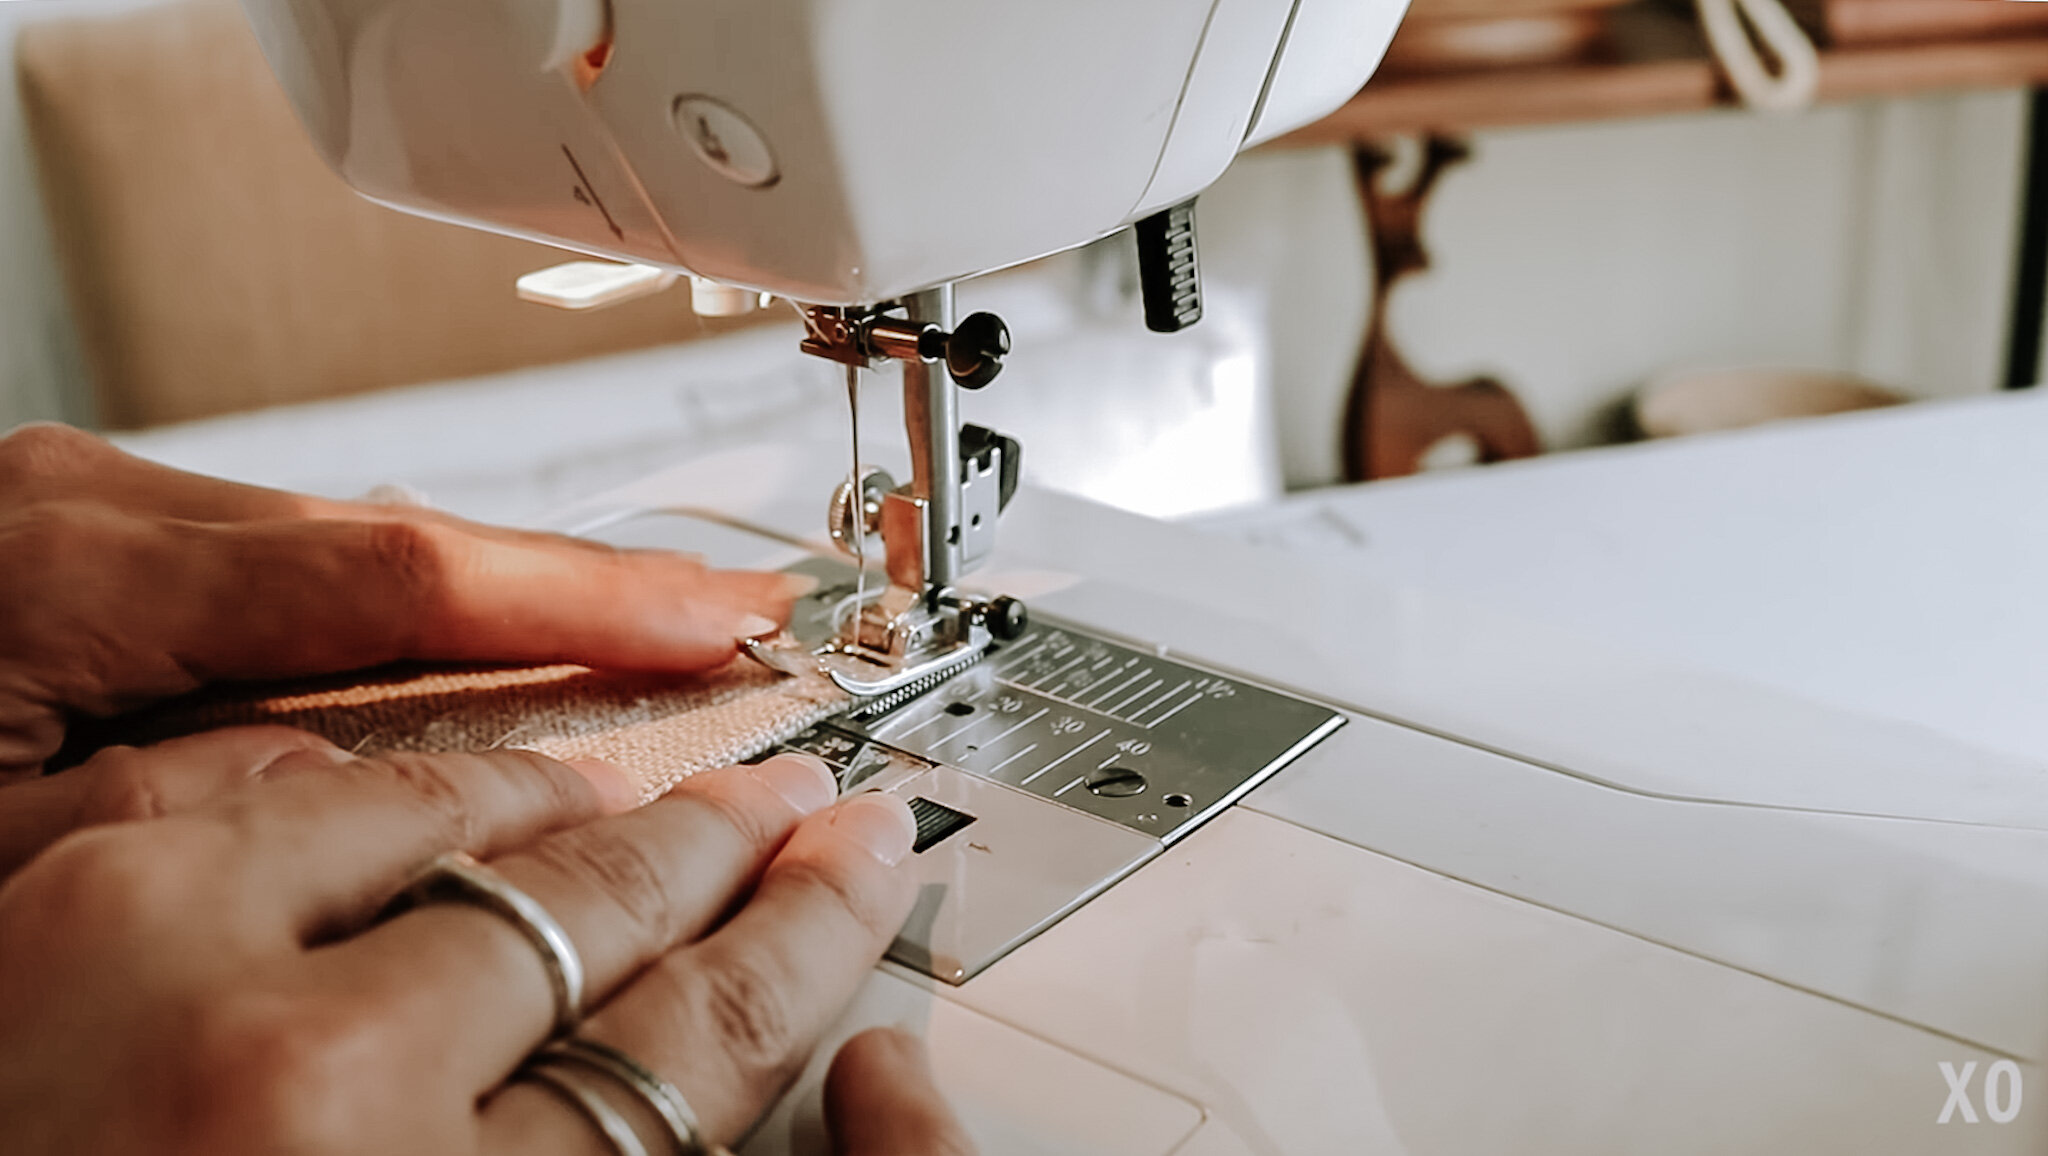
Now it’s time to sew the pillow together. Place right sides together, match up pleats and pin together. Then, pin all the way around the pillow. Then sew all around leaving enough about 6” at the bottom unsewn so you can add in the pillow insert.
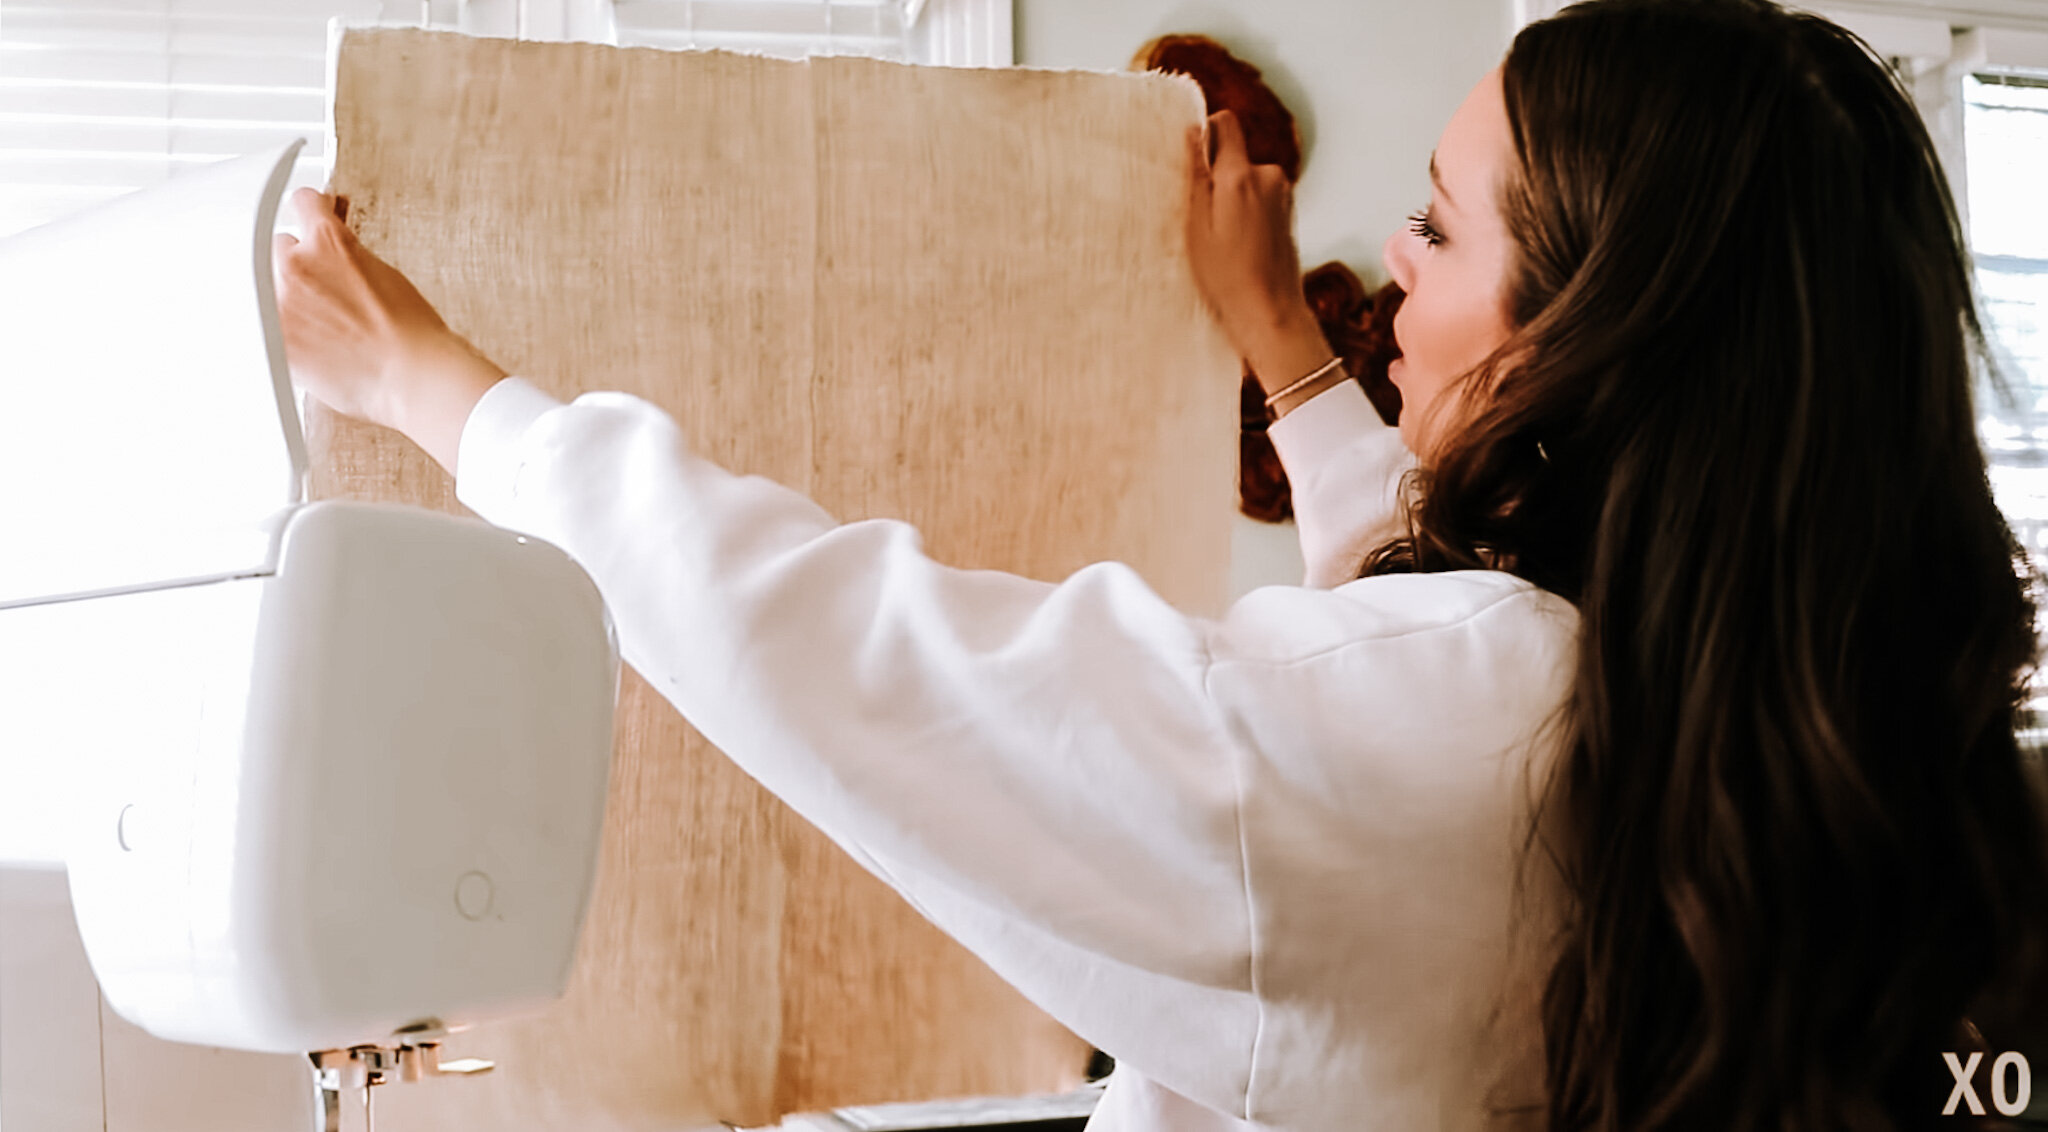
Turn the pillowcase inside out and add a pillow insert or stuffing.
Sew the opening shut with a hand needle.
Tip: Double stuff or add a larger size insert to make the pillow look more luxurious. My insert was 26”
Tip to wash: throw the entire pillow (including stuffing) in the washer and then dry with 2 tennis balls which will keep the stuffing from clumping together,
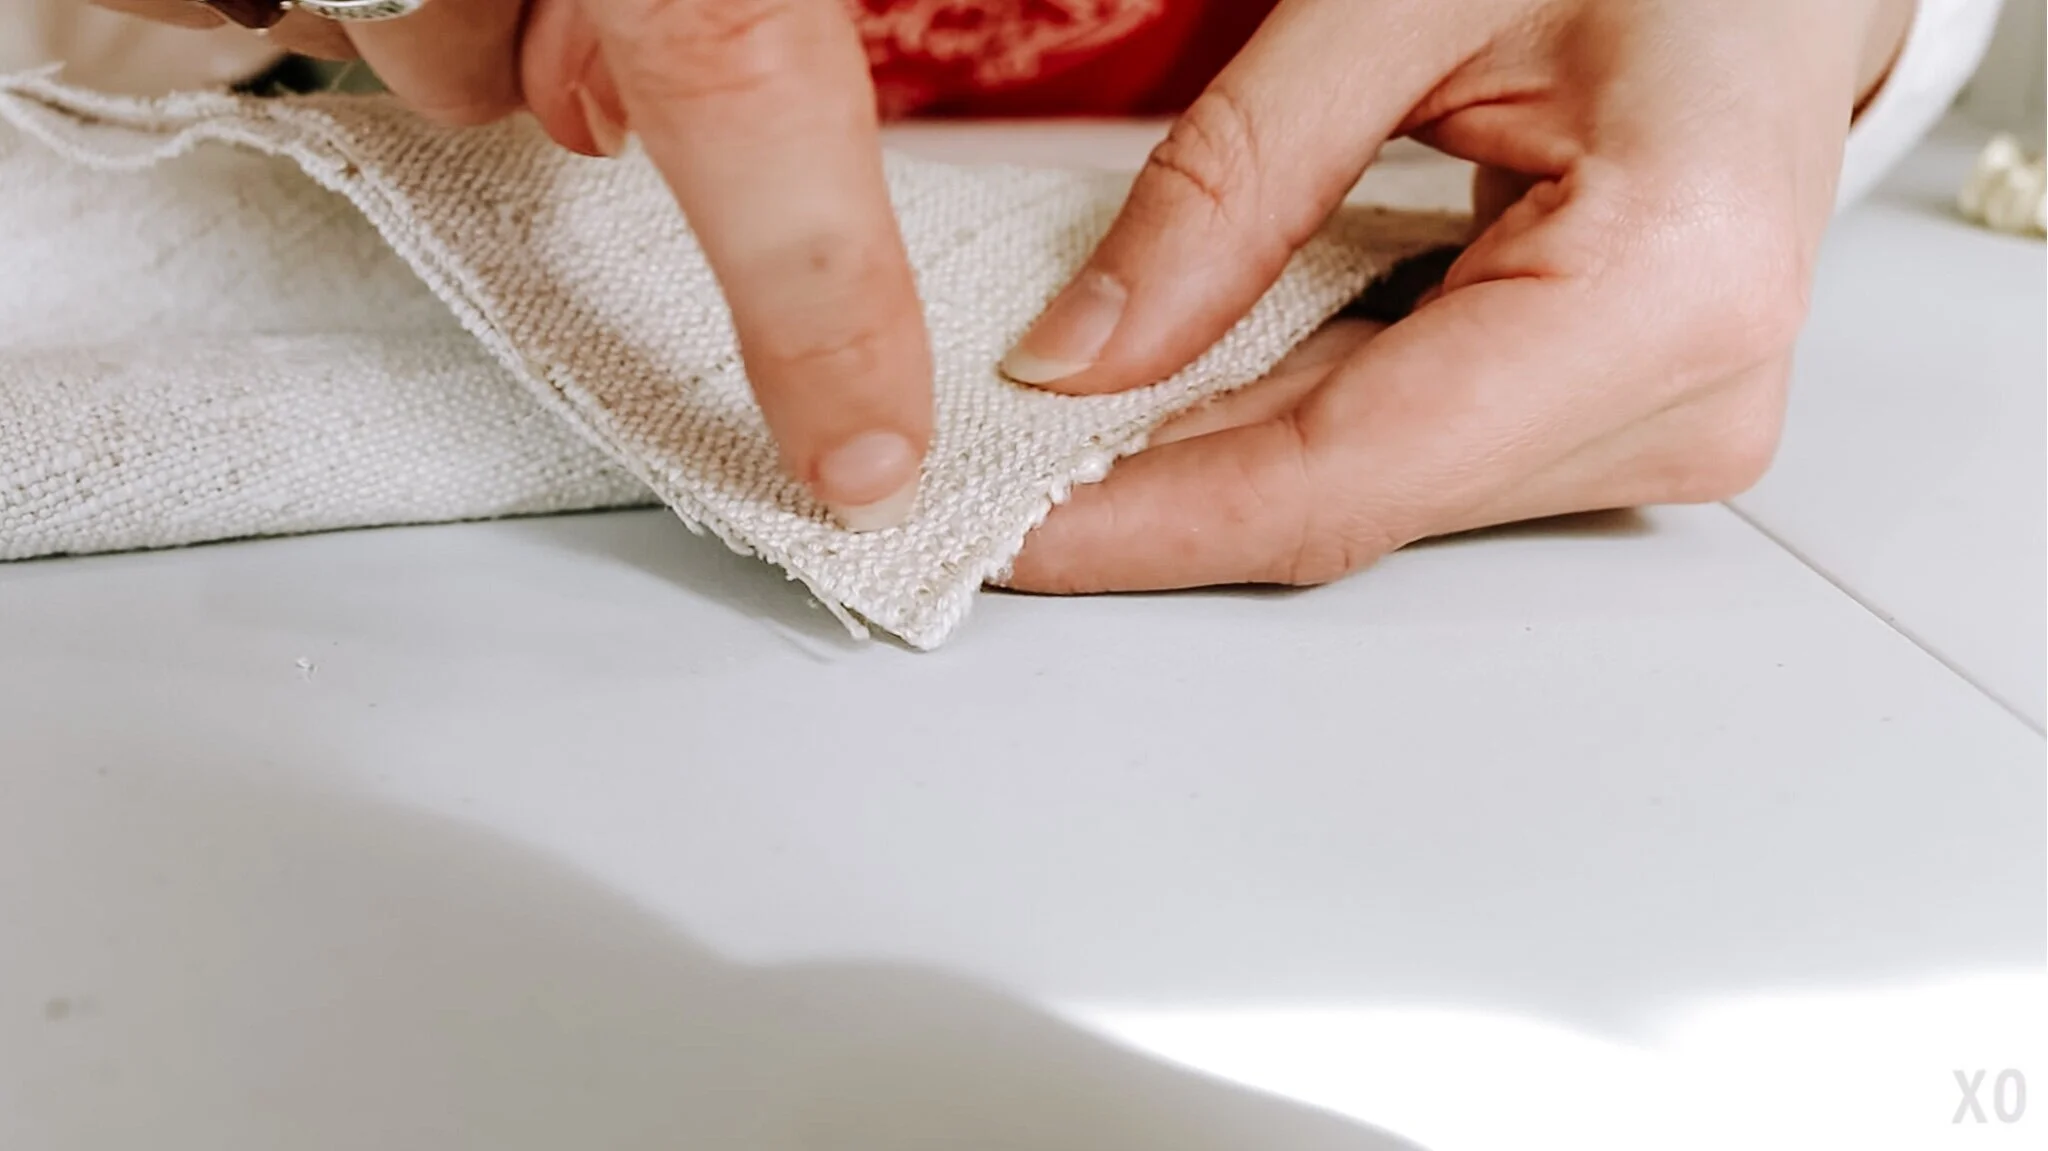

Tip: Before turning the pillow case inside out, I make a diagonal cut at the corners closest to the stitch. This eliminates some of the fabric that gathers at the corners and leaves you with a perfect point and square. Use a needle point to help bring the corners out.
CLICK HERE to watch the entire DIY video and detailed step-by-step instructions on how to complete this simply elegant European linen pillow.

Making my own pillows gives me the creative freedom to add the exact details I want for my decor. Here are a few other super fun pillows that I’ve made! Let me know which is your favorite in the comments below!

I did an entire series on Scandinavian decor including this graphic print pillow. CLICK HERE for DIY.

Throw pillows on a budget. CLICK HERE to watch me turn blank pillow covers into expensive-looking throw pillows.
I thrift flipped this piece of African mud cloth into this gorgeous throw pillow. CLICK HERE for the DIY.

I loved working on this Boho punch-needle pillow! Watch the DIY HERE.