How I Used Salvaged Beadboard To Renovate Our Dining Room Ceiling

From the start of this renovation, I’ve been determined to salvage and reuse as many original materials as possible from the house. Once construction moved to the exterior, I began to tackle interior projects using those salvaged materials that would bring some character to plan walls and spaces.The kitchen, guest bathroom, and pantry all have beadboard wood on the ceiling (some of it is going the opposite way, lol, but that’s ok). The dining room, however, does not. Originally this room had acoustic ceilings and it wasn’t until we demo’d the room did we discover the shiplap underneath.
DESIGN
From a design perspective, it would be odd to go from one size wood detail (6'“ shiplap) to a completely different size (3” beadboard). We also have tons of beadboard we salvaged from the different areas of the house. So, I want to continue the beadboard into the dining room ceiling as well.
To camouflage the seams and give a little visual interest I had them leave the original ceiling 2”x4” from the bathroom walls so we can come back and clad them to create wooden beams in the kitchen. Function meets beauty here!
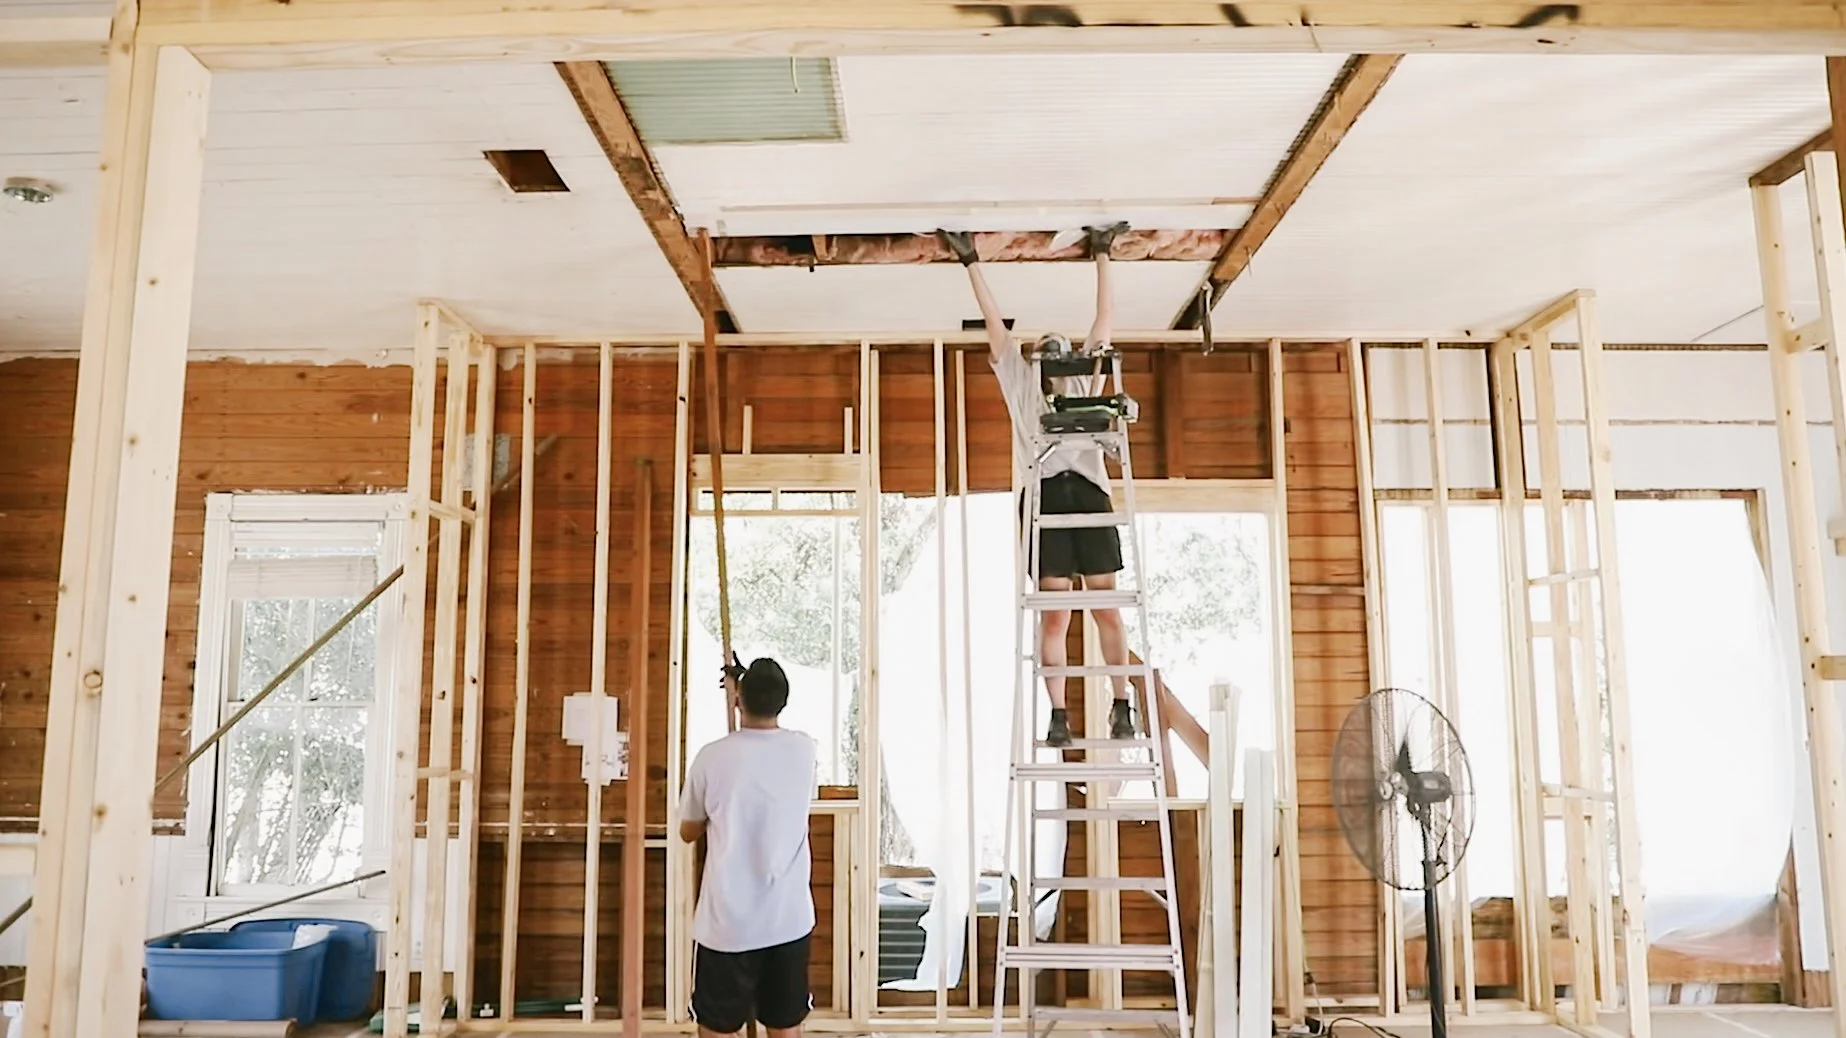
The process of having to go up and down the ladder, moving the ladder, and having to trade the ends of the board back and forth eventually got pretty tiresome. So… we rented scaffolding to tackle the larger areas. It was so much better having a larger surface area to walk on and not having to move a ladder back and forth all the time and energy saved was worth it.

Once we finished getting all the beadboard up on the ceiling it looked like cotton candy since we used boards that came from different parts of the house… It had to go. I had to get the ceiling prepped and ready to paint. It took me 2 hours to spackle the holes and the sanding process was brutal on my neck and arms. It was a hard lesson to realize I should have sanded the pieces before putting them up.


PAINT
Let's talk about the paint color for the ceiling! As we moved into the interior I know I want a very specific paint color for the kitchen cabinets, which is kind of an ashy tan color. And for our beautiful 12-foot ceilings, I want the feeling to be grand and a good trick to make your ceilings feel taller is to with a lighter paint color.
We chose Gray Mist (OC-30) for the ceilings which are a calm off-white perfect to keep the rooms in the cottage feeling tall and airy…
I always like to start with the things I already know for certain as kind of a jumping-off point. So, I got some samples of the potential cabinetry color that’s going to go in the kitchen and I matched the best color for the ceiling that way.
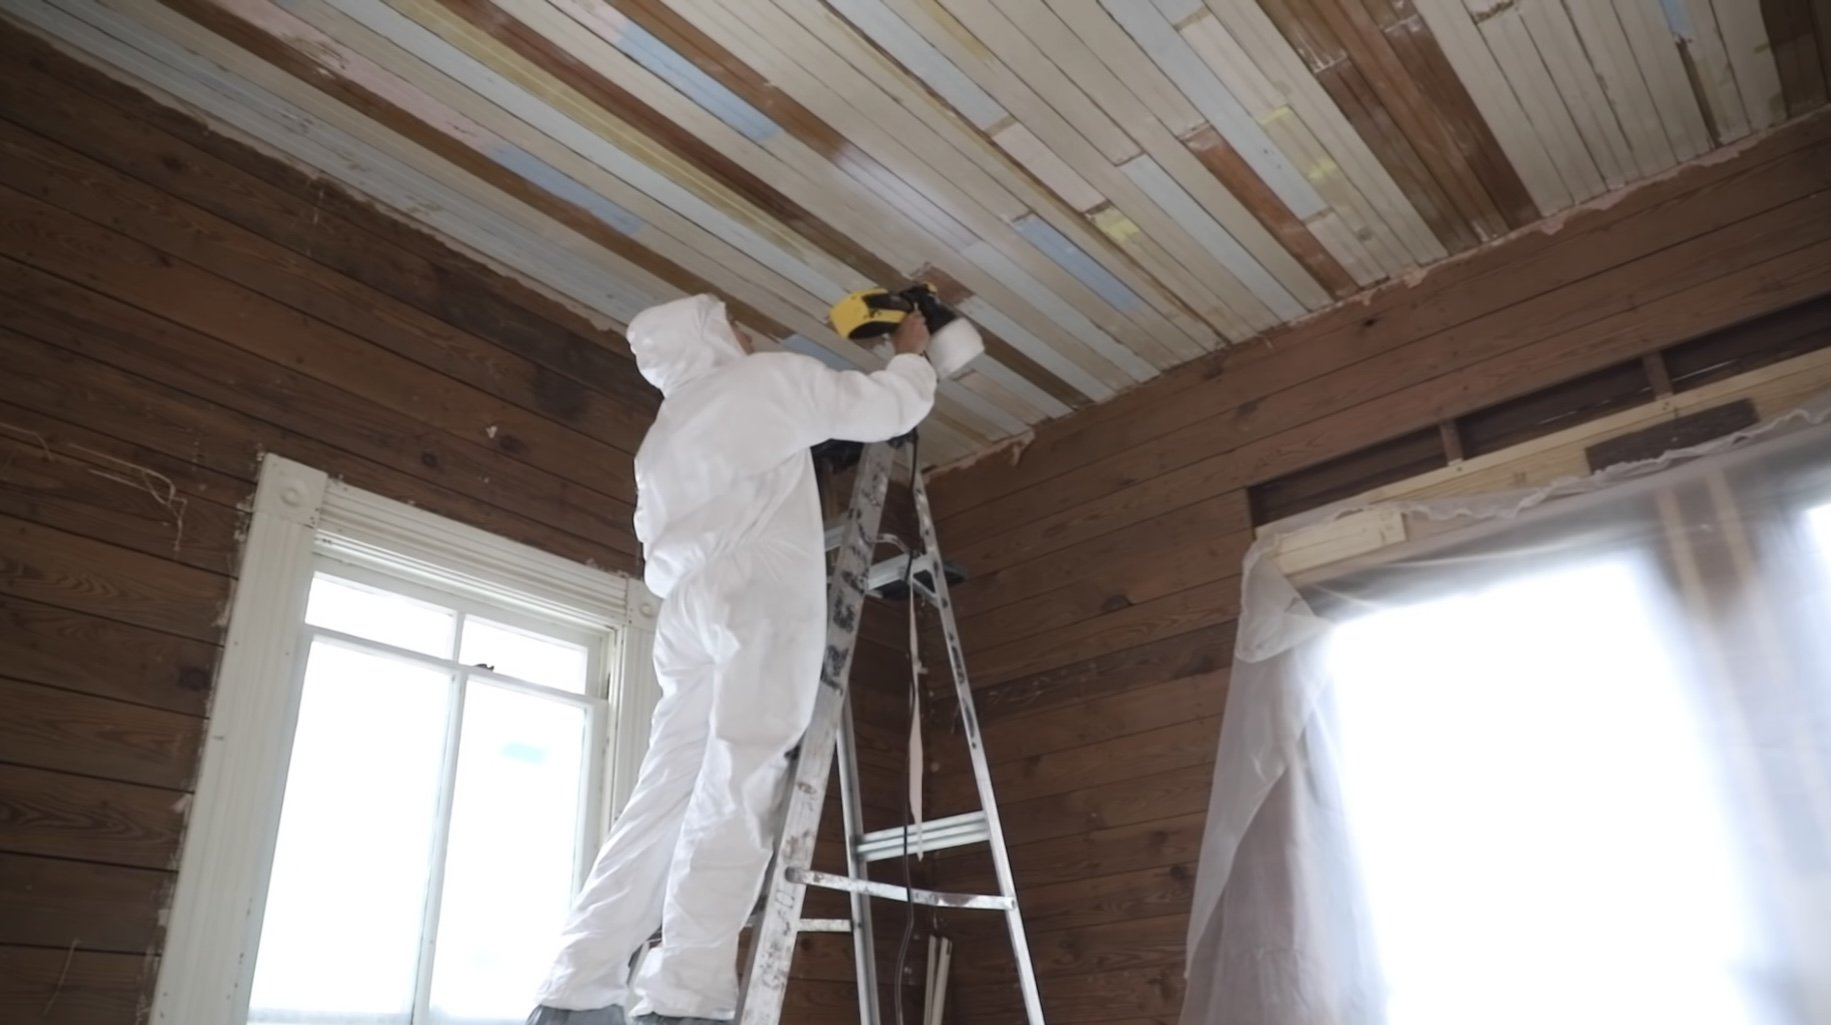
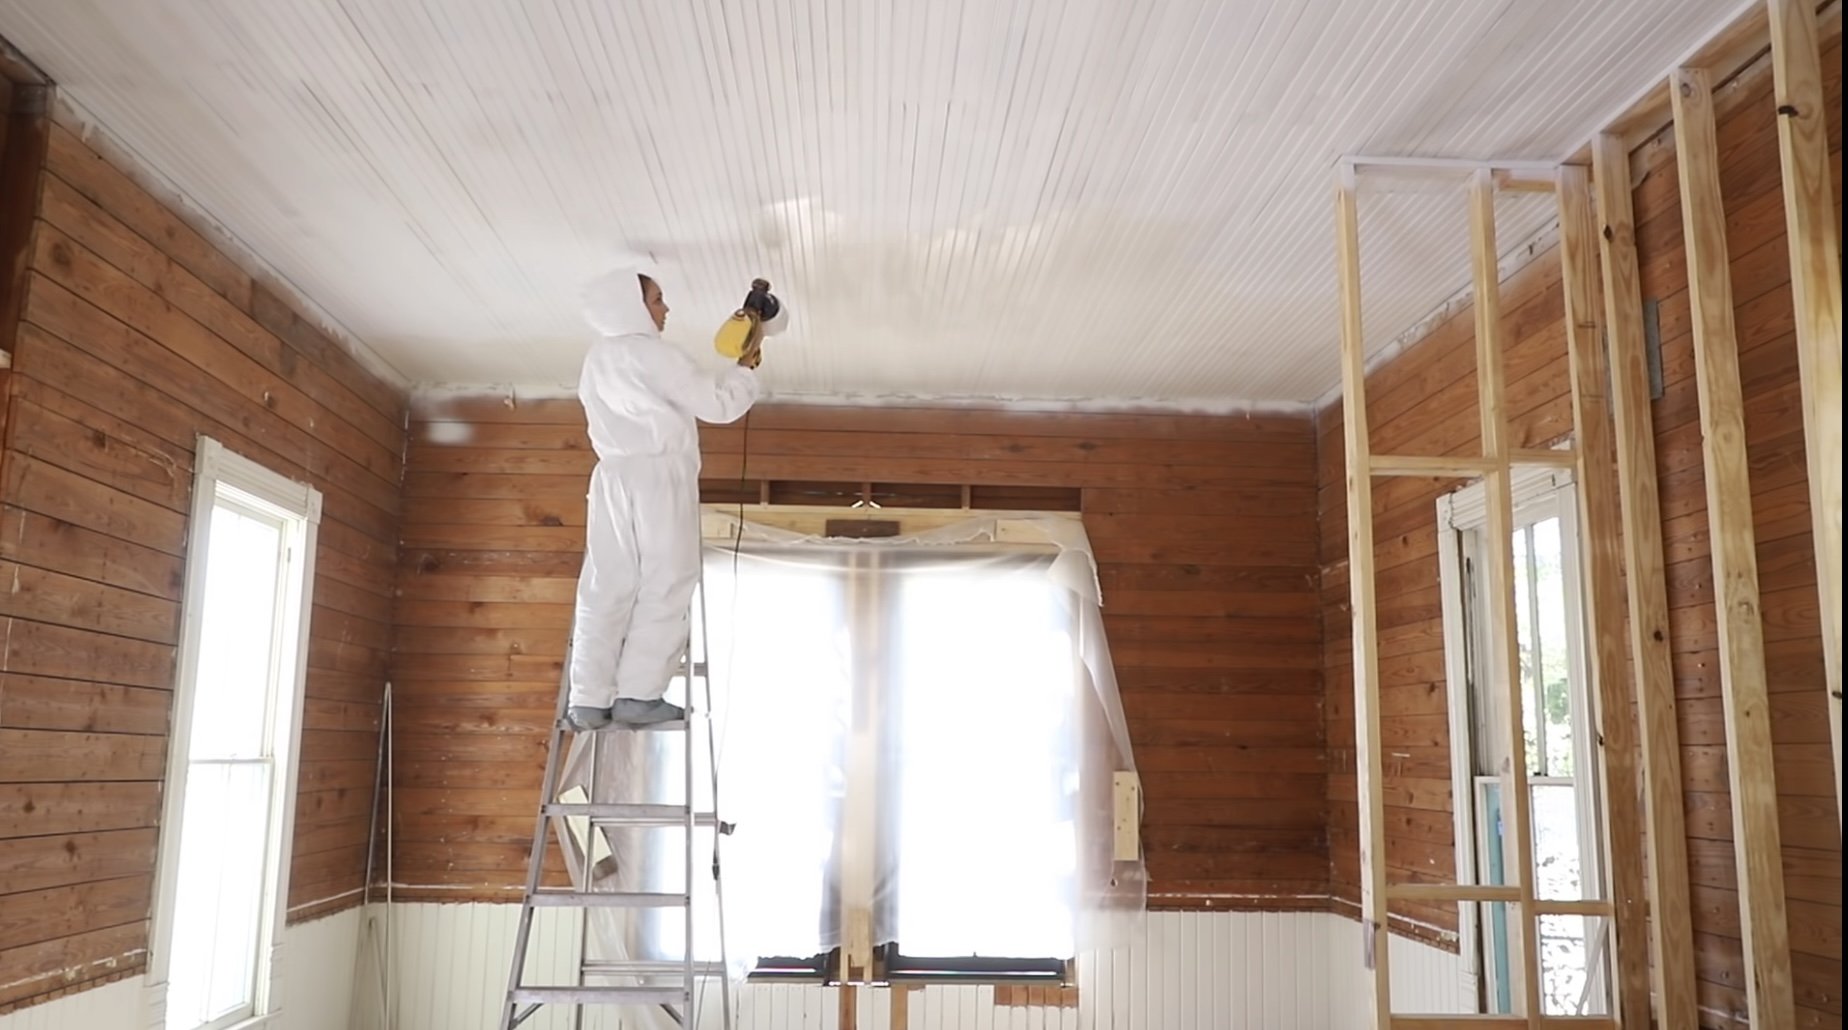
First, I sprayed one coat of Fresh Start High-Hiding All-Purpose Primer from Benjamin Moore. Once that dried, I could see where there was additional holes and spacing between the boards that needed to be calked. I used 7 tubes of caulking to make it look seamless. Finally I sprayed two coats of Gray Mist (Regal Select Interior by Benajmin Moore).

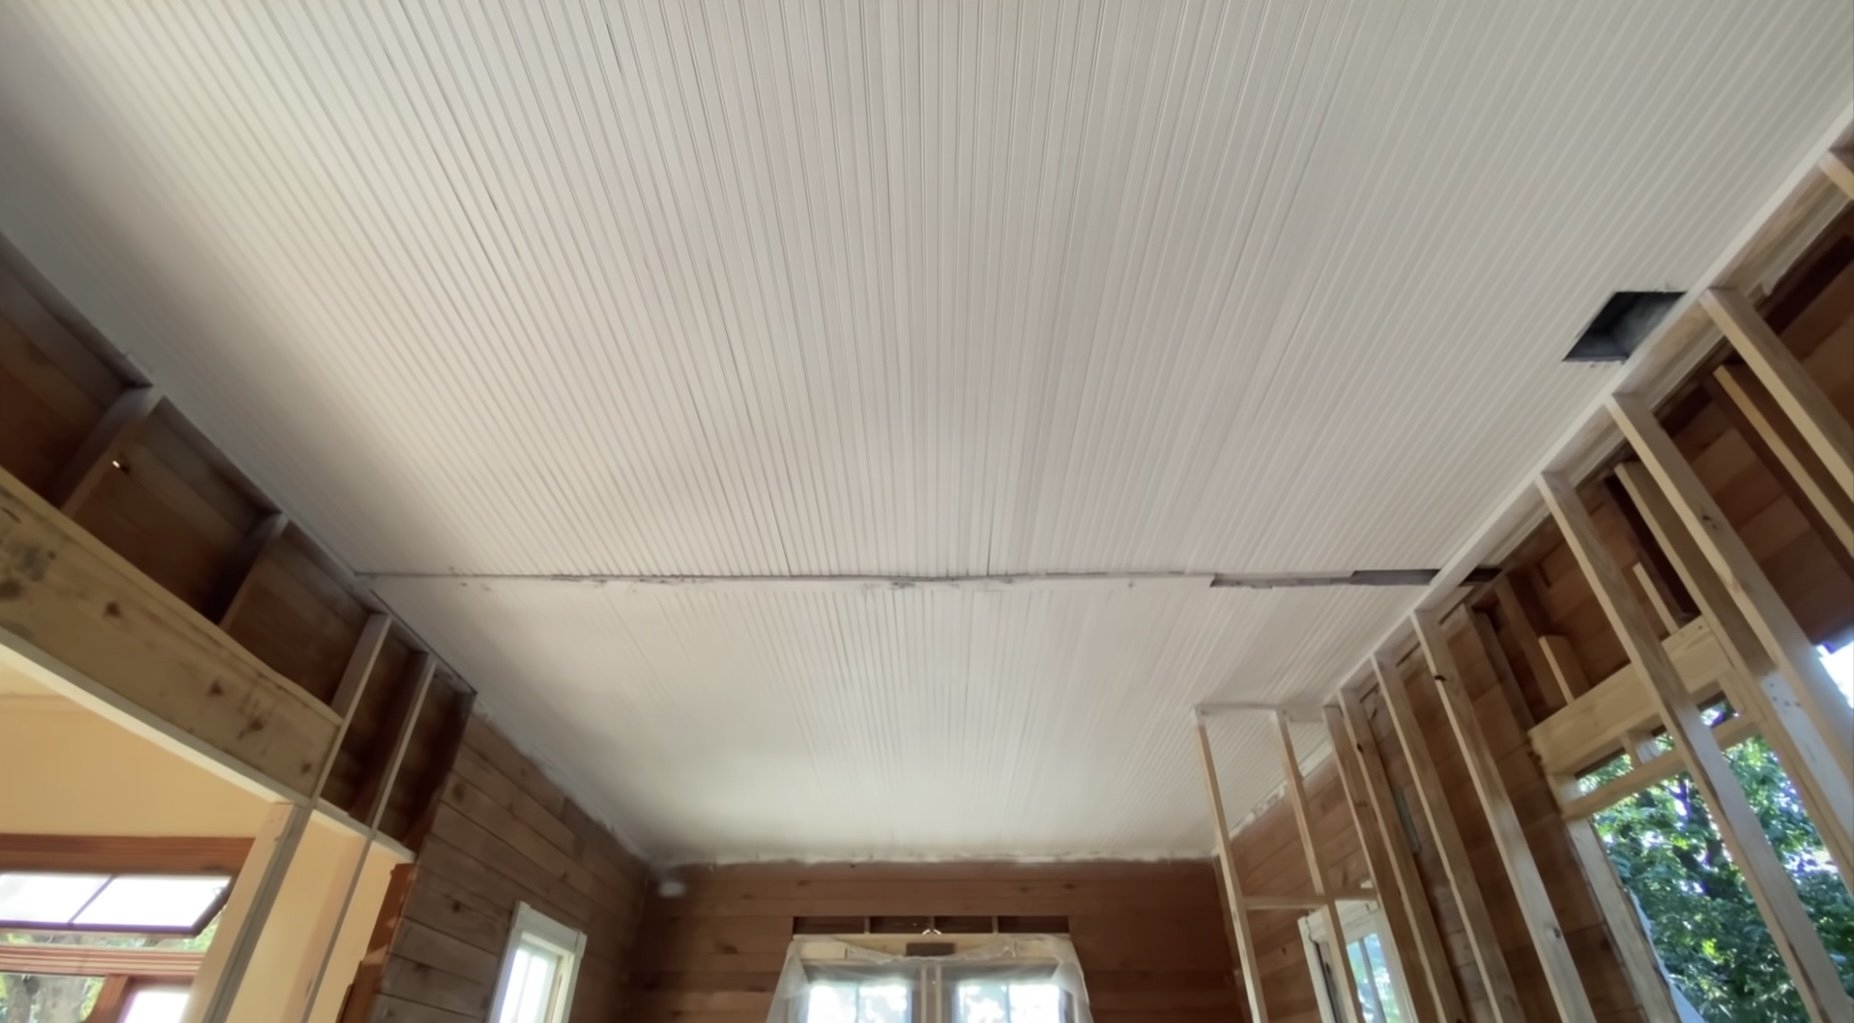
AFTER
Our next project is to find or build the beams, so stay tuned!. Restoring, reusing, and salvaging is such hard work but that’s what we signed up for! I’m so happy with how everything is turning out so far and I can’t wait for the day we get to enjoy our new dining room.
XO, MaCenna
Watch all the tutorials here: