DIY: Restoring Our Century-Old Windows

We kicked off our first DIY project at the cottage by restoring some of our century-old windows. I knew that this project was going to be intense because I had to reimagine how some of the windows were going to be put back into the house, but also, there are SEVENTEEN of them! I tackled some of the bigger windows for this project so we can get a head start on the exterior of the house. Renovating old homes can sometimes intimidate contractors because they understand how delicate the house is and how much we care for the integrity of the home, so while they took care of the framing I took care of restoring and reinstalling the windows myself. Here’s how I did it…
PREPPING THE WINDOWS
During the 3 weeks (and hours upon hours) we spent stripping paint off these windows, we had to do everything we could to get them as polished as possible. These are the three methods that we used to get the windows ready to primed and painted.

TECHNIQUE 1 - SANDING
What you need:
60 Grit Paper - to remove debris & the rough stuff
220 Ultra Fine Grit Paper - creates a smooth surface for priming
Razor Blades - great for removing old paint on windows

TECHNIQUE 2 - STRIPPING
What you need:
Using stripper can definitely get messy but it works the best to get paint off that a sander can’t, especially on the molding. I also like that I am able to put the product on then leave it alone until it’s ready to be removed. This leaves me with some time to get other things done,.

TECHNIQUE 3 - HEAT GUN
What you need:
My neighbor suggested using heat gun and it worked so well in removing the paint off corner edges. You have to be careful not to heat up the glass too much, though, as it will crack.
PRIME & PAINT
Getting the windows ready for prime and paint was definitely an experience that i’ll never forget and neither will my parents who helped me so much with the process, lol. After 3 weeks of hard work, we’re ready to paint.
First, I did two coats of Benjamin Moore’s Fresh Start Primer using a paint sprayer for the first time. What. a. game changer. I’ll never go back to painting the same way again! Once that dried, I spray painted two coats of Black paint from Benjamin Moore.


Window Jambs
I wanted a substantial look to the windows so I also painted all of the window jambs black as well. Before this, though, I carefully removed all of the hardware and spray painted it in an antique brass shade. I also wanted to ensure the window functioned as before so I bought sash cord to tie the weights that allow for the window to open and close!


FINISHING TOUCHES
The original hardware to close the windows were in really bad shape and I wasn’t able to salvage them, so I replaced them with brass window locks to match the hardware where the sash cord goes.
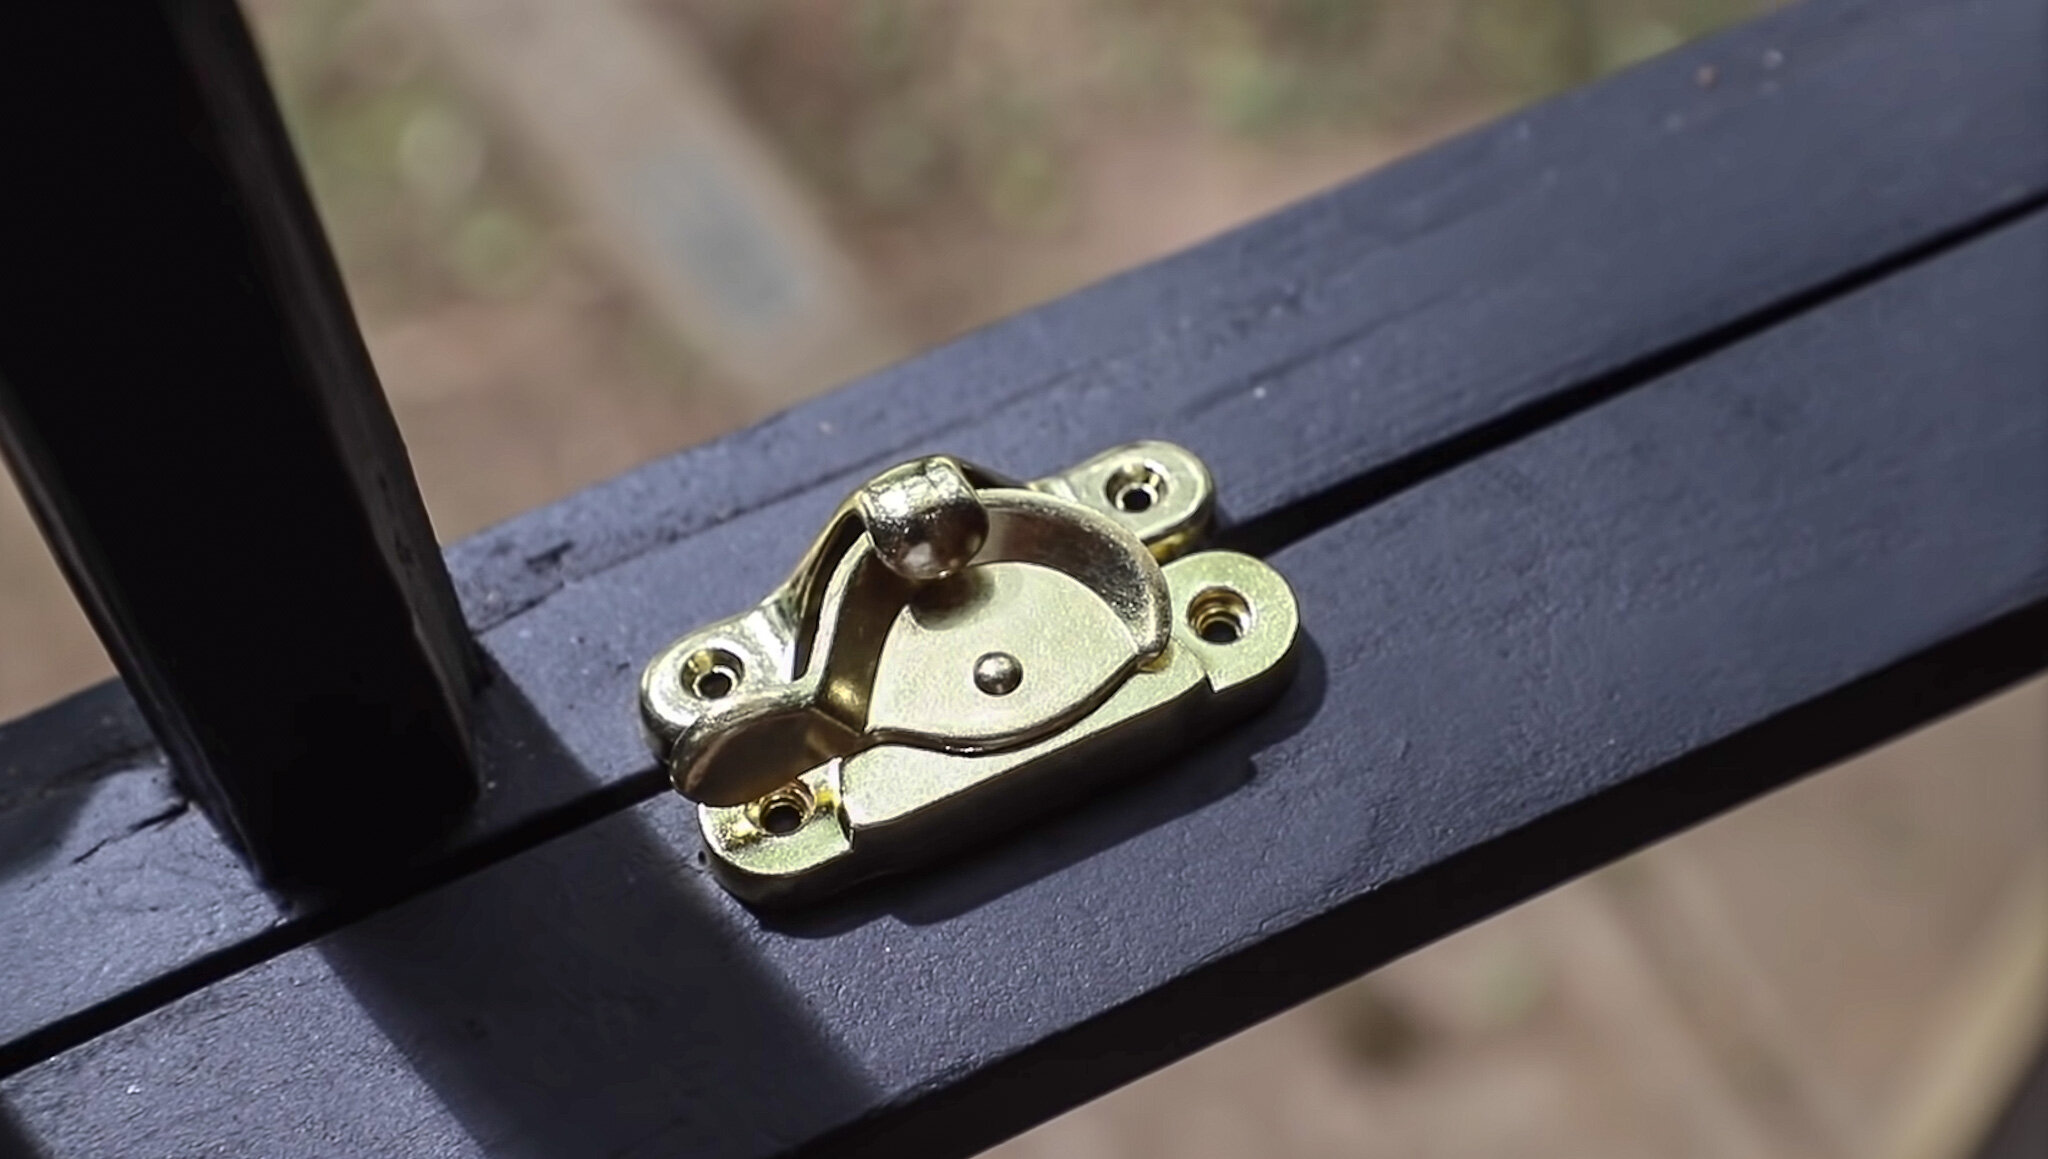

Single lock off-centered.

Double Lock
Originally, I only had one lock on each window but I got some inspo from my local coffee shop. I loved how their double-hung windows had two closures on each side as shown in this image. I’ll be adding a second lock to balance off the look.
There is still a lot of work to be done on the windows. We still have trim, glass and weather stripping to take care of but we’re definitely making progress on this project and I am SO proud of how they’re turning out.
Catch the entire restoration process in the link below!
XO, MaCenna