How To Install Windowpane Glass Yourself (We Saved $8000 On Installation Costs)
There’ve been MANY steps we’ve had to take to restore our 100-year-old windows which have taken about 9 months now to complete. Everything from removing the windows from existing rooms, sanding & restoring the frames and jambs to finally painting the frames and replacing the broken panes of glass. After months of restoration, we were able to salvage a good number of windowpane glass which saved us about $20 each but I also broke a few in the process! If you find yourself needing to replace some glass as well know it’s easier than it looks and here’s how.
RESEARCH
I began by calling around to a few different glass companies in my area to see how much it would cost for both the material and the labor to replace all of the broken panes of glass in our cottage. While the material cost wasn't too high, they were going to charge $100 in labor per pane (this is the lowest price I found). Not to mention, if they had to remove any little speck of old glazing they would charge me even more for labor. This would be roughly $8000 in labor cost alone to replace the glass.We also looked into the type of glass my old windows would be able to support in terms of thickness in case we wanted to make them energy efficient that way. After lots and lots of research and measurements, We figured out the best decision was to replace the broken panes with ⅛” glass (FYI you can cut glass at most major hardware stores) then invest the money we saved in hiring someone to come in later to put a film over the glass to make them energy efficient. Here are a few things I’ve learned about this process and some tips that can hopefully help you in case you decide to tackle this job.
PROCESS
Ensure that your workspace is shaded from the sun otherwise, your glaze will dry too fast.Remove any old glazing the window has with a cutting tool and remove the old push point with pliers. The area should be completely clean for a smooth application.Add linseed oil before where the panes will go so the glazing lasts longer. You can use any small brush to add a thin coat to the grooves.Place the window, nice and easy, into the area making sure the fit is perfectly centered.Add push points in your desired areas. I added 2-3 points per side depending on the length of the glass.I learned that painters tape is necessary to put where I want the glazing to stop around the glass, not only as a marker for the glazing but also to create seamless lines. Tip: Make sure you’re lining up the tape to the molding on the opposite side of the glass to make sure it’s not visible.Using a caulking gun and a tube of glazing with a slanted edge, I went around the entire window, smoothing out any excess with my fingers. Make sure you have a wet rag handy to wipe your fingers and tip of the glazing tube to ensure a smooth finish.Allow the glazing to cure for 2 weeks before painting over it.


BEFORE

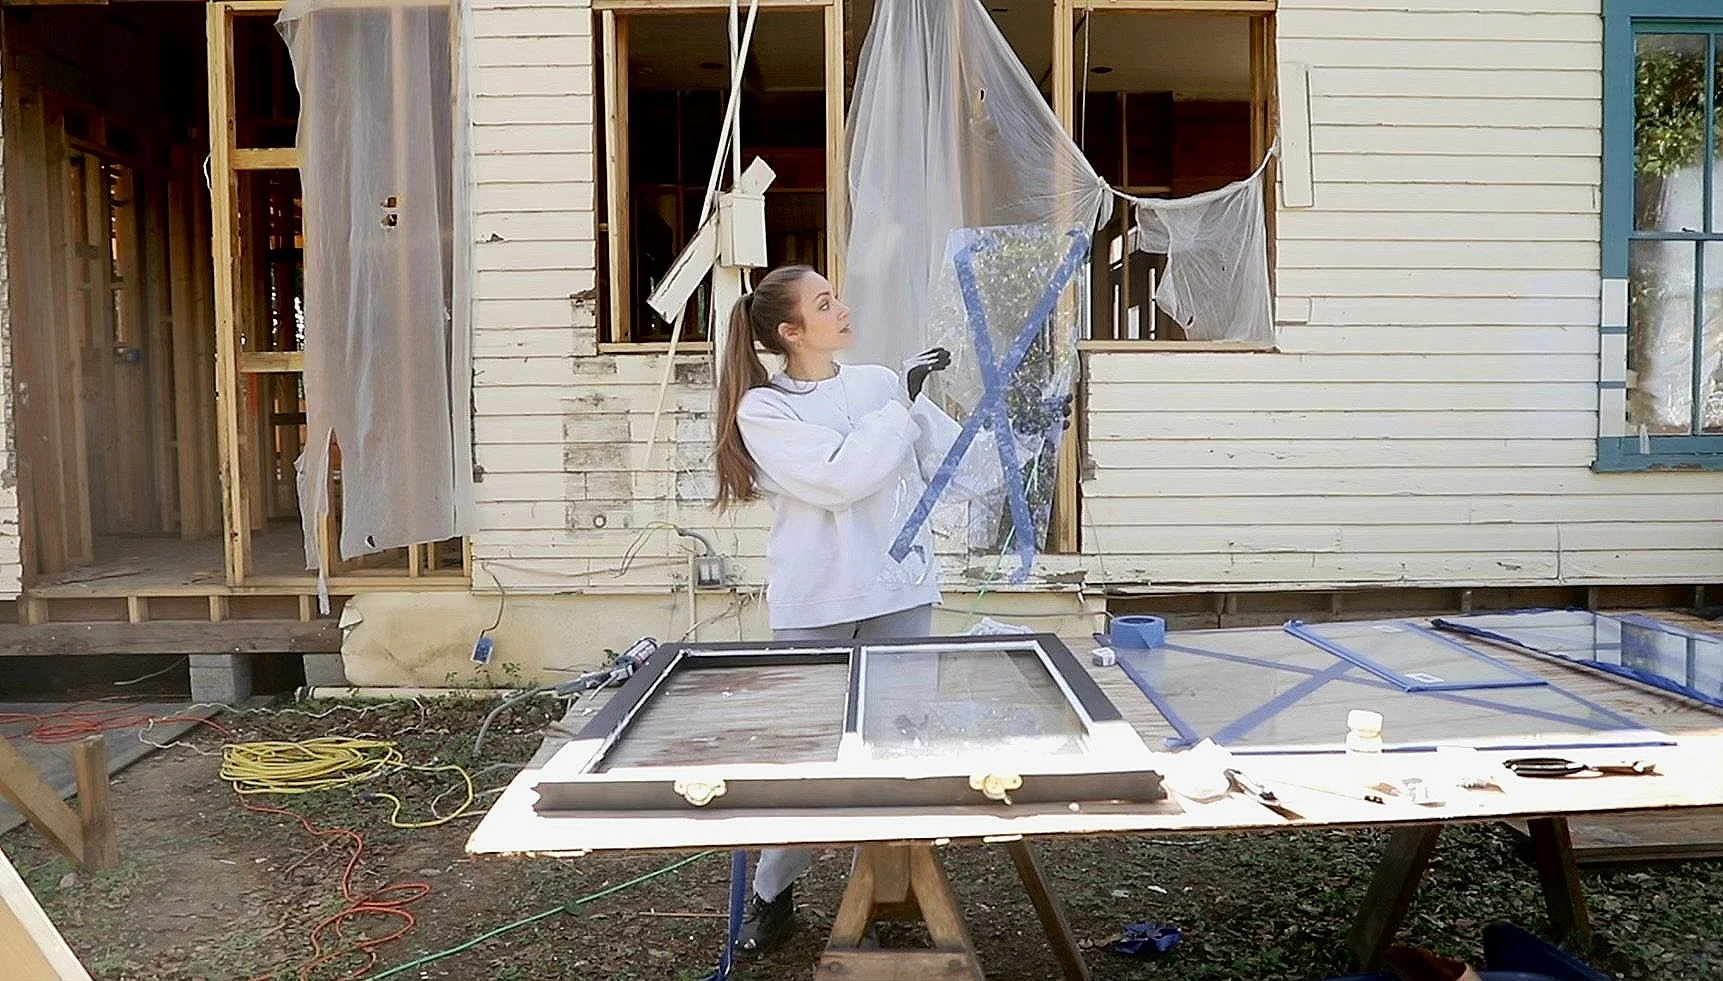
DURING

AFTER
This project has been the definition of a labor of love! When I look at the house once it’s completed I know I’ll be looking out my windows with pride. I invite you to give this method a try if you’re trying to replace old window glass yourself.Check out the blog on how we restored our 110-year-old windows, HERE.
xo, MaCenna